 10:20
Pioneer WeGo 2 with DJTutor
Contents of the video
0:00 To expect in the box
Alright guys, an opening, unboxing and setup of the Pioneer Digital DJ Wego 2. Alright ladies and gentlemen, let's have a look at what to expect in the box. We're looking at the Pioneer DJ Wego 2. First of all of course you have your controller. What I've done, I've got rid of all the packaging. So there's the controller. You've also got that. plastic piece of what is it well uh at first glance you're probably wondering what on earth but that can be if you require attached to the back of the wego and then you've got areas to attach fit your iphone or your ipad now also you do have three screws that come with the wigo 2. you have Information on the Wego 2. Always look after this, keep it safe. Comes with VirtualDJ specifically for the Wego 2. You have this here for your ISO device which is a cable that will go into the back of the Wego.
2:47 Three little lugs there
You'll just be able to see their ISO device, so you'll go from there into the likes of your iPhone 5 or your iPad. It's iPad Mark II onwards and you've also got a USB as well. There you've got your connection lead for your iPhone or your iPad into the back of the Wego. You have the software, DDJ Wego, it's Virtual DJ software. You have your information, always look after this, keep it safe on your DDJ Wego. The controller itself. You notice on the back here, if you remove, just move that flap out of the way, that is the plug that will go from the Wego into your iPhone or your iPad. Three little lugs there. Take those out and that's where you will attach attachment to the back of the Wego 2, enabling you to sit your iPad or your iPhone on there quite comfortably. Also comes with the three screws enabling the attachment to sit quite firmly on the back of the Wego. Right, just a quickie here. You've got three lugs at the back of the Wego 2. Very simple. Just pull them out with your nail.
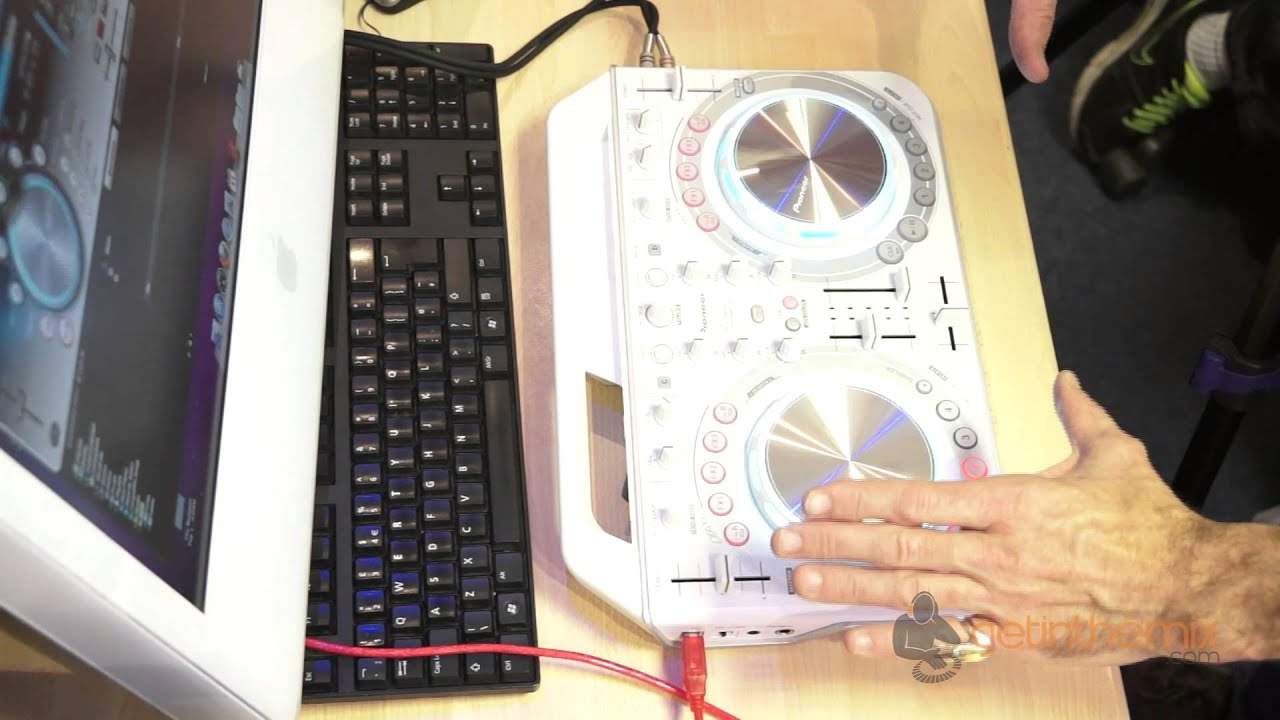
Like that. And, I don't know, it's up to you but it's probably always advisable to keep all bits in a safe place. You never know, you may want to take this back piece of plastic off at some point and it's always a good idea to put those back in. It'll just stop little bits of dirt and whatnot getting in the holes. Okay so here we go. Wego 2 from Pioneer. At the moment it's set up on a Mac With the software it comes with, which is VirtualDJ LE. There we go. Alright, okay. Got it on hot cues at the moment. Okay, what I did there is I set up some of the hot cues and to get rid of those hot cues, press shift. So I'll give you a demonstration again. One, two, press shift, press them again, and sampler. Okay, so again, you've got...
5:24 Two modes here, sampler and or hot cue
Two modes here, sampler and or hot cue. So we'll go back to the tune. One of the main benefits of the WeGo 2 of course is the added bonus of being able to fit quite nicely your Android 2 here so you can have your iPad, your iPhone and again there's no need to use the DJ software if you've actually, sorry I beg your pardon, the VirtualDJ software if you If you have got the DJ software on your iPad or iPhone and that's DJEY software, then of course all you need is your iPhone plugged in, files on your iPhone or your iPad and you're pretty much good to go. I'll give you a demonstration of that right now. One important factor about the Wego, if you're concerned let's say for setup time, in other words maybe you were using the likes of an iPhone or your iPad and you wanted then maybe
To, instead of taking tracks from the DJ app, you wanted to use the VirtualDJ. Pretty straightforward and very quick actually. All I did, I unplugged the iPhone and started up the VirtualDJ. And within seconds, the WeGo was talking to VirtualDJ. Using the effects now. Engage or disengage the effects by pressing here. And you'll notice now by turning the jog wheel clockwise or anti-clockwise, you can change the effect parameter. Also you get a nice colour variation on the jog wheel as well. Right, let's form the loop. We have this dial here. What we're going to do is I'm going to press down, turn the dial clockwise and we increase the loop, anti-clockwise and we decrease it. Press down, disengage the loop. Press down again.
8:16 Software, what you can do
Back in, clockwise increase, anti-clockwise decrease. Press down, disengage the loop. Right, so Pioneer WeGo 2. Overview, very, very simple. Two virtual turntables, mixer in the middle, your crossfade, you have low, mid and high. So three band EQ is very, very good for a controller this size. Browse here and load. So if we were having a look at the software, what you can do is turn this dial, And this will find your files. So actually if I just move up to the software, you can see now we're going through those files and when I get to the appropriate file I want to play, I can either load to one side or the other. It's always a good idea when you're in a playing environment, a nightclub environment, don't stop the track that's playing. You can load that onto the other side.
Play, pause flashing cue, press play and then there you go. So that now is your other track. Pause that, okay. We have auto loop here for the other side, microphone volume, master volume and tempo here, that's your pitch control that will increase or decrease the speed of the track that's playing. Alright, if you want any more info on the Pioneer we go to, don't hesitate, check out the link in the description. It'll take you directly to getinamixed.com and I'll finish off with practice and enjoy, thank you.
This transcript was produced automatically from the audio of the video and may contain mistakes.





