 5:30
Styleflip. Sticking the transfer on a Djm-800 mixer
Contents of the video
0:00 DJ800 mixer and that's the top
Right, theoretically folks, over the next couple of minutes I should be able to get that on there. DJ800 mixer and that's the top. First of all what you've got to do is take the knobs off. So just a tip for you, if I go slightly closer, can you see I've put all the dials at 7 o'clock? Well, you don't have to do this but it's easier when you put them back on because if you think about it they'll all go on. All the dials, if you set them all in one position, I mean, alright, you can have them at 12 o'clock, it doesn't really matter, but I tend to do something like that. Especially, you know, let's say if I'm cleaning the inside of the mixer, I'll just do that, so that's just my little tip. Alright, now that looks a bit silly.
1:29 You've got to do is give
Those are all the knobbly bits, but if you can see I've put them in near enough exactly the same order as I took them off the mixer. Those there, the effects etc. You've got booth balance, you've got all of your channels and you've got your microphone and then over there you've got headphones level. Alright, the main reason for that is just so you know roughly where they go back because there's nothing worse than just chucking them in a pile and thinking now what went where? Right. There's a mixer without the knobbly bits. The next thing you've got to do is give it a good clean. I mean really, the reason for cleaning it is to make sure you get the dirt off it and any grease or anything like that to do is take some of the screws out. That's quite important because if you don't take those out then you're going to get the transfer bubbling slightly so just make sure you haven't got any screws protruding out. If you have, unscrew those and then you can always put them back in once you've got
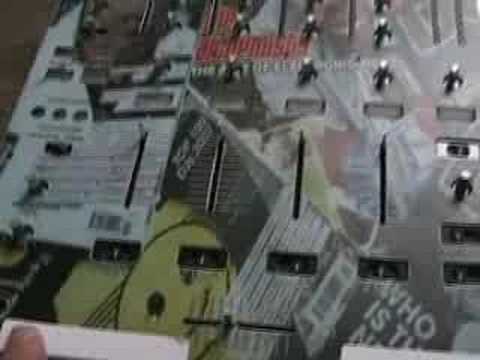
A transfer on top. Okay, the next thing I did was I got some of these sticky tapes. They're like labels but you can use masking tape as well and I made like a hinge so you can see that. What I did as well was it says you've got to align it up and what I used were the LEDs. I made sure they were lined up, same here and there. Don't put just a piece on one side because it could So make sure you've got one piece either side or a strip all the way across from tip to tip. Now, a suggestion here is spend a bit of time doing this, it'll help. Right, if we look at it from this angle now, I can lift that up and there you go. Small tip here, you've got the switches. What I've done I've got them so they're facing directly up, not to the right or to the left. That way it's easier for that to just sit on them like so. Right, so now I'm going to spend a bit of time sticking it on. Right, what I've done now is I've taken a tiny bit away and I am going to push this over a tiny amount like so and then stick that
4:08 We don't get any bubbles, tiny air bubbles underneath
And it's a bit like, if you imagine, one side's down and you're sort of pulling. And as one's pulling one way, the other one's pulling the other way. So I'll carry on doing this and perhaps do a little bit more recording halfway through. I'll just show you another thing to make sure the camera's not moving. While I'm pulling, I'm using my finger to push along the whole transfer. So we don't get any bubbles, tiny air bubbles underneath. I mean this thing is quite forgiving so if you do get an air bubble you can always pull it back slightly and then push it again but you know it's like anything a little bit of time spent doing this will make it look a lot better as opposed to just ripping the things off and hoping for the best. One thing I've just noticed, a tip for you, is the sliders. Have these in the middle and not right at the end. If they're right at the end
Then you may find they'll stick. So if you bring them down to the middle then they'll just sit quite nicely and the transfer will go straight over them. Right, there you go. It's done. All I've got to do now is take these off. Just make sure it's nice and smooth which it seems to be. I'm going to go over all the edges but yeah, done. Now in the next video you'll see me doing one of the CD players. Practice and enjoy. One more tip when you're screwing Don't push them in or don't screw them too hard because what happens is this will turn, the top will turn a little bit. So just make sure those are hand tight.
This transcript was produced automatically from the audio of the video and may contain mistakes.





