 10:56
An Original Vinyl DJ Technics SL1200MK2 Pitch What to Look out for if You Feel Its Not Working
Contents of the video
0:01 This is a beginner DJ lesson using vinyl
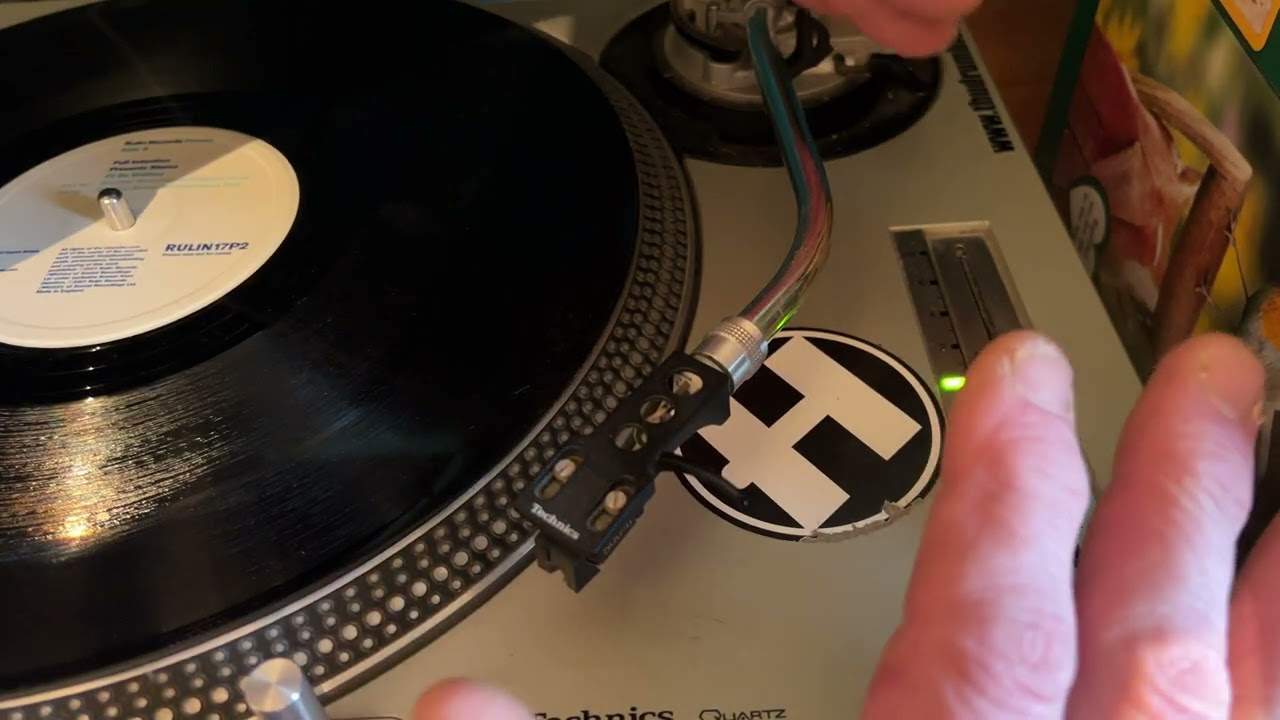
Right, ladies and gentlemen, this is a beginner DJ lesson using vinyl. Now, first and foremost, this is a lesson using real vinyl, not DVS, not a laptop, not a controller. This is like as old school as you can get. An analogue turntable and a piece of vinyl. We're mainly going to be looking at the pitch control. So I will be using some of the audio, but not too much. So it's on Rullin Records, R-U-L-I-N. The model is R-U-L-I-N 17P2 and it is full intention presents Sheena. I'll be waiting, but I'm only going to be using a segment hopefully with the only reason is so I don't get any copyright mush. Now when you have the green light on, this is Technics SL1200 Mark II. That should indicate that the track will be at either 33.3 RPM or 45 RPM.
In other words, it will be exactly the speed that the producer made it in the studio. And of course, if you start to slow it down, move the pitch away from you, it will slow down, bring it towards you. It will speed up, but that's only one of two things that are happening. Of course, yes, it will slow and speed, slow down, speed up, but the other one, the tone of the track will change. Now, in music, there's something called a semitone. And basically you have a note and as you go higher, you increase that note by semitones. Now the trouble is when using real vinyl, you speed up a track or you slow it down to match it in time with the other track. What you're doing is two things. You are indeed, as I said at the beginning of the video, slowing the track down or speeding it up,
But you also reducing the the key, the key will start to go lower or the key will start to go higher based on if you slow it down or speed it up. So let's just give you a quick demo again. I'm going to talk through while we play the track so we can hear sort of a bass line there. If you listen, slow it down. You can hear it reducing in almost it's almost like the sounds dipping speed up and now the sound is rising. There you go. The sound is rising. Now really the rule of thumb is this. If you increase or decrease by more than three percent, then you are definitely going to start increasing or decreasing the sound by semitones. So what that means is that when you form that mix it may not actually sound in key.
2:54 Again, this is why a lot of people like to use DVS
Now again, this is why a lot of people like to use DVS. Digital vinyl because what that means, excuse me. So you can still use vinyl but you're using digital vinyl, but the software on your laptop or your computer is in control of the audio key. The notes and the the program will be able to set the notes to stay the same even if you slow it down or speed it up. So this is something really important to remember if you are a DJ, a beginner DJ who just wants to use vinyl. So the rule of thumb generally is this when you're forming a mix with real vinyl, try and keep in around plus or minus three percent of the speed of the next track. So in other words, if your tune you're mixing in say you have a house tune say for example,
This is 120 BPM and the other one is, let's say, 130 BPM. You're going to have to slow the other one down quite a bit and speed this one up quite a bit to match three things you can do. You can't with this because you can only increase or decrease by eight percent, but you would of course have to slow one of them down speed the other one up to match in the middle. So they may then be in beat, excuse me, but then they might not actually being key. So when you're using real, vinyl instead of let's say, for example, having you know a multitude of tracks all over the place try and have them in BPM. So for example, you would go from say slow hip-hop through to disco new disco to slow house faster house to techno and so on.
So for example, you could quite easily mix two tracks ones 120 BPM with another one. That's 120 BPM. And so on that's going to work fine. The further the BPMs are away, the more you have to think about the tone and also I'll finish this video. Lastly by this thing in the middle here. Now if you are a purist and you do like original Technics SL 1200 Mark 2, please mention in a comment if they do this with the Mark 3 4 or 5G Etc. I know they don't with the later models, but you have what's known as the ultimate. It's the click listen,
You can hear that click. So what that is is inside the mechanism. There's a really tiny ball bearing and that fits into a small little hole. And as you move it across the ball bearing clicks into that hole now, it's great because it means that you've got some kind of not only visual with the green LED, but you can sense and you can feel it clicking in which means, you know, it's a, the exact speed it was meant to be. But the trouble is, is if you have a turntable that's relatively old or being used quite a bit over time, the area in the center especially is prone to wear. So you may find that as you speed the track up, it doesn't seem to be speeding up or as you slow it down. It doesn't seem to be slowing down because quite often with the older decks that have had pitches used all the time
Is as you start to reduce the speed, it doesn't seem to do anything. In fact, sometimes it can actually speed up before it slows down or as you speed it up, it can actually start to slow down before you speed it up. So just be wary about that. So advice there is find the, you know, the nice spot on the turntable and you can do that. And what I mean by the nice spot is for example, you could start your mix with your pitch being, just above the center or just below the center, which means you don't have to have that position where it clicks in. Now for example here, this is quite important as well. Let's say you start off with this track. You've got your pitch at say plus one and you put the other one on and the other track maybe for example,
8:12 Circuit board, yourself, send
Is a lot slower than this one. So you think oh I've got to now slow this one down. Well don't all you have to do is. Speed the other one up. So they're very similar BPM and then you can use this and speed it up and not have to slow it down. I hope that makes sense. It just means that you don't have to then push it back into the center position to slow it down or get to that position with again, I can't emphasize this enough with older turntables. You shouldn't have this happen with newer turntables or a turntable. That has had. You pitch note also known as a pot fitted. Now, if you are having issues with the slider in your old turntable, then it's a great idea to get it fixed now. I'm sure there are places around your area or if not,
You'd have to send it off but again, you know, I'm not that this is just it's not advice but it's something that potentially anyone can do if they've got a couple of screwdrivers and a soldering iron once and I've done a video on this on the web. I'm sure there's numerous videos, but it is if you know what you're doing, it's relatively simple to defeat fit it yourself. And trust me if you know, if you feel confident and you fit it yourself, you could save you save yourself an absolute fortune not only money, but also time because, let's imagine the place that fit fixes turntables is a hundred miles away. You've got to box it up. You've got to package it correctly. You've got to post it. They've got to then receive it unbox it pull it apart,
Put it back together charge you extortion amount of money for doing it plus the parts. Then they're going to rebox it send it back to you and all that takes time. So I'll be honest with you if you had to send it off, you'd be very very lucky to get it back. Wherever you send it within the week. In fact, if you got it back within the week, you've either paid a great deal of money there your mates or they live next door on the other hand do it yourself. If you go on the likes of eBay or other shops online shops like that, you can pick up the parts. It's basically it's like a circuit board. You don't have this knob at the top. I mean basically it's just a pokey up bit that you fit that on. That's it. That's the slider.
And do you like that? You don't have the knob. Anyway, yeah, there you go and it pretty much it's a question of soldering the old one out and putting the new one in I'm not sure but I think some of the models you don't even have to do that. I think it's a case of unscrewing the whole part or all of it because you got like a circuit board that this is soldered onto. But if memory serves me correctly, I think the later SL 1200 Mark 2s, they had a complete circuit board that you just unplugged and then screwed the other one in quote me again there if I'm wrong, but waffled on here a little bit. But again, it's about education now again, you know videos like this really are, you know, just not so much for entertainment purposes only,
But I don't know everything but I hope that's a help. Don't forget leave a comment. Let me know what you think. Thank you for watching practice and enjoy.
This transcript was produced automatically from the audio of the video and may contain mistakes.