 8:59
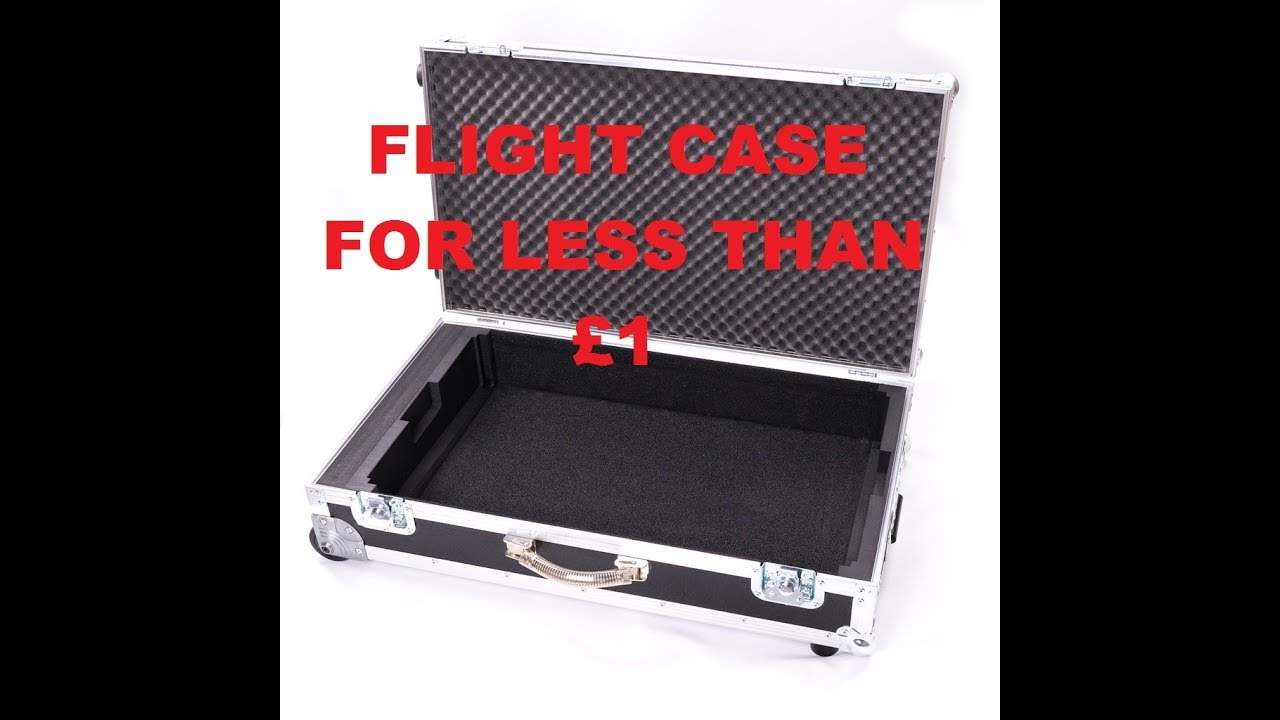
A DJ Flight Case for Less than £1 Just Add Tape
Contents of the video
0:01 You've just bought yourself a new piece of kit
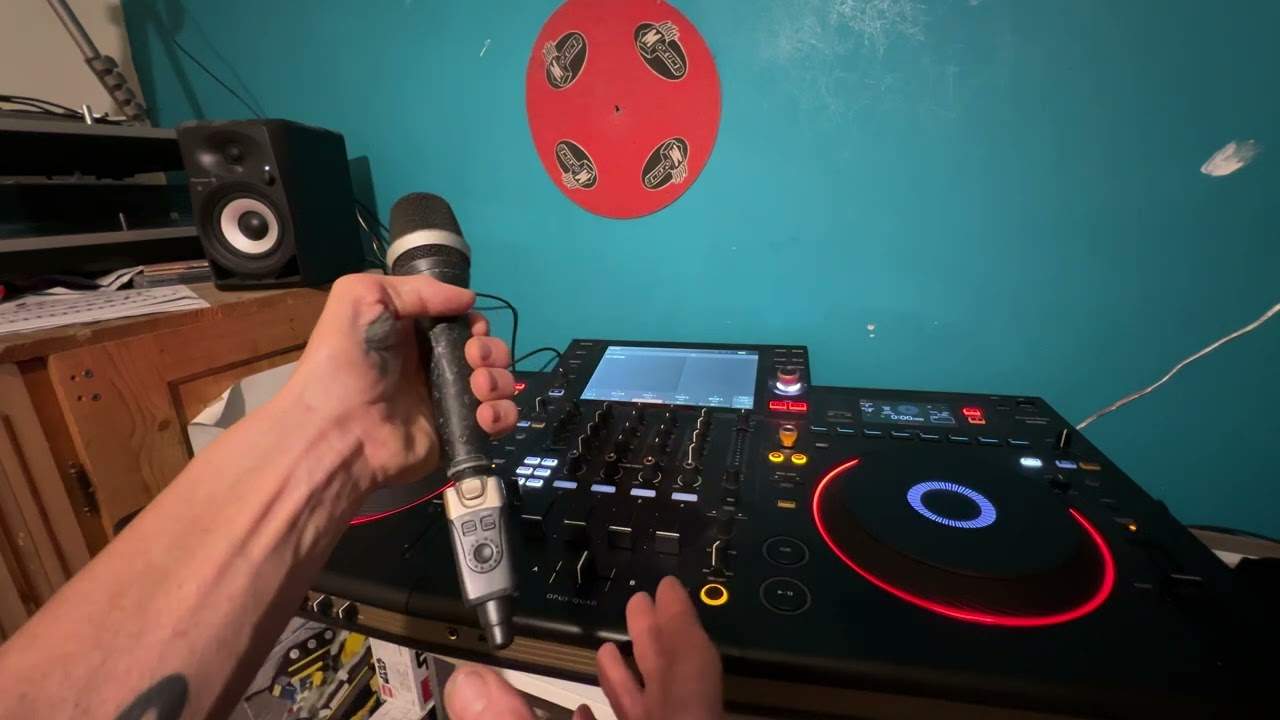
So, you've just bought yourself a new piece of kit. I have a CAM wireless microphone here. Now, this doesn't really apply to big booming bass boxes that are like big, but it does apply to maybe a microphone, maybe a CDJ, something like that, a turntable that's come in its original box. Now, okay, you buy a flight case, it's going to cost you a bit of money, of course. But let's just say you've spent all of your money on buying the piece of kit and you don't have enough for a flight case. Now, by following these very simple instructions, you can save yourself not only a fortune on a flight case, but you may actually never have to buy one. Well, you might after a while, but for the time being, you shouldn't...
You shouldn't have to buy one. And all you need is possibly a ruler, a pair of scissors and some packing tape. All right? So, all I'm going to do is I'm going to cover the original box in packing tape. You may think that's really stupid. You may think what a waste of time, but it actually isn't because the box that your piece of kit came in is made for the piece of kit. It was designed. It was designed around the piece of kit. So, theoretically, if you think about it, it should be the ideal flight case for your piece of kit to live in. The only problem is, of course, if it's made of cardboard, it's not going to last very long. But if you cover that piece of cardboard with the likes of packing tape, you could use gaffer tape, I suppose, it's going to last a lot longer.
So, let's do just that. What I might have to do, though, during this video... It's speeded up a little bit because it might get a bit boring while I'm sort of covering it, but I will hopefully have an end product that will not only still house the item it's supposed to, which is the dual microphone, but it should last a great deal of time and also should be roadworthy, should be portable. And sausages. Right. Don't go away. Sausages. Right. OK, so here we go. And what I'm going to do first is I am going to take said items out because we don't really want to... I'm going to put them there. We don't really want to start messing around with the box and have them fall out. So I'm going to put them on the chair there.
2:48 I've got the aerials, the antennae, sorry
I've got the aerials, the antennae, sorry. I've got the cable, the power supply, two batteries there because I haven't put two batteries in one of the mics yet. And as you can see here, we have the little compartments where everything will go. So I'm happy with that. That's great. Now, these lips fit in there to the side, so I can't really do much there. What I can do is I am going to... Let's have a look. So that goes in there like that. And then the sides go in here. Yeah. So by the looks of it... I can secure this to the side there. So I'm going to do just that. So I might have to speed this up a little bit in a second. Yeah, I'm going to have to because I can't find the beginning of this damn tape. Right.
So there you go. I have done the sides.
Yeah, I could have probably done this a bit better, but I suppose... Yeah, I could have done it better. Right. So that's... That still goes in there. That still goes there. That still goes in there. And we can still seal it up. And look at that. Now then, that should last a lot longer. OK. You can put maybe more around the sides, but you're probably thinking now, well, how are you going to carry it? Watch. Right. I'm going to take some of the original foam that was holding the items inside. What I'm going to do, I'm just going to cut a little bit of it. Not much. Just a little bit.
5:10 Let's move that out of the way
There you go. So let's move that out of the way. I am now going to try and do something with this stuff. And this isn't how it should or shouldn't be done. This is just me trying. All right, so let's fold that over. Because what I want to do now is just... How shall I have that? Here it is. Good idea. Why don't I just do this?
There we go. I'll just...
Guess what that's going to be? That's going to be my handle. So... Put the handle there. So, what I've got to be careful of really is this. To make sure that they are secure. But I'm now going to put the mics back in. So let's put all of the kit back in there. One mic. Two mics. The transmitter. The power supply. Spare batteries. Antennae.
The cable. And then put that on top. Like so. And...
6:51 Maybe, you know, I might have to do something here
Put that in there. And fit those in as normal. Maybe, you know, I might have to do something here. Where the cardboard sort of originally fits together. Because that, over time, I can see that sort of falling apart quite easily. So I think these tabs here will definitely have to have something over them. But probably need to spend more time doing that. But... There you go. Right. Look, check it out. Okay? Now... Alright, it doesn't look fantastic. But... Put the camera back a bit. And... Just move it up a little bit so I can see what I'm doing. Oh shit. Alright. There's that straighty bit. There we go. Right. Well there we go! Now look at that!
Four... My microphones cost me... A bit of time. That's what it costs. For the tape. A pound. Actually, it didn't cost me a pound. Because that cost a pound. And there was a lot of it already gone. And there's still a lot left. So that's cost me... 30 pence. How about that? 30 pence flight case for your microphone. And as you can see it's not falling apart. And I'm chuffed! There you go. Thank you Cam! And... If you dislike this video, that's fair enough. No problem. That's probably because you're exceedingly rich and you can afford to go and buy a flight case made of gold. On the other hand, if you're like me and you're not exactly rich, and you try and make do, then pay attention. Practice and enjoy. Thank you very much.
This transcript was produced automatically from the audio of the video and may contain mistakes.