 13:22
Ableton Live Tutorial video 2 with Danny Lewis
Contents of the video
0:00 Video number two on Ableton Live
Alright guys, video number two on Ableton Live. We've got Danny J. Lewis here from Point Blank and in video number one we covered a very basic format of going through, finding where the samples are on the program. We've got a couple of bongo loops and what was this guy? The shaker. Yeah, just a little refresher. I'm just going to play this now and we reversed one of these. So what I'll do is I'll label this so you can see it's nice and clear. So I'm going to say reverse bongo so we know what's going on. And also the clips could be named as well. So look, a bit of housekeeping. I'd recommend this sort of stuff. As I said, if you've had a few beers, it makes it easier to work out what's going on. So just nice and simple. You can see the distinguish between the two.
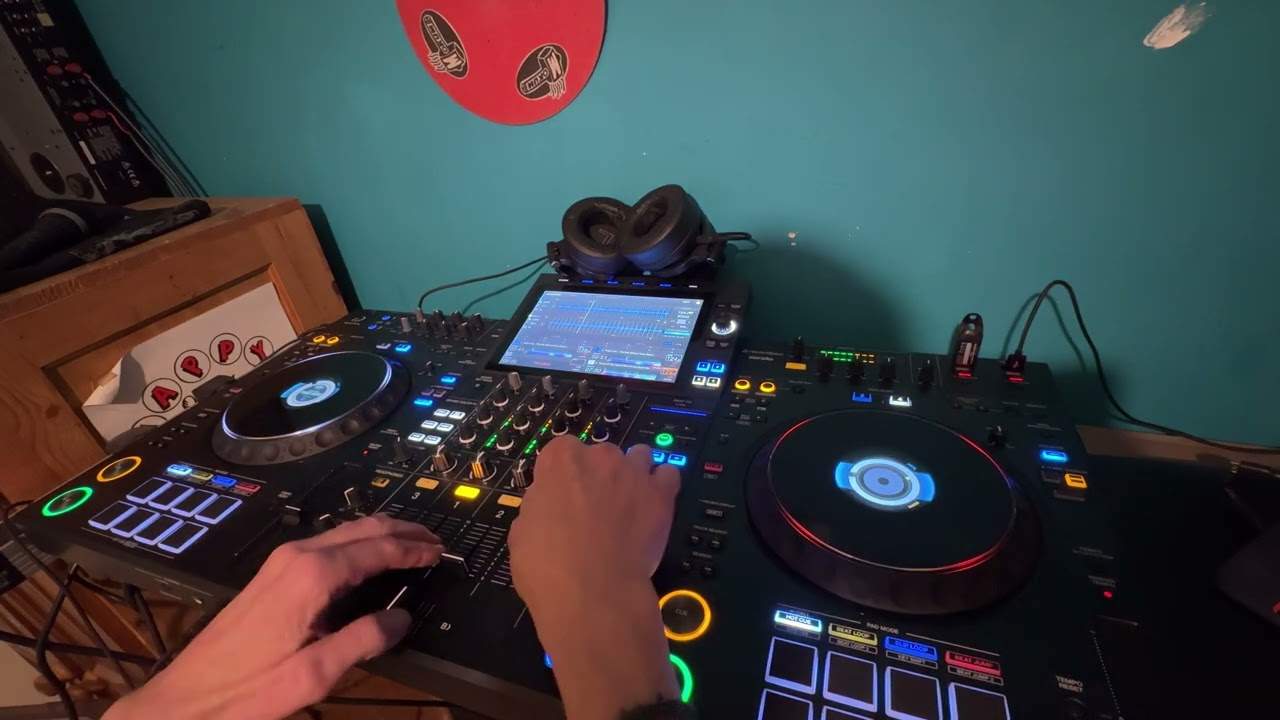
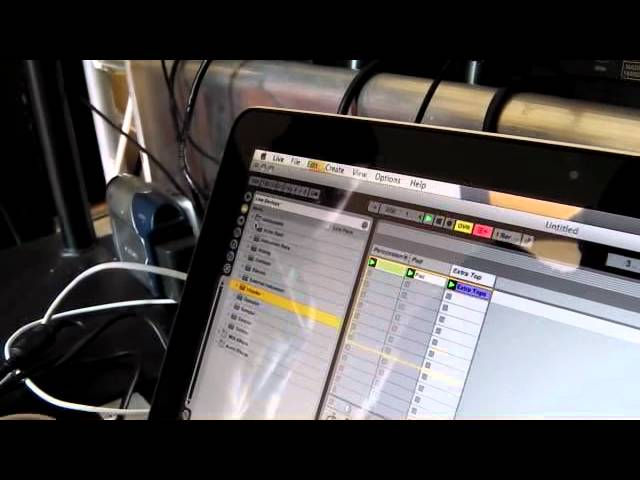
Launchpad, these clips are set up over here and we can turn these off. Alright, again what we haven't talked about, plug the launchpad in. As soon as you plug it in, presumably the PC, your Mac will recognise the launchpad. Not straight away. If you want to set it up, you just come up to Live up here, come to Preferences and then we've got the MIDI section here. You have to drop it down. There's a list of different controllers but it's on the list. Okay. You just select Launchpad. Okay. And then you've got these buttons. You see where it says Launchpad here, input on and remote on so these have to be pushed on as well. Got ya. So you just make sure that they're on on the track and the remote is there and then it's going to be ready to go.
So we can trigger stuff. I'll tell you one of the things that I really like about Live is over here on the right hand side, we've got these scenes and so everything in the row can be triggered from over here. So I could pull this intro. So that can be triggered on the launchpad over here. So I could push the next one down, if you have a look over here it's highlighting the next row. So let's go to the next one like it, yeah. So Aserino has inspired a way to start getting composing. So I could copy these down but have something new. So let's bring some other elements in. I've got some sounds, basically this is from Sounds to Sample and this is a collection of free Deep House download sounds that you can get.
2:48 Let's see what else we've got
And there is all kinds of elements we've got. I'll show you here then. We'll put a link in the description to, you say this is on Beatport, is that right? Yeah, it's Beatport, it's basically Sounds to Sample is a shop where you can buy loads of different samples from different styles and this is, you know, it's to do with Beatport and so this is one of their collections. So you could download this for free from there. Different musical elements. I'm going to find something. I'm just going to turn this up. Down here we've got the volume control for auditioning sounds that we're actually listening to in the browser. Let's see what else we've got. It's always going to be in sync, maybe go with that one. Okay look, I'll drag this one in for a moment so we can push play, adjust the volume.
We're always trying to make sure that over here on the master we don't go into the red. Okay, so I'm just going to bring that down a little bit. The other thing that I would do is I'd select, I'm holding down shift, I'm selecting the first one and the last one of our percussion. And I can do control or command and I can group the tracks together. The reason why I want to do that is because I can call this all percussion and have one fader for everything. Got you. And I can just tuck that away so now I've got, it's nice and simple. You know, I've literally got one fader here. So I can adjust all of that percussion down in one go or bring it back up. So it just makes it nice and flexible as you go along.
You know, I like to try to keep things nice and tidy as I'm working. So that means that I can just unpack that and get access to these on their own, tuck it away, keep it simple. So what else have we got? Some other ones here. Nice little extra bit of highs on there so, you know, we can just bring this through. So quick question. Someone downloads all these samples. Yep. If they make their own track, then is that potential? Yeah. It's essentially their own piece of music that they can get revenue from. Well, you've always got to check the licensing, you know, the small print on these libraries, you know. Some of them will allow you to do whatever you want with them and release a track. Some of them have conditions, say for example if it's TV or library music, if you are using
These libraries there may be a percentage that you'll have to pay. So you've always got to check the small print. How can they find out though? If you're actually buying it, there'll be some terms and conditions. Right, okay. I mean, back in the day with the sample CDs it would be on the sample CD but these days there'll be a text file with the usage conditions. So always check that. I would say it's a very important thing if you're going to be releasing tunes, you know, always check the conditions. Normally when you buy these sample CDs they are, you know, you get the, you know, you are okay to use it in your tune and you're paying for it. Right. So generally, although you've got to check, but generally you're okay to use it?
5:22 It's policing as well isn't it?
Yeah, yeah. Some of them definitely say if it's for TV or library that you've got to always check it. Yeah, yeah. You've got to make sure that you've got to organize a split of every other instrument. Then it's policing as well isn't it? I mean... It's very difficult. Yeah. Yeah. So we've got these elements coming in. I'm going to call this pad. I do the same on the clip so nice and organized. So something else, actually I'm just thinking about it. That's not, that's the percussion, the extra tops that is. So I've got to rename that. This is the pad. All those beers last night, not helping my typing today. It was a bit mental though, wasn't it? It was mental last night. Should have been there. It was all good. Now what I'm feeling at the moment is everything's feeling a little bit slow.
The master tempo is 120.54. I'm going to just double click here and go 126. So everything speeds up. Just going to bring your levels down a bit. So what I could do is that I could actually get in there and start programming something on top. Yeah. You could add in a kick drum or something. So this is where the midi stuff is going to come in. I could use some loops, but I just want to show you something a little bit different. We've got the loops already on a program and a kick drum on top. So I would come back over to the browser, click up here. We've got the live devices. So I'm going to open up the instruments and inside here we've got the ability to load up a drum rack, which could be a collection of drum sounds.
Or a input. Yeah. Or a pulse. Which is another one for drums. It depends which version of live you're running in terms of what you can see. I was just going to say, would this be with Ableton Live or Sweep? I think the basic one does come with drum racks. So when you say basic, is Ableton Live the basic? I think so, yeah. I have to confess, I'm not up on what the versions are. Is there an intermediate one as well? Yeah. Then there's live and then there's sweep. Most people I think use live. Yeah. I think one of them potentially doesn't, I mean the basic, the light version perhaps doesn't have the drum racks. But it's not my expert area to know which version does it. Anyone knows that, let us know. Stick it in a comment.
8:01 My keyboard, this is, there you
So the kits on the drum rack are available down here but I'm also going to show you the others as well just in case you guys don't have the kits. So firstly, let me bring in the 909 which is the classic house drum machine. So it's loading in now. And I can click on the triangle here, we can see all of the individual sounds in the mixer. There's nothing actually running yet because it's not actually being triggered but because the record is on here, if I go to my keyboard, this is, there you go, so I can play that in and record it into sequencer. So I'll show you. I can just record at any point, I'm just going to turn it up a bit and I presume that will quantize it. At the moment, it's not quantizing it.
You can set it up so that it records in real time and quantizes in real time but I haven't got it set up at the moment to do that. But if I show you here, you can see now that I've recorded these red blocks basically showing how long I held the key down for. And also these vertical lines are just representing how hard I pushed it. So some of these are a little bit inconsistent. What I would do is I would select all of them, so that's Command or Control plus A, I'd do Command U which locks them in. So this is the quantizing. Some of these need to be moved over, you can see here, I'm just locking these in and this is something you don't notice straight away if you've been working with a sequencer for the first time.
The whole concept of quantize is something that you'll have to actually study and understand. So I'm so used to working with grids that visually I know what I played in and I know that's going to be a better match than the one that the computer found. The other thing I would do is just select everything. Select everything again and you can pick up these handles and then drag them so that you've got all the volume, you know, the velocities are all the same. But then a slight contradiction, sometimes it's quite nice to have that real element, so... Absolutely, yeah. I mean, you know, it's up to you. I mean, you know, you can choose to have stuff quantized or not quantized or even just manually turn the quantize off and just move stuff, nudge it around.
10:39 I'm just going to name this, I'm just going to call this beat
I mean, you can do that if that's what you want to do. I would say if you're a beginner, it's better to start. It's better to start off with quantizing stuff that's going to give you the best results. I would say that shifting stuff around in a timeline is really an advanced thing, you know? Only when you understand quantizing and the grid really intimately can you start getting into that stuff. I mean, that's what we call groove programming. Especially with the kick drum on a house track, you really want to, when you're starting off, make sure that's on the beat, really. Yeah, I mean, if you do make it a bit too messy there are definitely some DJs that are not even going to play your track because they're going to find it really hard
To mix. So we'd probably be talking about things like the snares or maybe the shakers, maybe other percussive elements that you might want to do that stuff with. So I'm just going to name this, I'm just going to call this beat. Once we finish this part, we'll do this as video number two. Sure. And then we'll... So it's just running and I can actually add some more elements. At the moment, the overdub button is on which means if I push the keyboard, it's going to put whatever I play into that clip. So I suggest taking it off and just... Finding something and then when you're ready, just click on the overdub again. You see it's coming into the sequence there here, so I'll do that again. Can you just show where overdub was again?
So that yellow icon there, click on that, got it. So that's come through. I take overdub off. These are going to need quantizing, so I'm just going to quickly do that there. And again, just explain what you pressed on the keyboards. That was command plus eight. Okay. So that's something in the window here. And then command plus U. Command plus U. Right. Which is quantizing to sixteenths at the moment. So that's quite nice. I mean, I'd probably think... Maybe someone will explain what sixteenths is just for that. Well yeah, I mean the sixteenths is just it's 16 subdivisions in the bar. You can see here we've got these little vertical lines so it's a grid. There are different grids. I would say sixteenth grid is the most common one in electronic music.
It's a really good balance between getting the fine detail to put intricate... Little programming in. Yeah. But also not being too fine that you're going to start getting things really messy. Some people... You can see down here it says sixteenths. If it was a 32 grid, for example, it's more likely that you're going to struggle getting things locked into the right positions unless you're an expert, unless you really think in terms of I know what 32s are, I know what I'm doing here. So for beginners, I'd recommend 16th grid so that's a real starting point. So really you can just layer up stuff. The overdub goes on. You record it in. And then you've got yourself a beat that you've got that's also working with the audio loops.
Nice. All right, well we've got video number two. We'll get this one up and we'll have a couple more... Well in fact all you've got to do is probably just scroll down and you'll see a video response to this one which will be video number three. Practice and enjoy. Nice.
This transcript was produced automatically from the audio of the video and may contain mistakes.