 11:02
Beginner DJ Lesson on Cutting with Vinyl on the Super Stereo DN 78 Mixer
Contents of the video
0:00 I will put a link in the description
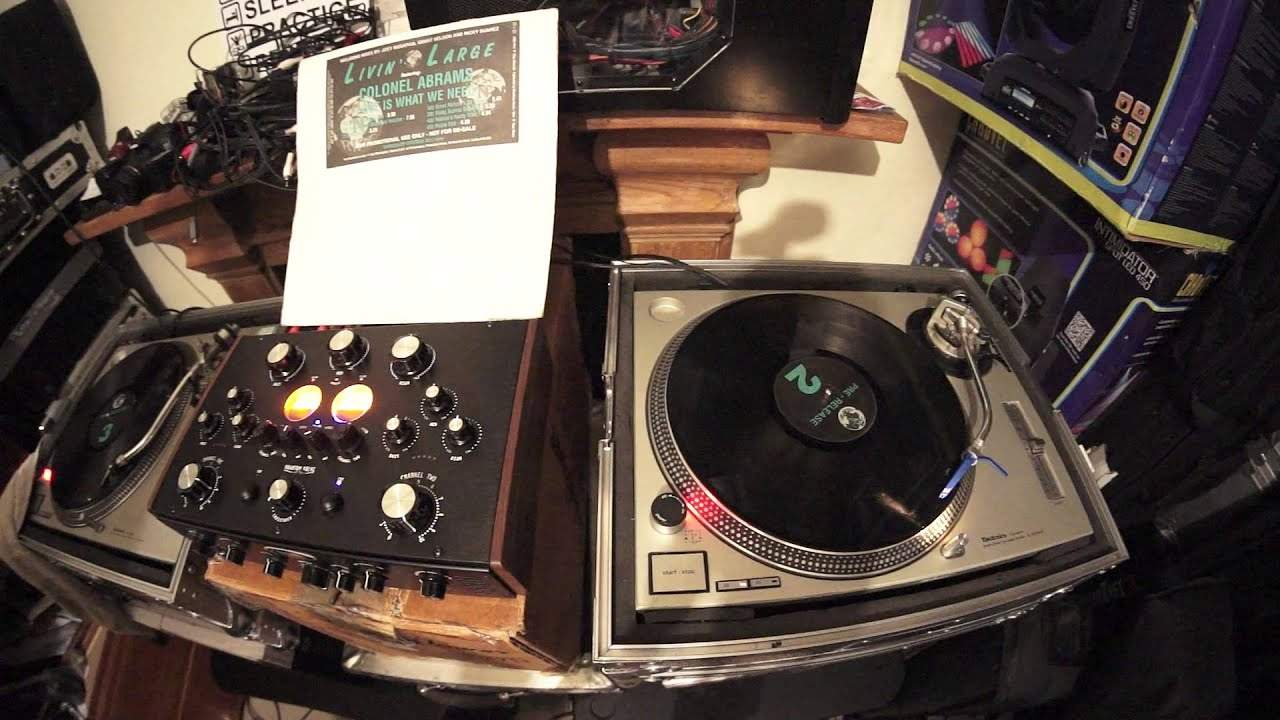
Alright ladies and gentlemen, this video is for the beginner DJ and it's helping you to learn how to not only use the crossfade correctly but also more importantly how to cut from one track to the other. Now when I say crossfade, I'm using the DN78 from Super Stereo. I will put a link in the description. Now this mixer is pretty much all singing and dancing for the tech head. Why? Well, because firstly it's made in the UK and secondly, more importantly, it is handmade. So these aren't what-offs, you can buy them, but it's a piece of technical wizardry. Valves as well, I mean you've got pretty much perfect sound out of these guys, especially... If you're going to be using vinyl, so if you do want your warm sound of vinyl to be even warmer, like sitting at home snuggled up with a radiator on full blast with a hot water bottle by your feet while it's pissing down with rain and snowing outside, it does happen in the UK, then just picture you, there you are with a glass of brandy shaking it like that. Outside it's screaming howling wind and you're just tucked in nice and snug having a back massage. That's what it's like using this mixer.
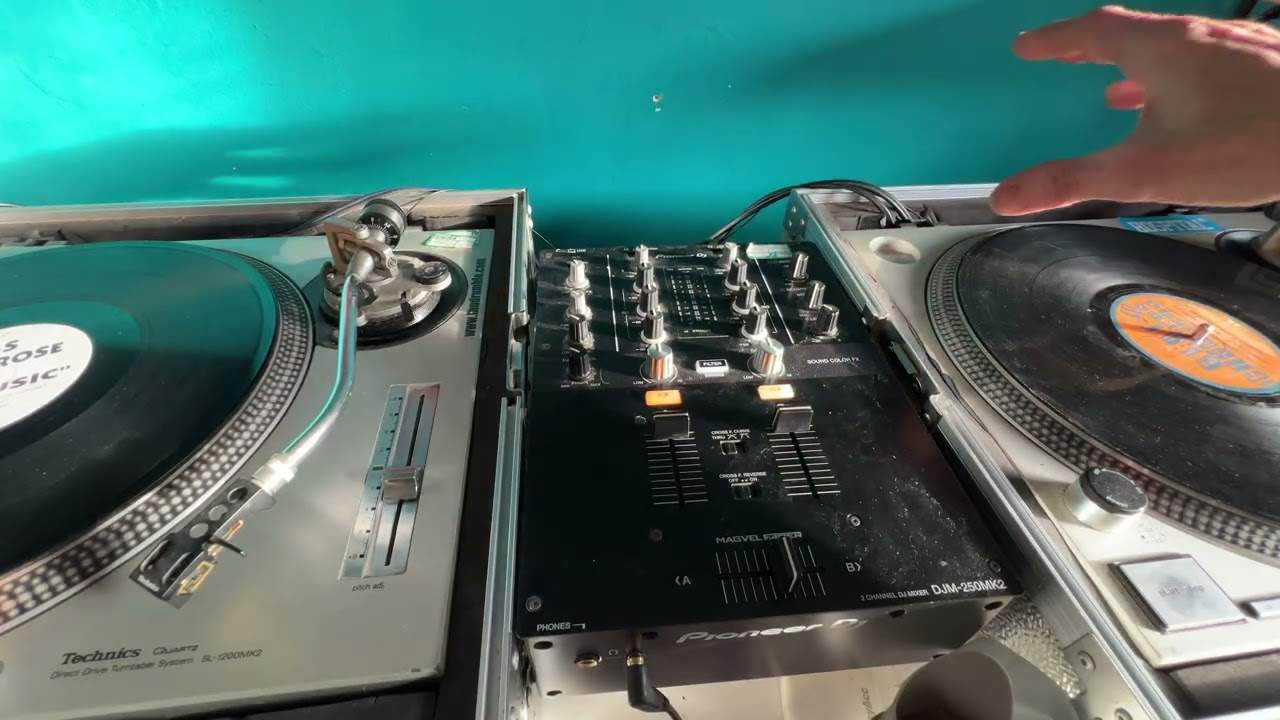
In this demonstration what I'm going to show you is very simple moves for cutting, or should I say cutting from one track to the other. The tune I'm using by the way is, let me just get the cover, it's from Living Large. It's quite an old tune, I have used this many times before simply because it's an absolute classic. Living Large, Colonel Abraham's Love Is What We Need. So on the left hand side, let's have a listen. There's not one up-fader on this, it's all rotary.
1:54 That, got straight to
Just stop that. What I'm going to do now on the right hand side is find, it's almost like an acapella, it's a little break in the track, so just there. Look at that, got straight to it. There. Okay, now using a rotary mixer is slightly more difficult than using a standard sort of crossfade mixer because you've got to turn. There's more energy really, there's more of a motion from... With turning than just pushing, with of course a crossfade, a normal crossfade, you just push it, that's it. With this one, you do have to do more work. So in a way, it's more difficult, but also you're pushing yourself a little bit more. What's the point in driving a car at 60 miles an hour all day? It gets boring. Push it to 100 and you've really got to watch where you're going, but I do not recommend you go at 100 miles an hour. Just be careful, please.
Crossfade, rotary crossfade to the left hand side. What I'm going to do first, back to the right hand side, let's get our cue point, or let's find the point where we want to start on the acapella. There. Now I'm gonna turn the platter off. Okay if I left the platter on, the record would carry on playing and I would lose my point. I've lost the plot, lost the point a long time ago. Now I'm now gonna press play on the other side. Crossfade over. Rotary crossfade, should I say. I'll give you a demo first and I'll explain what to do. Slightly off then. Never mind. Alright, so the moves are, first of all, very importantly, of course, we need to make sure that we hold on to the vinyl before turning the turntable platter on. If we don't do that, we'll lose the point where we've set, where we...
I actually want to start the sample. So, I'll give you an example there. If I press play now, see, the vinyl itself is moving along with the platter. So, I don't want that to happen. What I want to happen is I want the platter to move but I need to hold on to the point where I've set it. So, the only way of doing that is, of course, to make sure that you hold onto the vinyl with one finger or all your fingers very lightly. No point putting loads of pressure. There's no need. And press play, away we go. Now some DJs find that it's a great idea just to maybe dampen your finger very slightly, giving yourself a little bit more grip on the vinyl itself. Now I'm not pushing down, I don't know if you can see there, but you can see the dots sort of juddering very slightly. That's because, you know, I am applying a little bit more pressure and the more pressure I apply...
Until eventually the platter itself stops. I don't want that to happen so don't do that there's no point putting so much pressure on you're stopping the platter, you're defeating the object because the whole object here is to have the platter moving underneath so all you need to do is it's almost as though you're letting go of the record but you're almost giving a slight nudge It's the equivalent of, if you're a parent and you've got children, children go to school for their first day. You don't push them into school like, oi, boot you off, you go bugger off. You just give them that slight little, go on, sod off. There's a good boy, good girl, give her some peace, sod off. No, so that's what I'm going to do. So with the crossfader to the right-hand side, your...
You're making it jump. You see, by messing around too much you can make the needle jump. You're almost sort of... Now again let's go slightly more technical. Slightly, slightly more technical but more difficult. If you don't want to push the record off, you just want to take your finger up then what you will have to do is bring the record a little bit further back from where it starts and then you have to let your finger go up but you have to let your finger go up before the sample comes in because if you let your finger go up at the exact point where you need the sample to come in you will be out of time now that does make sense just rewind if you didn't understand it but i'm gonna start it there okay so oh it's jumped again there stop it there right so
8:09 You can hear it in the background
Rotary over to the left hand side, press play. Now in time, here we go. More than one move. What we're doing, first move of course is to make sure that the crossfade is over to the side where you want to hear the track. Now these moves are done really quickly. The next one of course is to let the record go. Let the record play the amount that you want it to play and then turn the rotary back over to the other side, bring the record back. You can hear it in the background. If you do it correctly, it should sound a little bit like this. Also, when you're using a sample like this in a small amount, you don't have to bring it in at the exact time. Time signature that the sample was made in the first place. You can bring it in slightly different time signatures, therefore giving the sample a different colour, a different feel in the mix. So do your 1-2-1-2-1, do it and then bring it in on the and. So bring it in on the one and then bring it on the and. Just try it, experiment. You can make it sound and feel differently and I'll give you a demonstration of that now. Let's go a little bit further on to the end of the track.
Okay, there you go. Alright, so don't forget, very important, the moves. Cross... I've just stamped on something. Crossfade over, let go of the vinyl. Let the vinyl play, crossfade back, bring the vinyl back. That way you don't get that reverse sound. This is a very, very simple move, but to begin with, do it slowly and... If you're a new DJ, don't expect to get this perfect within five minutes. It could take you five months. It's a bit like, I'll give you an analogy, it's like riding a bicycle. How many times do you fall off to begin with? But eventually, you master it until you get to the stage where you don't get your arse on a seat for years and then you get on a bicycle and you're perfect. It reminds me of that little joke this lad says to his dad. He says, Dad...
I've got my eye on this really nice bike. It's in that window over there. He says you can keep your eye on it because you'll never get your ass on it. Practice and enjoy. Thank you very much. Check out this mixer here, Super Stereo. The link will be in the description. Practice and enjoy. Nice one.
This transcript was produced automatically from the audio of the video and may contain mistakes.