 8:36
Beginner DJ Lesson on Scratching with Vinyl Records and What Vinyl Sounds Can You Use 2 Scratch With
Contents of the video
0:05 In this video is the basics
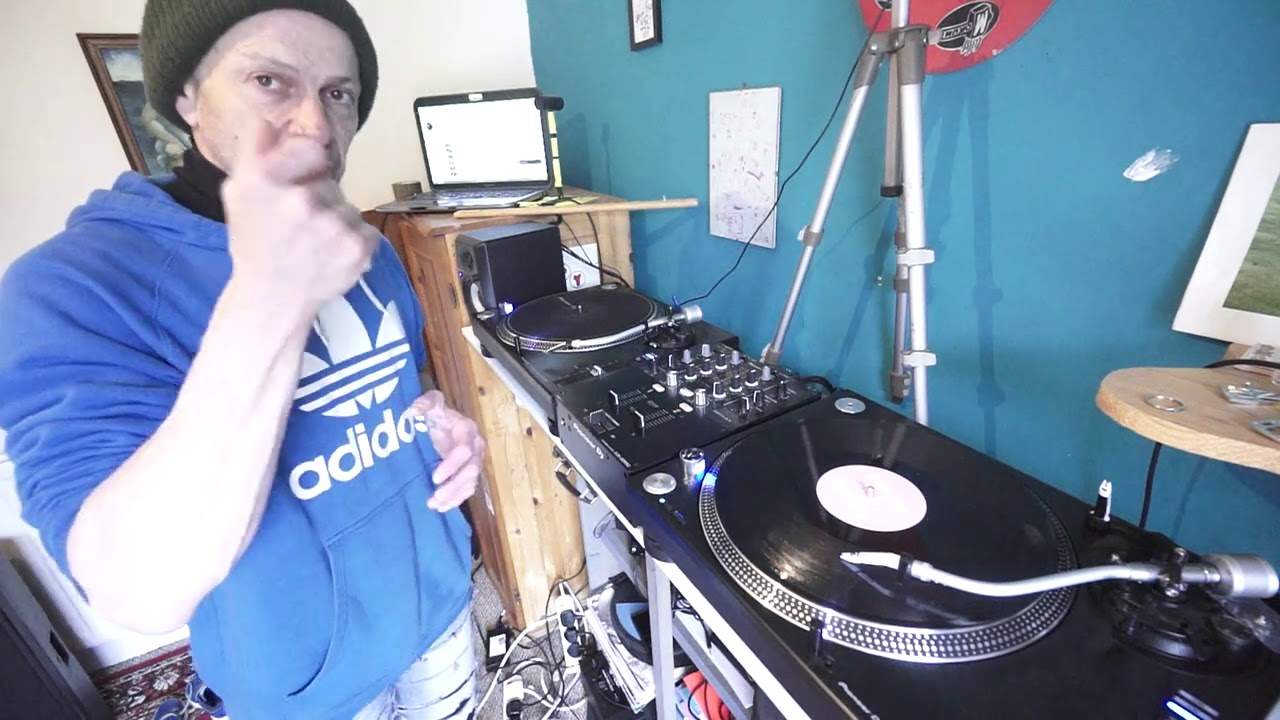
Cut that bit out, yeah. Ready? Three, two, one, action. Alright guys, my name's Jonathan Ellaskins, The DJ Tutor and I get loads of emails, people asking me about scratching, the very basics of scratching. So what we're going to cover in this video is the basics. What to use, what not to use, how to set up your mixer and so on. Now one question I get asked two or three times a week, yeah a week is what tracks can I use? Well the answer to that is anything really. Absolutely anything you like. But what you will find over time is that certain sounds do sound better than others. So really if I was to make that a little bit easier is you're more likely to find that mid and high sounds are better for scratching than low bassy sounds.
6:46 Crossfade
Simply because of what's known as the rumble that you get. So if you're familiar with vinyl turntables, whether it be real or virtual vinyl, you may find that as you start turning the volume up, you get that feedback, that rumbly sound and basically what it is, is the vibration from the bass speaker connected to the table which is connected to the deck, which is connected then to the platter, the vinyl and then of course the needle. You seem to get this cycle of vibration. Now I can't explain the exact workings of it. I'm sure there are physics and technical sides to it that I don't really want to go into because I don't know enough about it. But if you do get feedback when you're playing real vinyl it's because the PA system is, if I was to say it very simply,
2:54 I'm going to do is turn
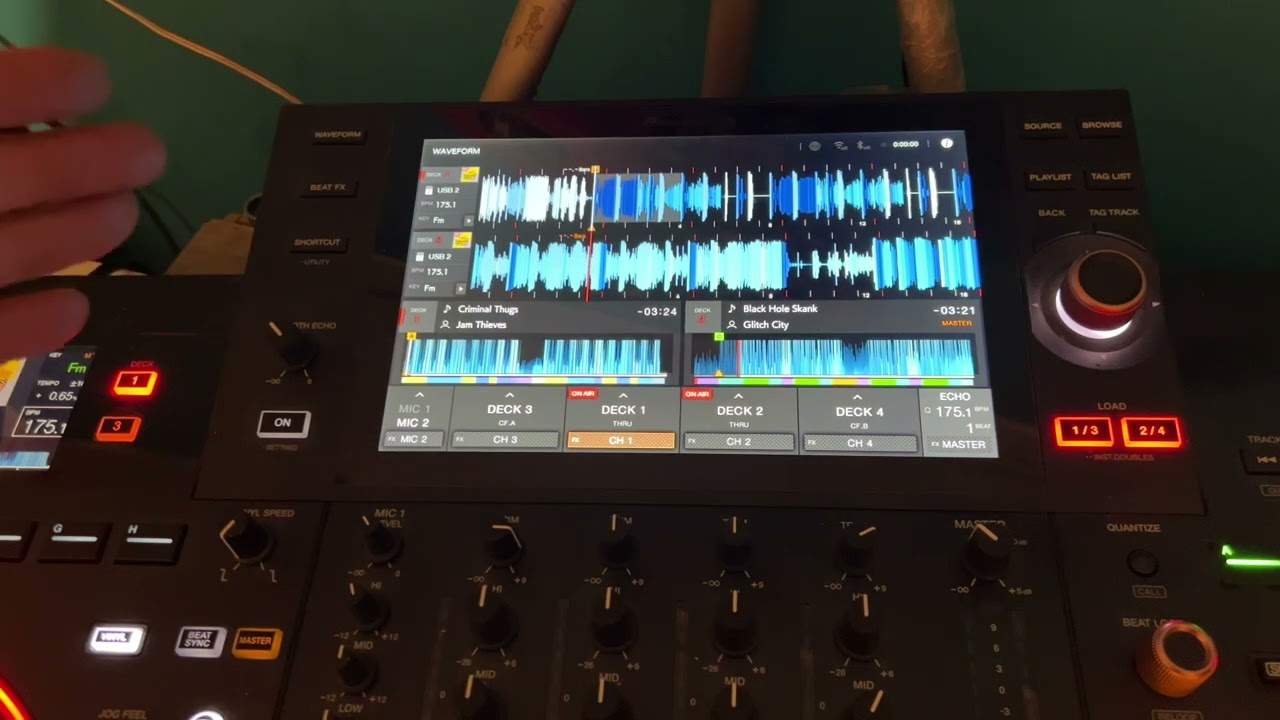
It's too close to the decks. So either move it away or turn the bass down. So the one thing I would tend to do with any sound or sample I'm using is turn the bass down so you get less rumble. Now on your mixer, your hardware or whether it's in conjunction with software quite often generally a mixer that is just the hardware you will be able to turn the bass or any of the frequencies off completely if you've got kill switches. Alternatively, you switch that over and you may be able to then decrease the bass, mid or treble by a certain amount of decibels. Normally it's about 26 dB and if you've only got about 26 dB that's fine you don't have to have complete kill. So again, just for demonstration purposes so I don't get mashed up
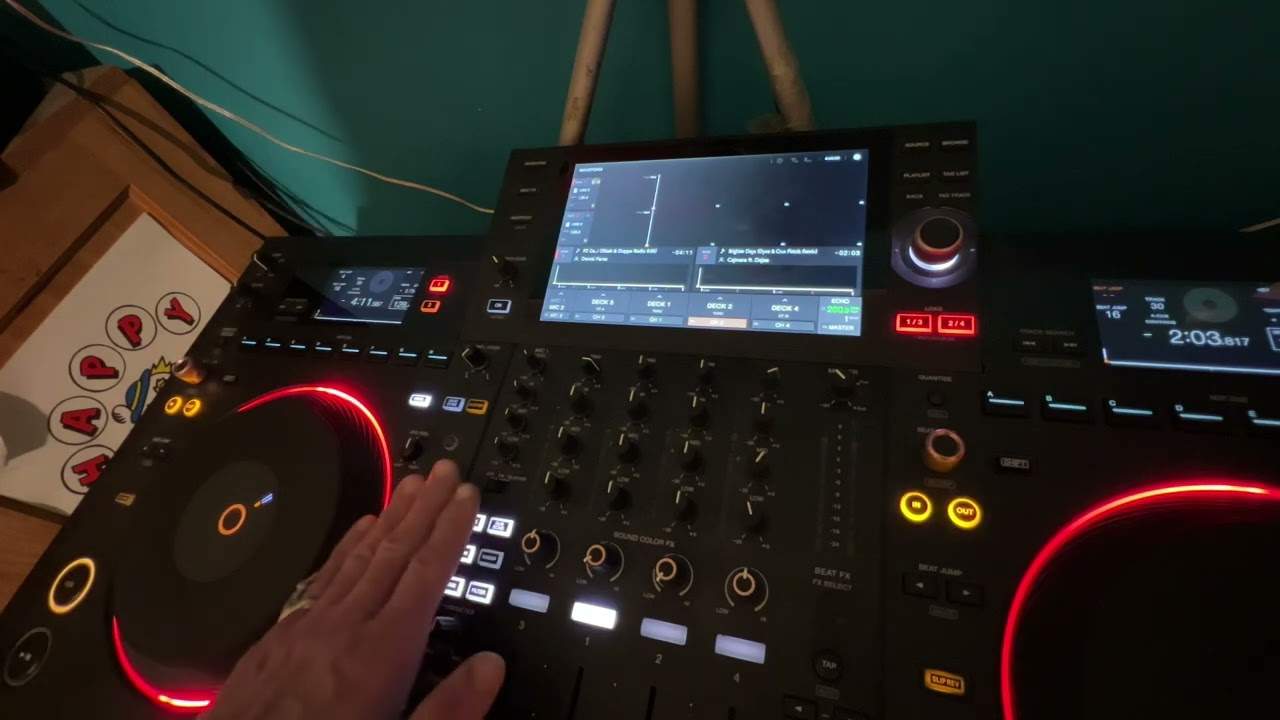
With copyright issues I'm just going to play a little bit of a sample of this track with the low on and then off. So that's with it on and that's with the low off on and off, there you go. Okay so the first thing I'm going to do is turn the low off. Now what you want to find okay as a beginner is a sound that seems to be prominent from everything else and generally you'll find that on the 2 and 4 especially if you're using house music so it's the snare sound so it's a ch-ch you want to find the high sound so let's do that right now turn the volume up there so I've got that sound that's what I'm looking for Now, I've turned the bass down and I'm now going to bring the camera a little bit closer and put the camera there
So what I'm going to do is is four moves and I'm going to hold the record so that's ready to go listen So what I'm actually doing is I'm bringing the volume up record forward volume down record back up, forward, down, back up, forward, down, back up, forward, down, back Now you'll notice as well I've actually got my finger on the vinyl so I am physically moving the vinyl What we can do is let the vinyl move itself So what I did there is I let the vinyl move by itself and then I moved the vinyl and then I did opposite move the vinyl, let it move by itself move the vinyl, let it move by itself So to begin with just so up forward down, back up forward down, back Now also what's happening is when I'm letting the vinyl move by itself
I'm imagining I've got this virtual magnet in between my fingers and the vinyl So as the vinyl moves I'm actually moving at the same speed and distance as the vinyl finger back on bringing it back up letting it move finger back on bringing it back Alternatively when I do have my finger on the vinyl that's when I'm able to change the speed of the vinyl by the amount I move the vinyl itself So what you have to bear in mind is that when the turntable moves the vinyl it will move it at a constant speed When you move the vi move the vinyl you can move it as fast or slow as you want so I can demonstrate that It jumped
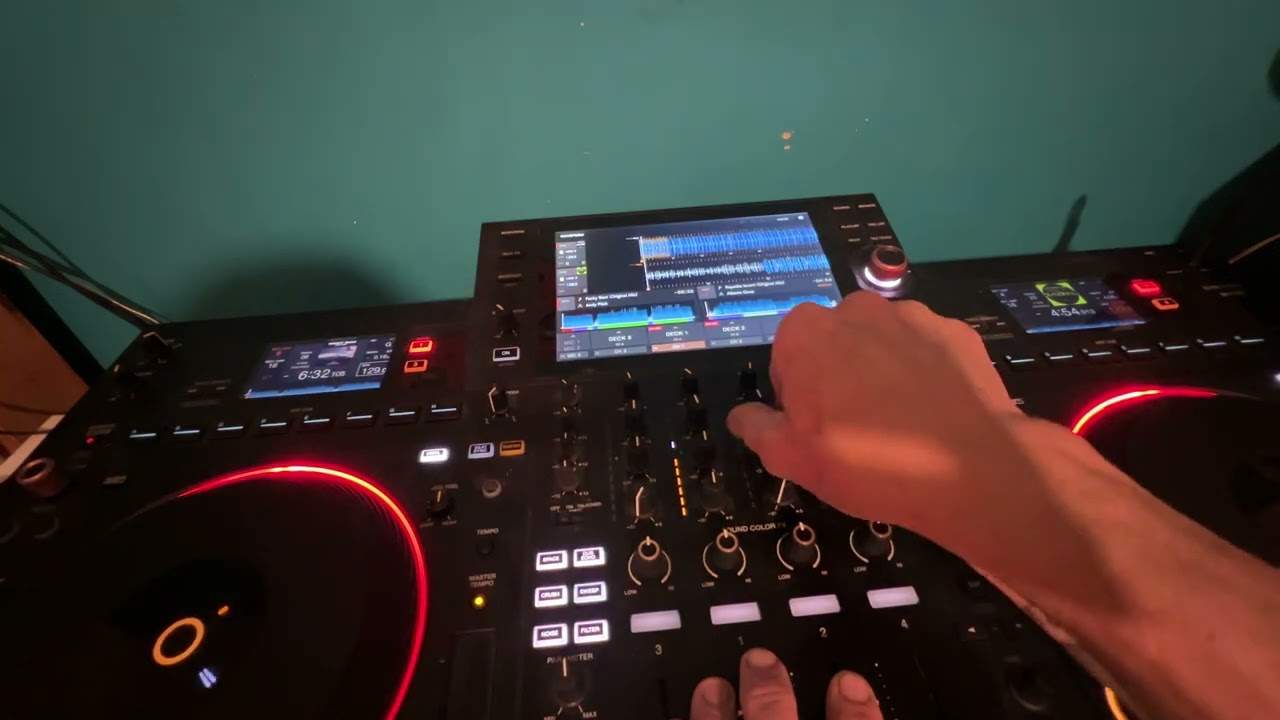
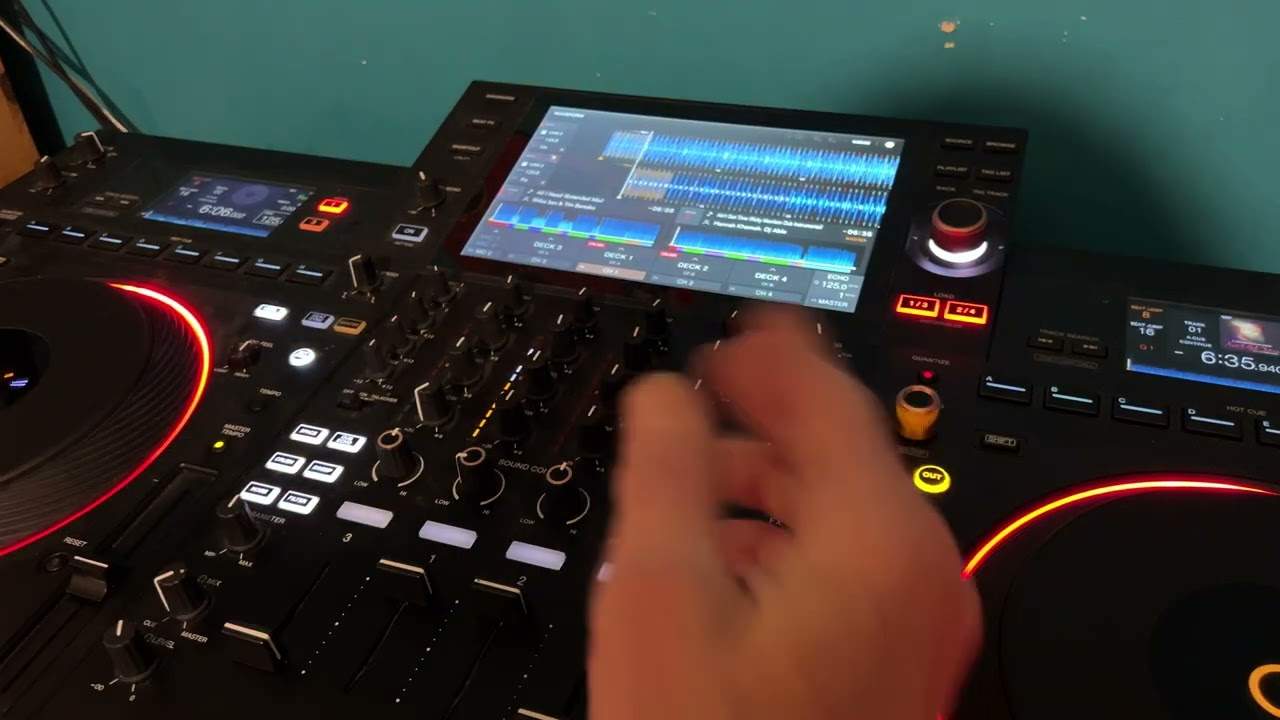
There OK So again it's for a beginner trust me when you're trying to do up or sorry you're going up on your volume forward on the deck down on the volume and back It looks easy but it's actually quite difficult for a beginner because you're doing alternative moves and what you tend or what you'll find you probably do to begin with is you'll be going forward together and back over the place So the thing to do is to do this very very slowly to begin with I can demonstrate that but do it slowly you're going to have to hold the vinyl so so there's my scratch so watch 1 2 3 4 1 2 3 4 Alright Now that's the up fader and it's exactly the same thing if we use the crossfade so so across forward across and bring back so crossfade over forward crossfade back bring the record back
And so on alright give that a go don't forget like and share the video like subscribe as well if you're not yet my name's Jonathan Elliskins The DJ Tutor and check out my myriad of videos I've been doing for quite a while including some very crazy nutty ones practice and enjoy thank you
This transcript was produced automatically from the audio of the video and may contain mistakes.