 7:49
Chauvet DJ Glow Totem How to Make Them Look Unique
Contents of the video
0:00 Welcome to video number two on the Glow Totem from Chauvet DJ
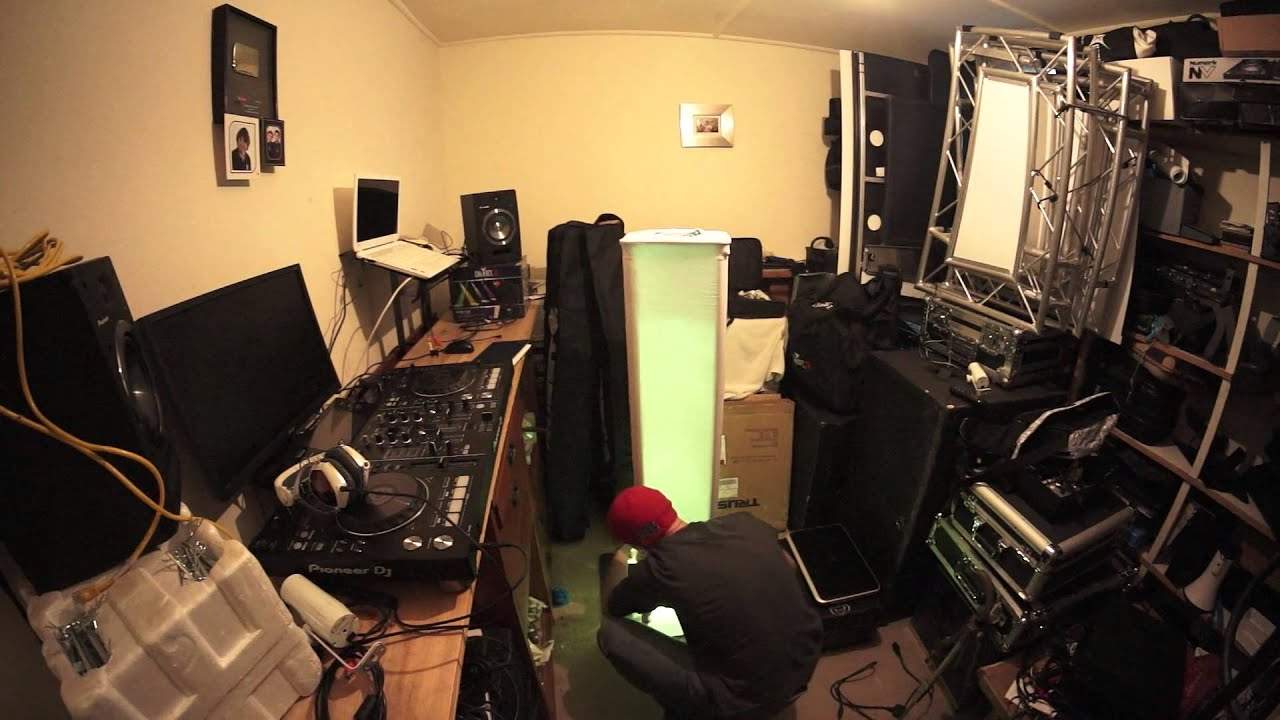
Alright ladies and gentlemen, welcome to video number two on the Glow Totem from Chauvet DJ. The Glow Totem I have behind me is the 1.5 metre version. There are one metre and also two metres. So your choice to step back into video number one. Yes, they're very professional. Yes, they are very well made. And yes, they will make your show stand out because they just look so good. In video number one I mentioned about maybe doing a few different things instead of just sticking an up-light in there. Everyone does that. I've got a down light but everyone may do that. Okay, first of all let me show you. I'm using one of these from Chauvet DJ. It's an Easy Pin IRC. If you haven't seen these before they're battery powered on and off the switch at the back and they're exceedingly bright.
So, very quickly as well, no cables. So you won't have any nasty cables showing. Now I do have the scrim on there as well so if you do have any cables on the inside and you fit them correctly you shouldn't really have any cables being seen, not even the shadow of any cables. So first of all I'm going to turn Easypin on. And there. I'm now going to turn the light off in here so you'll get the effect. There's the effect. Looks pretty good. What I'm going to do now though is I'm going to bring the screen down so you get a very kind of what I would class as a warm colour. Warm light. Not intense, not in your face. It's warm. This is not secured properly, so I've just put a couple of the clips in, that's it. Right, I'm going to put the light back on. Now that's stage one, okay? What I'm going to do now is get some tinfoil, aluminum foil, and I'm going to put that there, alright? Now this is stage two, so I'm going to turn the light off and I'm now going to bring the screen back down.
And now what we've got, is we've got... I don't know if you can see that with this lens. What I will do is... Ah! Why not just take the camera off? We're in HD mode here. Doesn't matter if it takes forever to do this video because it doesn't take very long to upload now. Right let's just reduce the power setting of the colour and you can see a nice kind of effect. On the scrim. Now, I'm actually looking at that and thinking, you know what? Red would look good because it would almost be like fire. In fact, damn, I should have thought of that in the first place. But never mind. OK, I don't mind. Right, what I'm going to do now is turn the light back up, put the camera back on the stand. And right, OK, so there we are. No, we need it a bit brighter.
3:30 I'm going to turn the light back on
That's better. Okay, so I'm going to turn the light back on. I'm now going to pull this up. I'm now going to remove my aluminum foil. I'm now going to get another easy pin and I'm going to face that up. It's going to leave it there. Okay, so it did stand still. Yeah, it does. There we go. All right, so that one on there, the one facing down, I'll show you, is secured. What I can see is a beautiful colour difference going from green through to a very subtle red, like a pastel colour. And again, I've taken seconds to do something like this. Literally seconds. So you've no longer got just one colour at the bottom going up. You've got two colours.
And you've got a beautiful mix in between those two colours that I'm quite sure you could not get with an uplight. In fact, you couldn't because an uplight is either going to be one colour or the other. Alright, so how have we fitted this? Let's have a look. Let's just pull this up. Set the bishop to the actress. Right, I'm going to turn that one off. There. And it's as simple as that. I mean, alright, it's not rocket science at all. That is very simple. Cable tie and that is it. You can see the green gel on there and then that is secured via there, that hole. Now of course these are really for attaching the main... There's nothing stopping you drilling another hole here or another two. Ideally, of course, you've got to loop it for your easy pins. Now again, I don't want this to start ripping these apart, but this is one idea I had. A very simple idea. Bit of aluminum there and that's it. So imagine if you had something maybe even more powerful at the bottom
How about this? A mirror, a concave or a convex mirror there. So the light hits and goes inwards, comes to a point or outwards. Just the possibilities are endless. Or even something like this. I mean, this would be a fantastic idea. A mirror ball base, okay? With the base of the mirror ball secured on a piece on a plinth. A small mirror ball there, light facing down and you've just got the reflection of the mirror ball inside your scrim. As I said in video number one, and I mean this, the only thing stopping you is pretty much your imagination. Think outside the BOX. Big shout to Chauvet DJ and Mr Geoffrey Shaw. Nice one my friend. It's a great... Piece of kit, alright? Seriously, it is pro high-end. Practice and enjoy. Thank you.
This transcript was produced automatically from the audio of the video and may contain mistakes.