 9:09
Dj help,Replace the pitch in a technics sl1200
Contents of the video
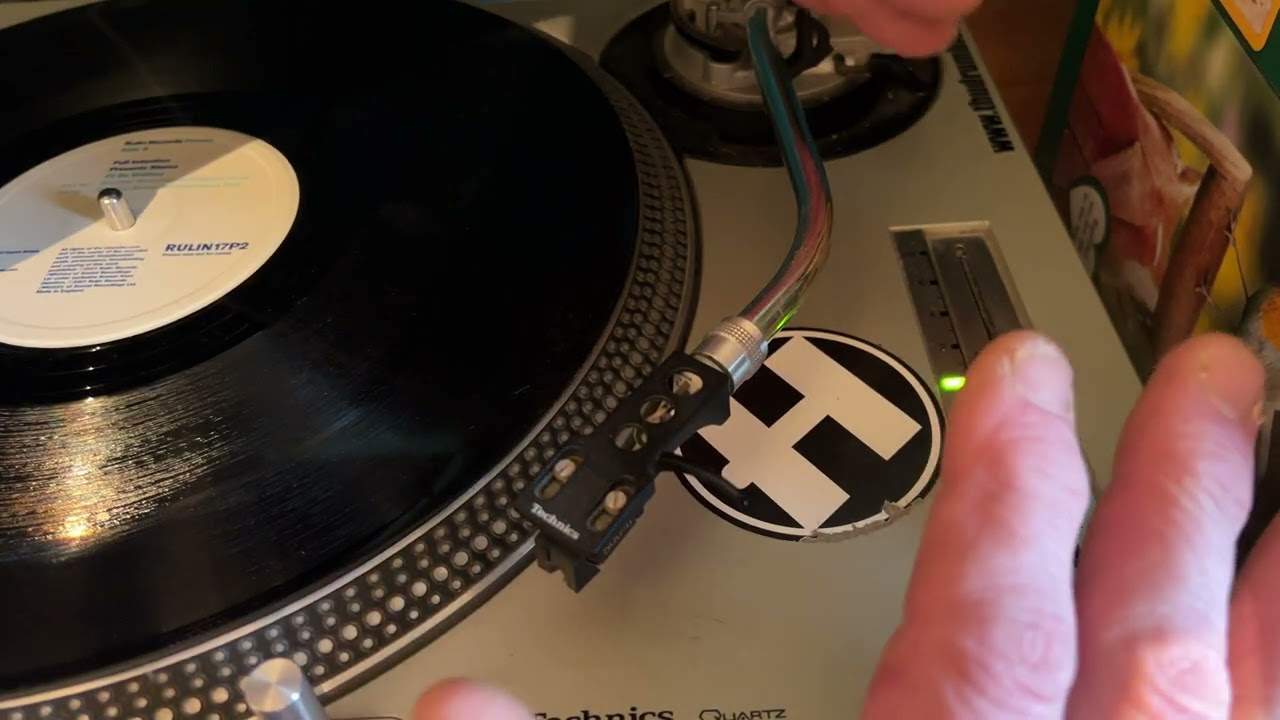
0:00 I'm going to change the pitch control, which is this thing here
I'm going to change the pitch control, which is this thing here. We're going to go inside and I'll show you how to do it. So what do you need? First, you need a pillow. No, I'm not nuts. You need some solder. You need one of these things, which basically pulls the solder out of old joints. It basically sucks it out. You can hear that. A soldering iron. And of course, logically, you need the new pitch control which can come either in that format on the actual circuit board itself or occasionally it'll just come in the format of the piece on the top. And most importantly, ladies and gentlemen, you need this. It's chocolate. OK, because it's nice to have a munch. Right, I'm going to stop and start but I'll edit it so...
2:24 You want to see is gently
Did actually forget, sorry. Dear brain. Screwdriver. Alright, once you've got everything you need, first things first, make sure everything's unplugged, OK? You do not want it plugged into anything at all. Now then, what you need to do, first and foremost, importantly, is pull it apart. And you take the weight off the back, you take your cartridge off the front, your slip mat off, and you'll see two holes here. What you need to do, put your thumbs in the holes and push down. With your index fingers, voila, the platter comes off. So that is very important. Because when you turn the turntable upside down, if you don't take that off, it'll fall off. Then, this is why you've got the pillow.
Bung the pillow on the deck and turn the deck over, like that. Therefore, you're not putting any pressure whatsoever on the arm, OK? Then... I make it look so easy, don't I? Yeah, you wait till you start. Two reasons. One is that you'll forget which screw went where, but also it's a good idea to keep the screws exactly in the same places so the corresponding thread will always be the same. The last thing you want to see is gently lift the base off. I mean, it may jump... I'm just going to make sure I know exactly what I'm doing before I say anything else and we'll start to get this little so-and-so out of speech. OK, what I've done now is... Can you see two screws down here?
4:45 Light, green, yellow orange
These screws, basically, one went in this point here, there, and the other one went in this point here. Okay, now then, I've got two options here. One is I can remove this circuit board here, attached to the pop control, the pitch control, take that out and then replace this complete unit here.
There's something on here at this point and also it's soldered in here. Now there's one, two, three, there's about ten solders there if I need to change this. The easiest thing for me to do is actually just to remove the pitch control, this part here, and get rid of this guy and then take this one off here and swap them over. So what I'm going to do... G'day. Had a bit of a disaster actually. Not a major disaster. But, thank goodness, this snapped here. Why it was, was simply this. On the edge of, if you can see, on the end of the actual pitch control here, these points here, they're tiny, tiny flat pieces of metal. Tiny flat pieces of metal that come through at these points. Now what they do occasionally, and I didn't notice one, is that when they poke through that thin hole, they twist them.
So if you imagine, it's going in and at the top they'll twist it very slightly. So of course even when you've got rid of the solder, it's still stuck in there and there was one I didn't see that was still twisted. Now luckily it doesn't matter for me because I've got this circuit board anyway. All it meant is I've had to unsolder the wires and then I've also got to unsolder the light here and this little guy here. I've taken this piece from the old circuit board and I'm now going to replace it. What I'm going to do is just put it in the holes that it was allocated for in the new circuit board, make sure it's in line there, and then what I'm going to do is just twist a tiny bit the top pieces of metal coming through, so that's relatively secure now.
7:01 Make sure your green light's in
As you can see it just there, I'm going to solder that in. Okay, okay, where are we? Let's just go back a bit. You can see two points there, that's where the actual pitch light will go in or the green light and then here you've got an area where I've got to put the cables which is, I think it was orange, what was it? It was yellow, orange, red and brown. So I've got to, prior to soldering the light back in, you'll need to fit This unit on here, so again it's just screw in there, screw in there. This part here is where the actual pew light, sorry not the pew light, sorry, the little green light on the pitch fits. And then just inside here you have the two small little legs from that green light and they will fit into here and you have to solder those in.
I'm virtually finished. As you can see, the wires are now in yellow, orange, red and brown. The little light is in. I've made sure that those two aren't touching. At this point in time, before you do anything else, just check it. Have a look. Prior to doing anything, see what it's like. You'll get an idea then of when you've done your bit of soldering, you should know if something's wrong. Looking at that soldering, it's not the best in the world, but then I'm not an electrician. I can do some things, but not everything. A pointer that some people completely forget. See this guy here? Easiest thing in the world to forget. Once you've fitted the pitch control in and the little green thing has gone in that hole down there. Hold on, let's move that out of the way. So you've got the green light in there.
And you've got pins as well actually, if you can see those pins where that just fits in neatly there and fits in neatly there. Make sure your green light's in. This guy here, make sure that is screwed down. That's very important. Make sure that screw is very tight. The one there is very tight as well. Now this is a point whereby I could save you a lot of heartache and a lot of money and a lot of worry. How do you tell that these turntables are yours? Let's say if your turntables were nicked and you said, yeah well I know mine because there's a cross on the underside. So first of all put a cross there. Inscribe it. It doesn't matter because no one's going to see under there. And now the guy who has nicked your turntables can say, I put that cross there. But, see this? This is on the underside. Write your name on it. I'm going to put J L and my postcode. That's my postcode. Okay, so basically now
If these were stolen and I looked on the bottom and noticed my cross, then I could say that's my deck. If the guy then said whoever had the decks at the time said no they're mine, they're mine, get the police involved and say look just unscrew all those screws because no one's going to do that. They might not have told them though. Unscrew all the screws, take the base, the plastic thick rubber base off, look there and no one can say it isn't yours because they're... Okay, aces on, so it's a case of get screwing. And bingo, done it. So if we look over there, we can see it's on, I think you can, there you go, it's on the green and there you go. So now if I move it, slow it down, nice smooth movement and forward, a nice smooth movement. So basically for the sake of a bit of sweat, a bit of heartache and half a bar of chocolate.
That cost me, that pitch control cost me £15 UK plus VAT. So about...
This transcript was produced automatically from the audio of the video and may contain mistakes.