 10:38
DJ Mixing Drum and bass with EQ Tutorial BY Ellaskins the DJ Tutor
Contents of the video
0:00 Using two tunes from the Talisman LP from Hospital Records from Whiney
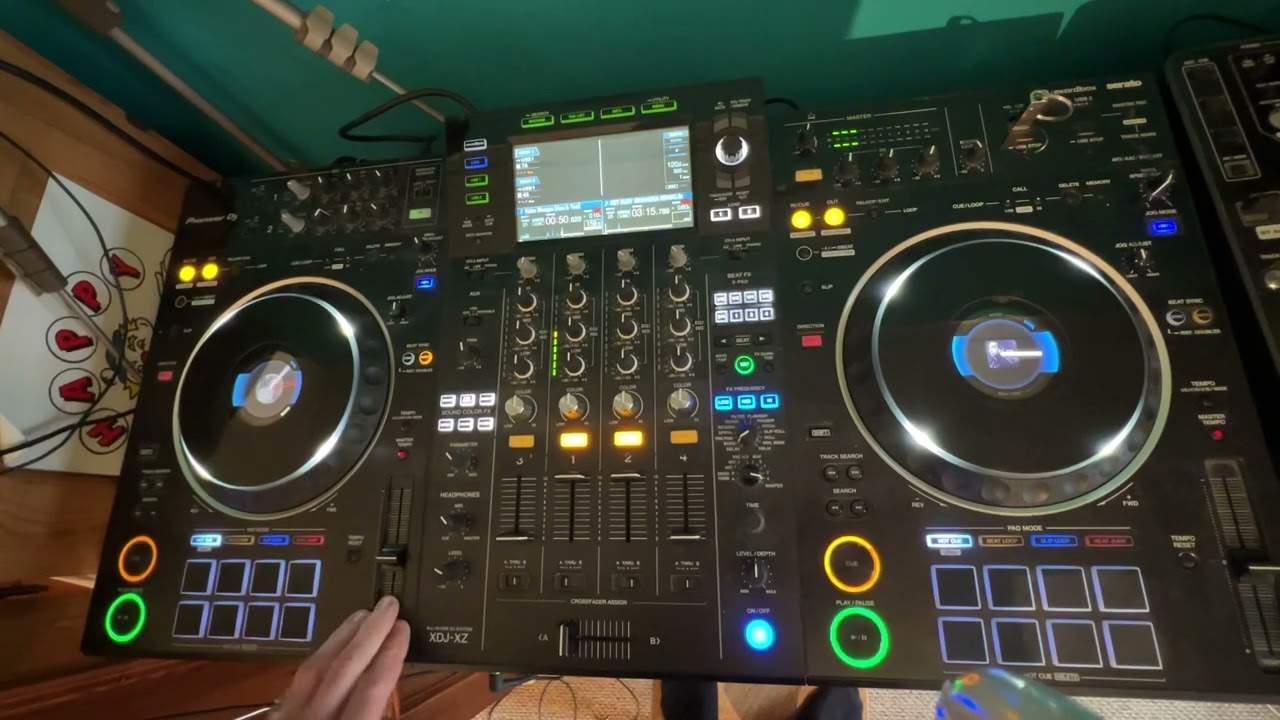
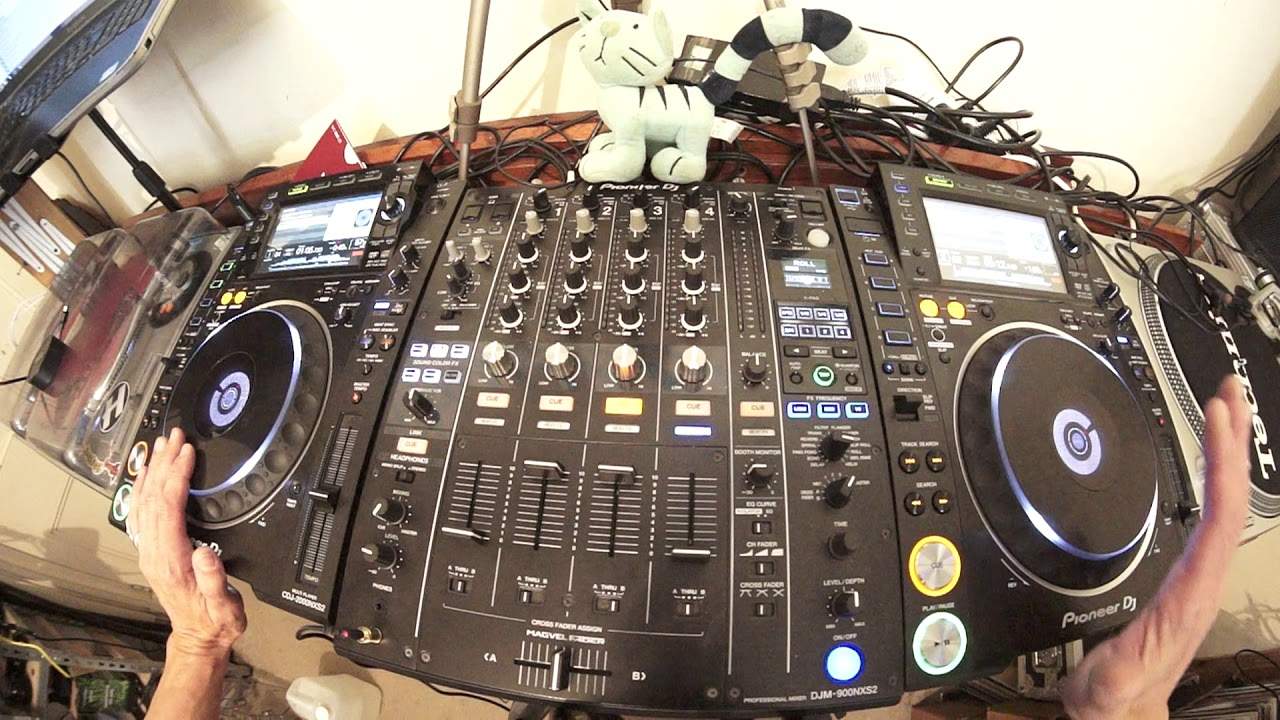
Alright guys, using two tunes from the Talisman LP from Hospital Records from Whiney. There will be information in the description on this LP. Go and check out the link just below. Alright, this video we're looking at a couple of ways of how we can use the EQ. Now, using EQ in a mix is pretty much, it's about the DJ, it's about the listener. There is no defined way saying you should or shouldn't use the EQ like this. In other words, it's about listening to the track. Every mix is different. Every way of using the EQ can be different. So it's about listening to the track. Maybe you want to highlight the mid, maybe you don't want to have so much bass, maybe the bass is overpowering on one, so reduce it slightly because, you know, there's too much there, reduce it and maybe the other side there isn't enough, compensate by putting the bass up.
The only rule I would always try and stick to with using bass, mid and treble is you're okay to turn the dial. Anywhere from the 12 o'clock position all the way to the 7 o'clock, because what you're doing is you're getting rid of that frequency. You're taking that SPL sound pressure level away from the system. You're not increasing it. So in a way, what's happening is you're not going to overpower the speaker. So by all means, you can turn those three dials all the way to the 7 o'clock position as much as you want, but be very wary about turning the dials the opposite way, because what you're going to be doing is you're going to be increasing those frequencies. So my general rule of thumb is I try not to move either the treble, mid or bass above about 2-2.30.
2:42 Maybe 2 o'clock, 1
When you start getting to 3 o'clock and above, you're just going to be putting too much of that frequency into the mix. Not only that, there's a lot of technology that goes on with high end kit and the likes of some mixers. And especially if you're working in a club environment, as soon as a compressor and a limiter senses that you're putting too much of one frequency into the system, they'll go, hold on a minute. There's too much going here. We don't like this. And what will happen is by your action of increasing, you will actually decrease the sound into the sound system because the compressor stroke limiter will be reducing the sound. So as you increase, they reduce. The more you increase, the more it reduces and you end up just getting very compressed, distorted sound instead of a good quality sound.
So once again, by all means, move it all the way to the 7 o'clock position. But maybe if you want to increase slightly, go to maybe 2 o'clock, 1.30, treat that as a max, anything above that. And you're going to be putting too much of that frequency into the mix. OK, so two tunes, one on the left is Rock Hopper, the one on the right is Archive. So what I'm going to do is just go to my first cue point here, which is at the drop. Give you an idea of the track. Now I do have another cue point that I've set at the next phrase. OK, so this is Rock Hopper with the bass, mid and treble set to 12 o'clock. Let's have a listen to Archive with the bass, mid and treble exactly the same position set to 12 o'clock.
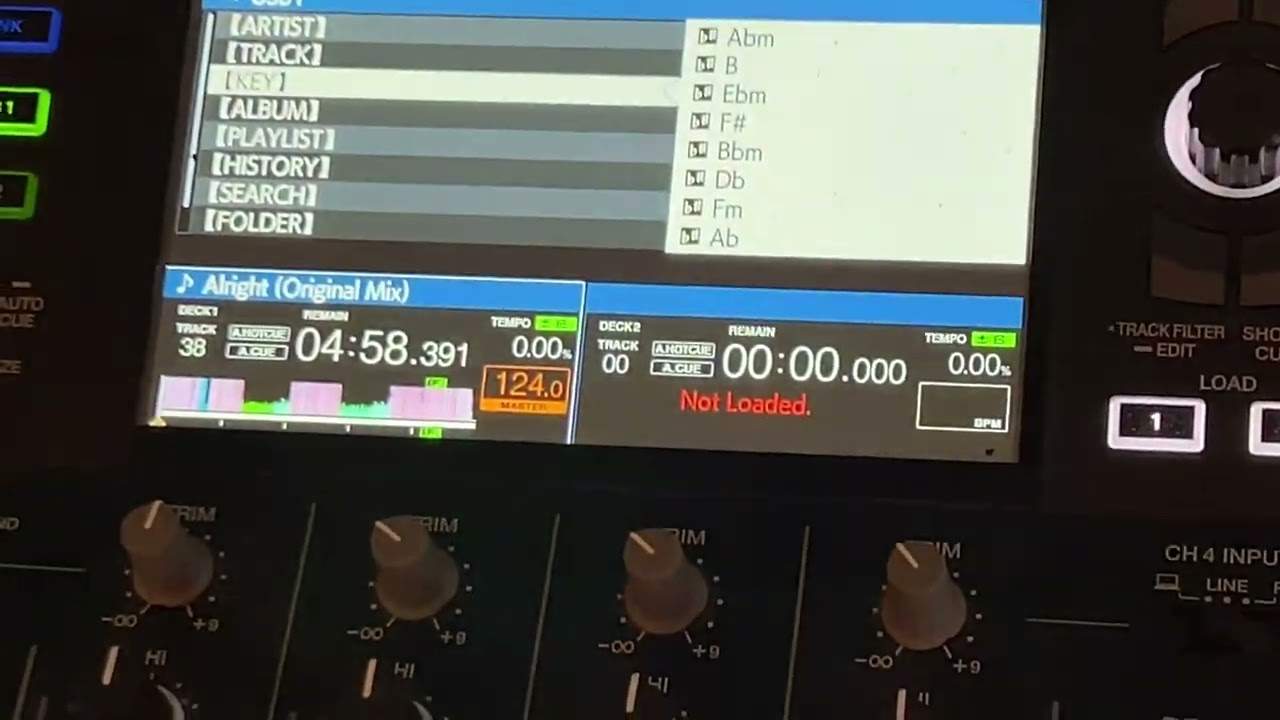
Now I'm now looking at the LED on Archive. I'm going to go to my cue point with Rock Hopper and straight away there's a difference in the LEDs. For the partially sighted, I will explain. The Archive track, the LEDs are not flashing as high as the Rock Hopper. Now they are. Now that tells me at the beginning of Archive, there is a lower volume coming into the mix. Even though the two volumes were up at the same position, the volume on the right-hand side is a lot lower. So what we can do if we want to, we can increase the trim. So by increasing the trim, we're increasing the overall volume input on that channel and I'm going to increase the trim so it matches the same level as the left-hand side at my cue point.
5:21 My cue point there which
So there, just press play. On the right-hand side, trim up a little bit more and now they're matched. Of course if I wanted to, I could decrease the left-hand side and not have to increase the right-hand side. Now the LEDs are around about the same place but because now the right-hand side has come into the drop, we're in the red now so we've got to be very careful there. We've got to make sure that when we get to that position, if we're going to use this way of mixing, we need to reduce the trim down very quickly so we don't go into the red. Just remember this, red is dead. OK, so let's go back to the mix. So I'm going to go to my cue point there which was the beginning of the next phrase. Now because the beginning of archive is quite a low volume,
A couple of things I can do here. I could maybe increase the mid and increase the trim. I could increase the treble because there's no bass here so there's no point increasing the bass because you're not going to increase anything. Have a listen. There, I've increased the mid and the treble so that's just highlighted very slightly. Five, four, three, two, bang, we're straight in. So now at that point there, I may want to then reduce the mid and the treble back to this 12 o'clock position. Also, the left hand side, based on where the two tracks will mix, I may want to decrease the bass on the left hand side or the middle, the top again. It's about the tracks. Like I said, it's not you don't have this format where in out in a shake,
You know, sorry, it's about the music. The music should give the expression and the expression is about the feel, the feel, the vibe, the energy and so on. And you're in tune with that. So you should be able to determine where the mid comes in, where it should be a little bit higher, take the bass out. You don't want bass lines overlapping and so on. Right. So this is my cue point here on the left. Go back a little bit and get ready. Right. So I'm on the right. I'm going to bring it in, in phrase. Slightly out of time there. Slowly bringing the volume up on the right.
7:54 I can filter the left out and straight out
I'm going to trim down on the right.
I can filter the left out and straight out.
OK, now I don't know if you noticed there again for the partially excited. I did not touch the bass at all because as soon as the bass line started on the archive track, Rockhopper finished its bass line. So the drum pattern finished and we were left with that melody just to drift the track out. So by default, there was no need to touch the bass because as soon as one started, the other one finished. On the other hand, let's go one phrase further into the track.
OK.
Got bass line on the left. All I've done, reduce the bass on the left hand side. Put it to 9 o'clock position. On the left hand side. Filter the left hand side.
Filter it out. Straight out. OK, I hope that's been a help. Now again, drum and bass is very formatted in phrases. Just try to remember most phrases in drum and bass are always 16 bars. OK, Talisman by Whitney. Practice and enjoy. Thank you.
This transcript was produced automatically from the audio of the video and may contain mistakes.