 4:21
DJ Mixing Tutorial Virtual DJ Looping and Adding an Effect
Contents of the video
0:00 How easy it is to form
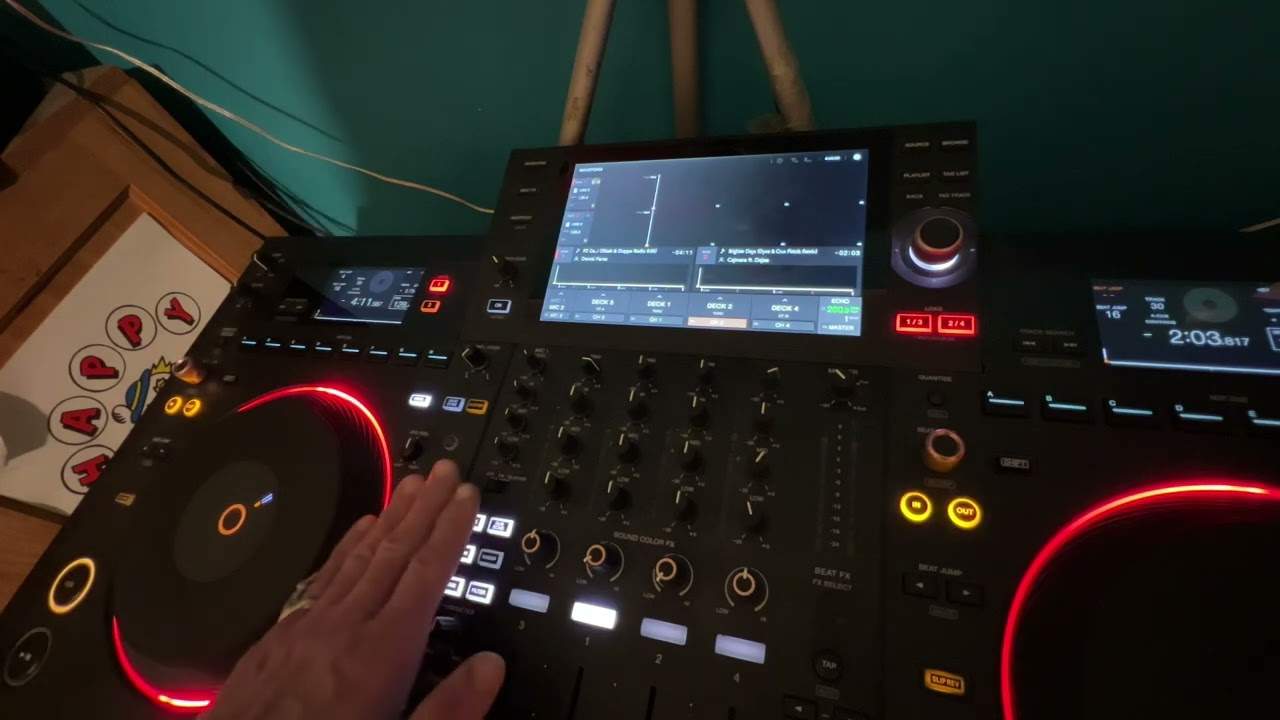
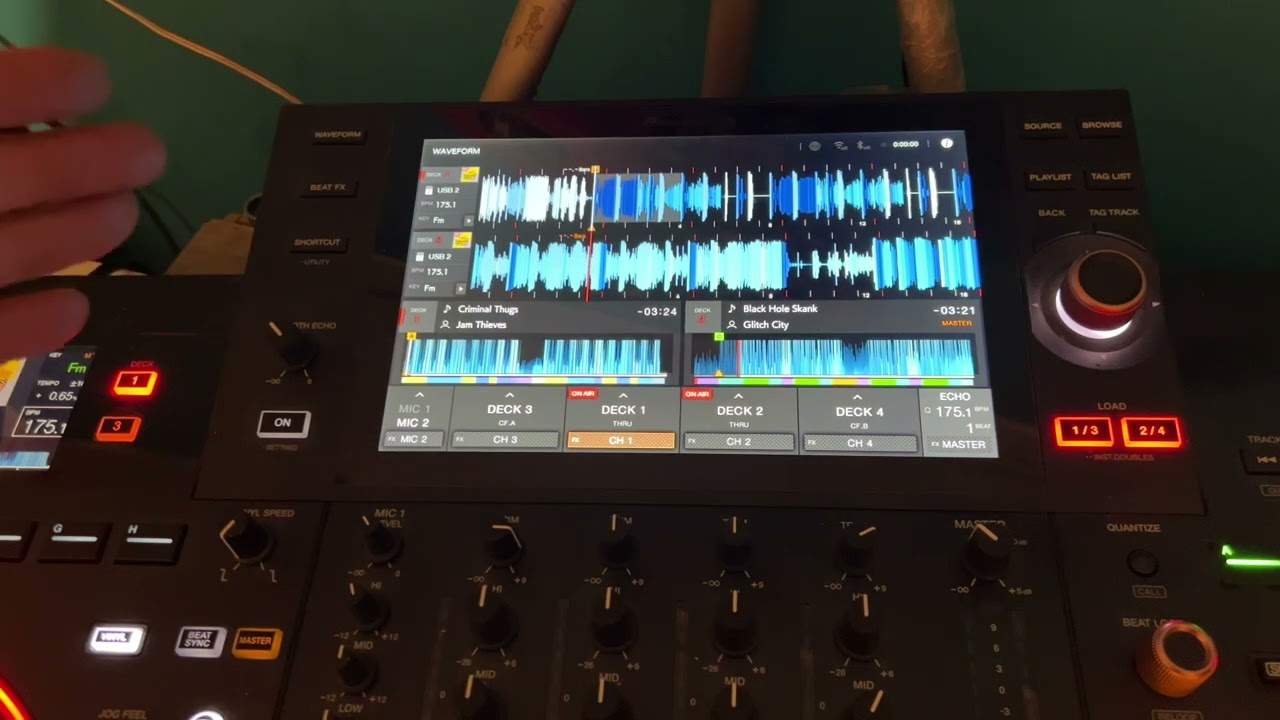
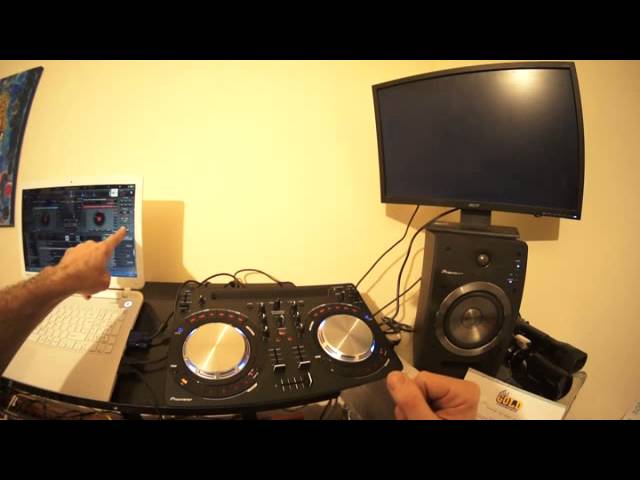
Alright ladies and gentlemen, in this video I'm going to show you how easy it is to form a loop on the WeGo3. Pioneer WeGo3 in front of you, right hand side is the screen we're using video, and on the left hand side we have VirtualDJ. The right hand side of the WeGo3 is in relation to the right hand side of the program, the left hand side of the WeGo3 is in relation of course to the left hand side of the program. On the right and on the left hand side Far left hand side of VirtualDJ we have our effects area and also, there's a lot more to it, but also what we can do, we can use the loop. On the WeGo3, the bottom part below the platters is cue play pause, hot cues, also we can use these for samplers, sampling parts of the track. Above that
1:13 Let's play the track
We have auto loop and we have our effects. Now let's say for example you are a mobile DJ, you're playing the three and a half minute tracks but there's a point in the track where there is a substantial break but it's not long enough to do a mix. What you can do is you can loop that break letting you then mix in the next track. So in other words you haven't got sort of like two or three or four bars, you can have as many bars as you want so longer as the loop is playing. So let's play the track. We've got Urban Cookie Collective, The Key, The Secret. It's a bit of an old school tune. Just get rid of that effect. So here now on the program itself I can increase or decrease the loop. So pause that again. Where the platter is from left to right we have half loop two times then we have effects one, effects two, effects three. What we're concentrating on
Where the platter is, left hand side, the next one along from the left we have loop. So if I engage that, we will straight away have a loop. What I need to do though is make sure that the loop is long enough or short enough for what I need. And even before I press that, if I look here where my finger is, OK you can't see it, I've got a wide angle lens because I want to show everything here. We are increasing the loop, we're doubling it all the time. So every time I press that, it goes from 2 to 4 to 8, 16, 32, 64 and so on. If I press the button that is far left, we can halve that to 64 where my finger is, it's not on 32, 16, 8, 4, 2, 1, half, quarter, eighth and so on. But you know, we don't want eighth, we don't want it to...
2:37 Effects 1, of course
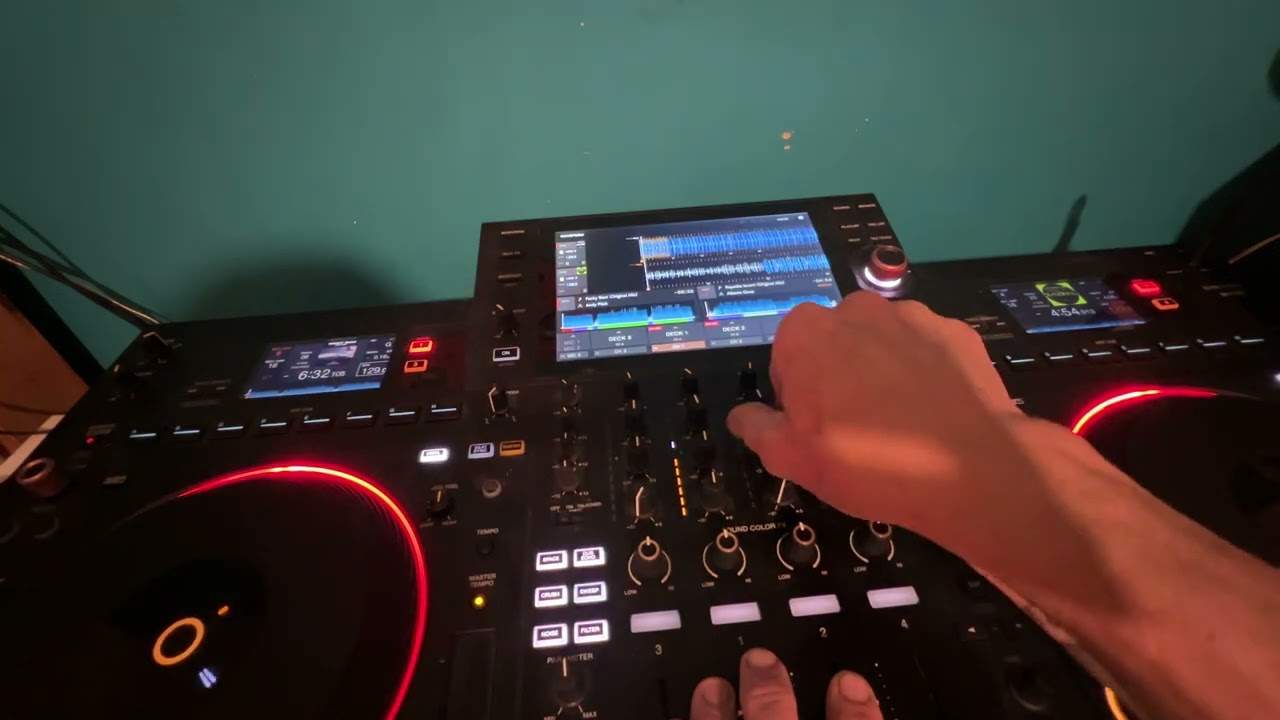
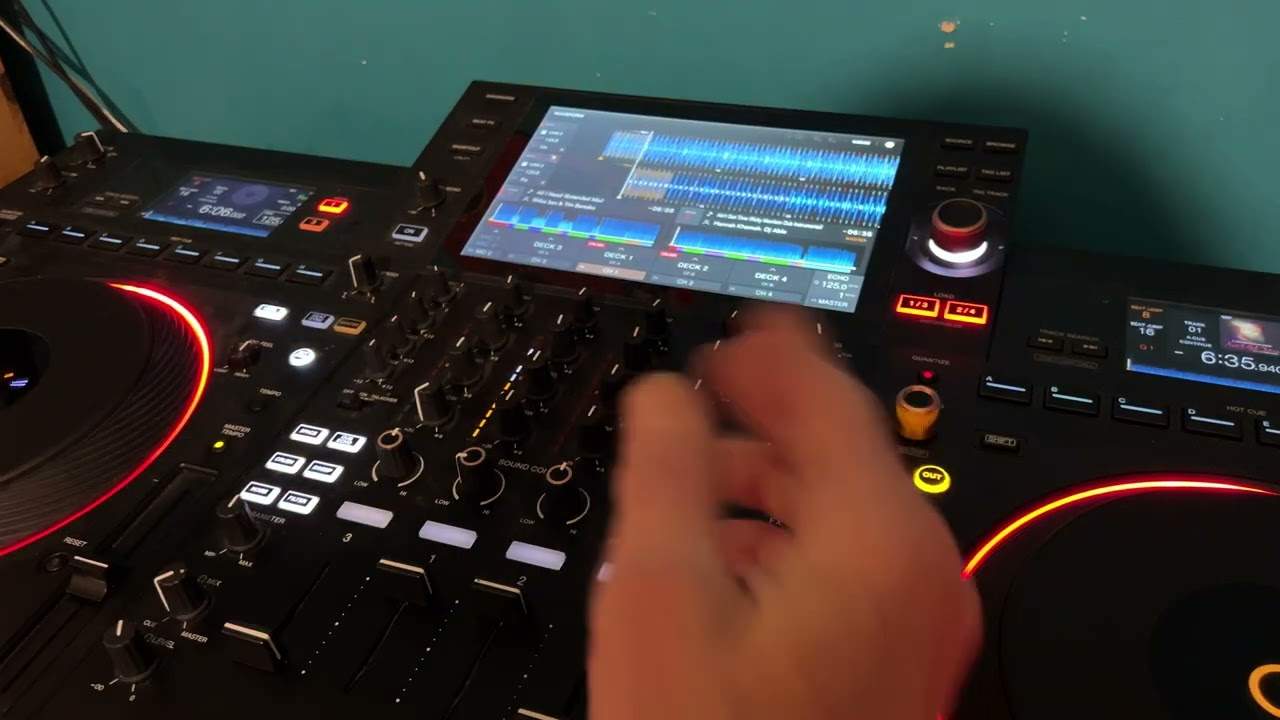
I've got a loop. I'm going to hard form... Alright, if I want to now, I can add an effect over that loop. Okay, so I'm going to go to effects 1, of course... You can set the effects to the buttons here, we're not going to go into that yet, but I'll just press 1. So we've got now an effect over that loop. So by forming a loop it gives us time if we want to mix the next track in. And you'll notice as well on the WeGo 3 the loop icon there is flashing telling me that we have loop engaged. Also the effect is flashing. Take the effect away, press loop. Again, and we're now out of that loop. Alright, I hope that's been helpful. Practice and enjoy. Thank you.
This transcript was produced automatically from the audio of the video and may contain mistakes.