 5:34
How to scratch, for a complete beginner
On YouTube this video is called Dj tutorial : How to scratch , for the beginner,1;
What this lesson teaches
This is the first scratching lesson and it is the most watched thing he ever made, which is worth knowing because of how unambitious it is. There is no scratch in the first exercise at all.
What you need first: a sound
You cannot scratch music. You need one short sound you can find reliably and hear clearly.
An acapella - a passage with only a voice and no music behind it.
A break or sample record. These exist precisely for this: discs with nothing on them but isolated sounds. The classics are the ones everybody knows from hearing them scratched - one, two, three, break, or the ahh and fresh samples.
The requirement is that the sound has a clear beginning, because the beginning is what you will be finding over and over.
The first exercise
Find the start of the sound. Then:
Let the platter carry the record forward so the sound plays.
Put a finger on the record and pull it back to the start.
Forward. Back. Forward. Back.
That is it, and that is deliberately all of it. The platter is doing the forward motion and you are only doing the return.
Why start there
Because the thing being learned is not a sound, it is finding the start point by feel.
Everything in scratching depends on being able to return to the same place every time without looking and without listening for it. Until that is automatic, every more advanced move will land somewhere slightly different, and you will think the problem is your technique when it is your positioning.
So you do forward-and-back for a while, with no attempt to make it sound like anything, until your hand knows where the sound begins.
His framing
He acknowledges that any turntablist watching will find this absurd, and makes the case anyway: there are people who have no idea at all, who look at a scratch DJ and cannot work out what is happening.
Starting there - rather than at the first recognisable technique - is why this is the video a million people watched.
Contents of the video
0:00 This is hopefully your very first lesson on scratching
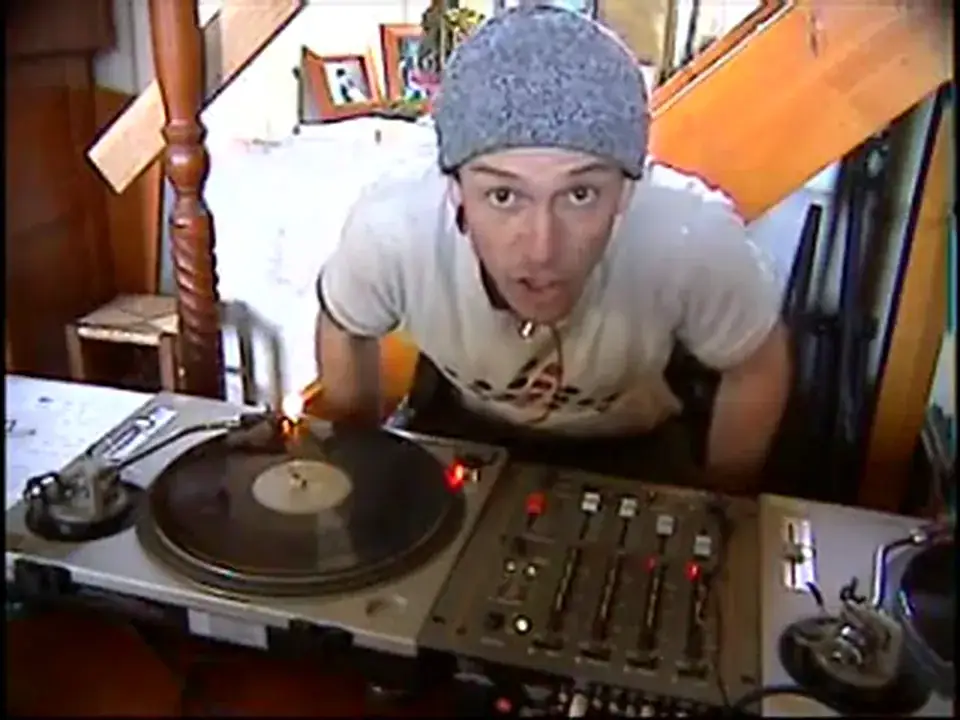
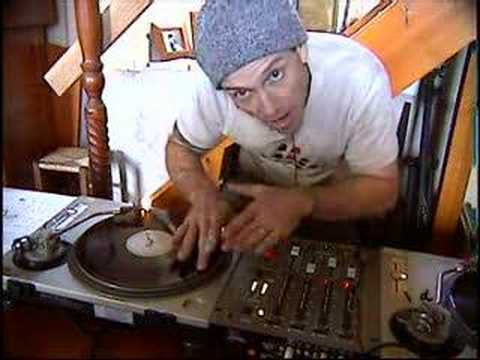
Alright folks, this is hopefully your very first lesson on scratching. The first principle behind scratching or the first lesson you should learn is just basically four movements. The initial one, we're not going to actually do a scratch. What we're going to do is we're going to be moving the record forwards and backwards. Anyone who can do scratching or is a magic turntablist You may think this is a bit wacko, but then again, you have to think. There are people out there who have not got the foggiest, okay? They look at you and they think, what the hell are you doing? And believe me, I look at you and I think, what the hell are you doing as well? I admire you, it's brilliant, okay? What I'm going to do is show the total net of beginner, four moves, which is the basis for starting to learn to scratch. Okay, you get your record. Now first of all, what do you need? What sounds, okay?
1:40 First practice, four moves
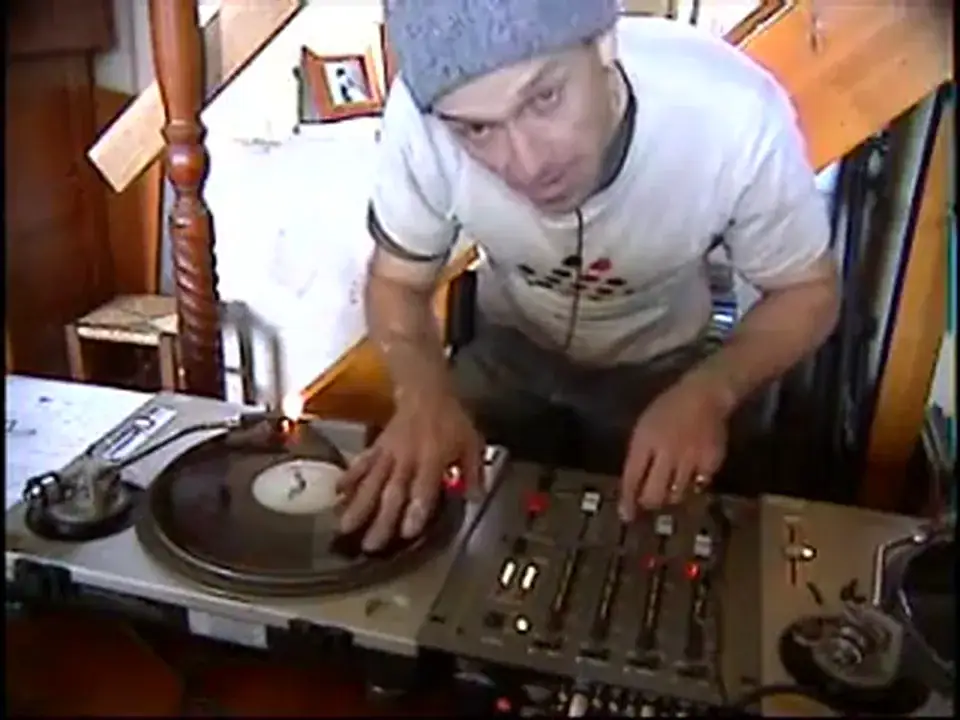
You can actually use virtually any single sound, okay? Ideally acapellas. What are acapellas? They are parts of the record or CD where you've only got someone talking or perhaps someone singing with no music. The other one is you can use sounds. You can actually buy CDs and you can buy vinyl records with just what are called breaks on, and quite often there's one or two tracks where they've just got something called samples, and that's what a lot of DJs will use. You'll hear them say use 1, 2, 3, break. That's just on the record. There's nothing else there. That's all there is. 1, 2, 3, break. Or the fresh sound. What I have here is this. Now then, first practice, four moves. Find the beginning first. Volume up, find that beginning, okay? Now you'll see a lot of DJs, what they have is a piece of paper or something with a line across it. Piece of paper in the middle of the vinyl. Now that is actually showing them whereabouts, the precise places where that scratch starts, okay? I've got a tiny black line there which is roughly where I know to start. So, get hold of the record.
Where do you touch the record? Where do you hold it? There are different places. The ideal place is in the middle, one finger or two. It doesn't matter. There's no need to put your hand flat. That's for future lessons. Some people, they'll move along the side of the record here. One important factor though is when you're actually starting to scratch, what you shouldn't do is you should not at any time try and slow the platter down. If you can see, I'll show you. My finger here is on the record. The platter is still moving as it should. The more pressure I put on that record, the slower the platter will go until eventually it will stop. You don't need to do that. You mustn't do that. The way of touching the actual record, okay, is so the platter is moving freely. In other words, as soon as I left my finger off the record, it doesn't slowly go from 33 up to 45. It's almost, sorry, from still to 33 or still to 45. It's almost instantaneous. It just goes straight up as opposed to going... You know what I mean? Okay? So volume up and find the place.
3:53 We'll do it fast
Now then, four moves. Volume up, lift your finger off the record, okay? And follow the scratch with your finger. You lift your finger up and your finger goes with the record. Grab it back, volume down, pull the record back with your finger. I'll show you. Up, find it here, across with the scratch, volume down. Record back, okay? We'll do it fast. Okay, what am I doing? Number one is volume up. Number two is take your finger off the record, okay? This is all number two and as the scratch is the sound, you can hear the sound as that's actually playing, you need to have your finger above that precise point. If you imagine two magnets and your finger is one magnet... The record is the other, okay? And they're stuck, okay? You move exactly the same speed, the same place as the record is moving. As soon as the volume, sorry, the scratch or the sound finishes, you put your finger down on the record, okay? You stop. Then, the third one is you put the volume down. The fourth one, you bring the record back, okay? Now then, what I'll do, I'll put a sound on and we'll do exactly what I've done.
Okay, nothing else just that. Here we go. Okay, lesson number one. I hope I've been a help. Practice and enjoy. That's what it's all about. Bye-bye.
This transcript was produced automatically from the audio of the video and may contain mistakes.