 8:54
DJ Tutorial, How to set the X fade.
Contents of the video
0:00 Exactly what the crossfade's about
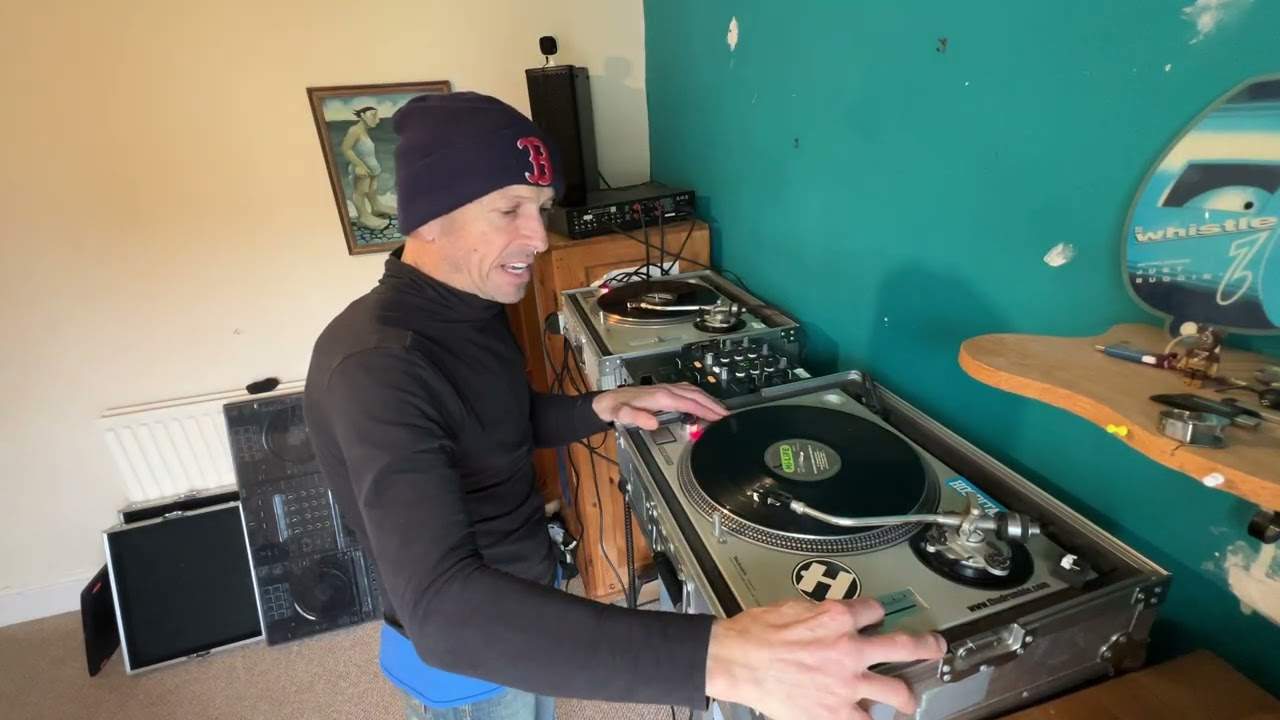
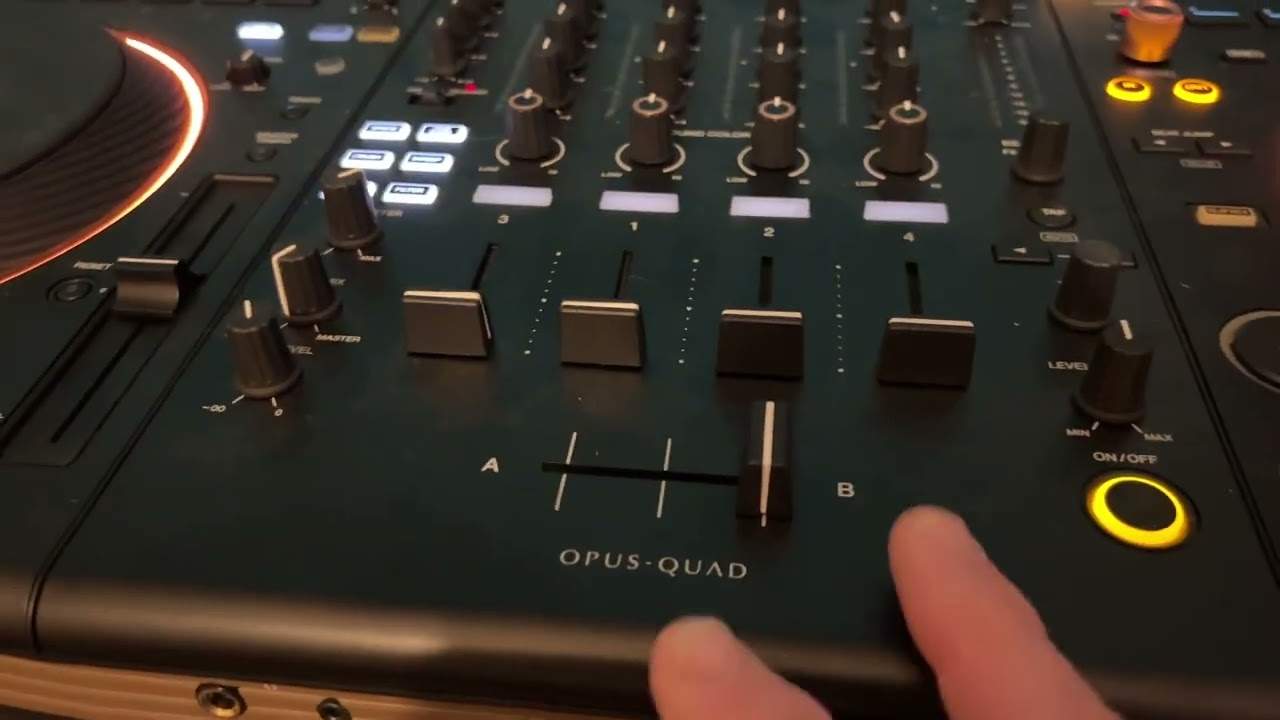
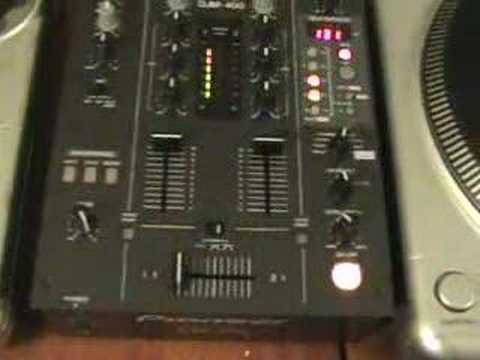
Alright folks, a lot of people have asked me to do a few more tutorials on the crossfade feature of a DJ mixer. So what we'll do, I'll show you exactly what the crossfade's about and then we'll do a bit of a mix, okay? So hold tight a second. Alright now first of all this particular mixer has got three features. Through, and then you can see across, and then you can see this here which is basically a straight line and then you've got two other straight lines at angles coming to almost towards the centre. Now through, what that means is that when this button here is set to through, it means crossfade isn't used at all. When it's set to the centre, what it means then, is you've got a smooth transition from one channel to the other. In other words, you've got a nice smooth transition from this side, in other words, crossfades on this side, on the left-hand side, you will only hear left-hand side music. As you slowly take the crossfade over, the right-hand side will slowly come in, it'll get louder, louder, louder until at the centre point,
You will have exactly the same volume of music from the left hand side and exactly the same volume of music from the right hand side. As you then move the crossfade to the right, the left hand side will start to disappear at the point where you get all the way over and you'll only have the right hand side. Now the difference is with that particular point here, this small feature, what happens is we'll go back to this side here. What happens here now is we can only hear the left hand side. As we slowly move the crossfade over, the right hand side will slowly start to come in. But at this point now, the right hand side is full volume. The right hand side is still full volume along with the left hand side which is still full volume. At this point here, the left hand side will slowly start to disappear and the right hand side will come in and that's it. When I say the right hand side will come in, the right hand side has always been there.
2:21 Basically the reason for these two features here is as follows
The right hand side, basically you can hear from that point all the way over to that point and then if we have the crossfade here, we can't hear the left hand side which is this side here but we can hear the right hand side which is here. As we slowly move the crossfade over, the left hand side is slowly coming in and at that point the left hand side is in fully all the way through to that side. Right, just bear with me a second. Right, now basically the reason for these two features here is as follows. The middle one where we have a cross is utilised mainly for people who want to do smooth mixing. In other words, you want to have a nice smooth progression from the one side through to the other. So you want a nice smooth mix. When we knock the actual crossfade over to that side where we've got this feature here, what happens there...
Is ideally that's for people who want to do cutting and scratching. In other words, what they want to do is as soon as they move that crossfader a tiny bit over, they want this side to come in. So in other words you're doing this, you go like so. Now then, what I'm going to do now, I'm going to show you the difference between using the one actual function which is this, which is mainly used for actual turntablists And then the one in the centre, which is mainly used for mixing DJs. So I'm going to do exactly the same mix and you'll see the difference and why it's a good idea to have the smooth transition from one side to the other for mixing purposes as opposed to that side there for turntablist purposes, for cutting and scratching. Alright, so bear with me and we'll give it a bit of a demo. Hold tight.
4:19 Actual crossfade and I want you
Right, just to let you know, the two tracks I'm going to be using, I'll give you all the relevant information on the tracks in description, OK? Right, now what we've got the actual mixer set at is ideally for turntablist purposes, but we'll just do a quick demo. Now, I haven't got any headphones on, so you'll have to bear with me, OK? So you notice now the crossfade is on the left-hand side, so we'll start the left-hand deck. And then what I'm going to do now, I'm just going to automatically cue this one up ready. Get it ready. Right, we're there. OK. Right, what we really need to do now is concentrate on the actual crossfade and I want you to listen to the actual sound and listen how it comes in so abruptly. It's like there in an instant. Okay, right, what we'll do now, we'll do that again but this time we're going to set the curve to the centre position which is ideally the position you need it for mixing purposes. Okay, hold tight. Alright folks, now this time I'm going to use headphones, alright?
7:25 You've got 1, 2, 3, 4, 5 up to 100
Now just listen to the sound and we'll talk about it afterwards. The reason we set the curve to a smoother point is because when we actually do mixing, we want one track to slowly disappear out and we want the other track to slowly come in with mixing. When you're actually cutting, scratching and say if you're a turntablist, you don't necessarily want that to happen. You want one track to stop. And the other one to start. You want an abrupt finish and end as opposed to mixing, you want a nice smooth glide from one to the other. Now of course bearing in mind when that actual crossfade is at the centre point and the curve is crossed over like that, what that basically means is you've got 50% of one track and 50% of the other in dead centre of the actual crossfade and slowly as you move it over, if you imagine
100%. That's 100%. You've got 1, 2, 3, 4, 5 up to 100. Well of course you're moving from 1%, 2, 3, 4, 5 up to 100%. Now when the actual crossfade is set for a turntablist it's not 100%. There to there is maybe 100% and in the middle it's almost exactly the same. The two tracks will be playing exactly the same. That's why you see, if you look and you can see a turntablist doing this, alright? That's known as the crab. What they're doing is they're only moving the crossfade a tiny fraction. Let's say the crossfade is that amount. They're moving it that much because they know as soon as that crossfade moves a tiny bit, they're going to get the full amount of the other track, the full volume of the other track, okay? I hope that's been a little bit of a help.
Any more information, any more comments, well post comments but just any more information, you know, send us an email. Thank you and as usual, practice and enjoy.
This transcript was produced automatically from the audio of the video and may contain mistakes.
Related videos
-
Complete Beginner DJ Lessons Tags Key BPM Etc
A more advanced lesson folded in early, and worth doing once rather than putting off, because everything it sets up gets used for years…
-
Complete Beginner DJ Mixing Lessons Video 19 Getting Your Kit Ready for an Easy Mix
A whole lesson on getting ready, which is the right call - the exercise in the next video only teaches anything if the two decks are…