 11:37
Walking up to a setup you have never seen
On YouTube this video is called DJ TUTORIAL. What to look for on the mixer if you have just turned up to do a set
What this lesson teaches
The scenario is the real one: you are at a party or a club, the DJ before you says you are next, and the equipment is not yours. This is what to look at before you touch anything, and it takes about thirty seconds once you know the list.
1. Find out which channel is live
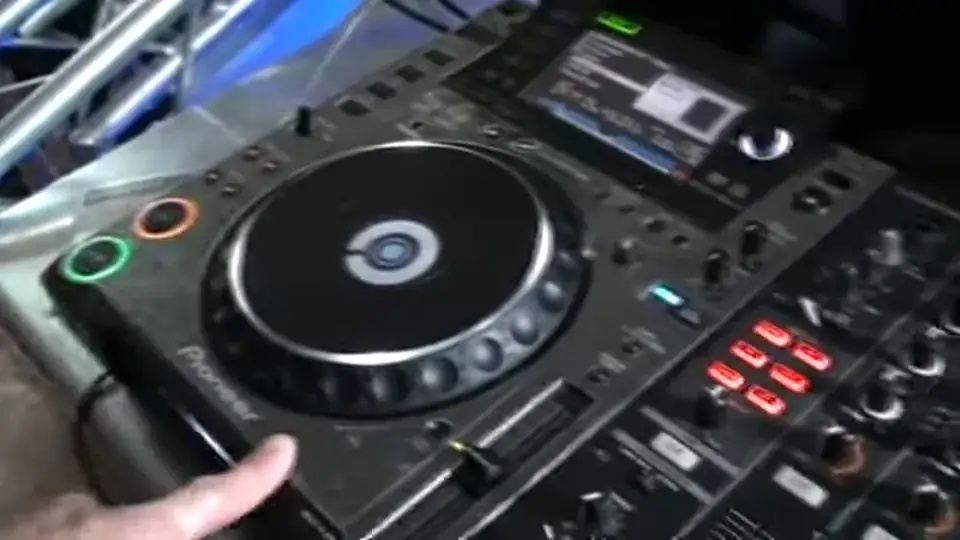
Before anything else, work out where the current sound is coming from. Look at which channel fader is up and which meter is moving.
You cannot safely change anything until you know which channel belongs to the record that is currently playing to a room full of people.
2. Watch the meters, and understand what they are telling you
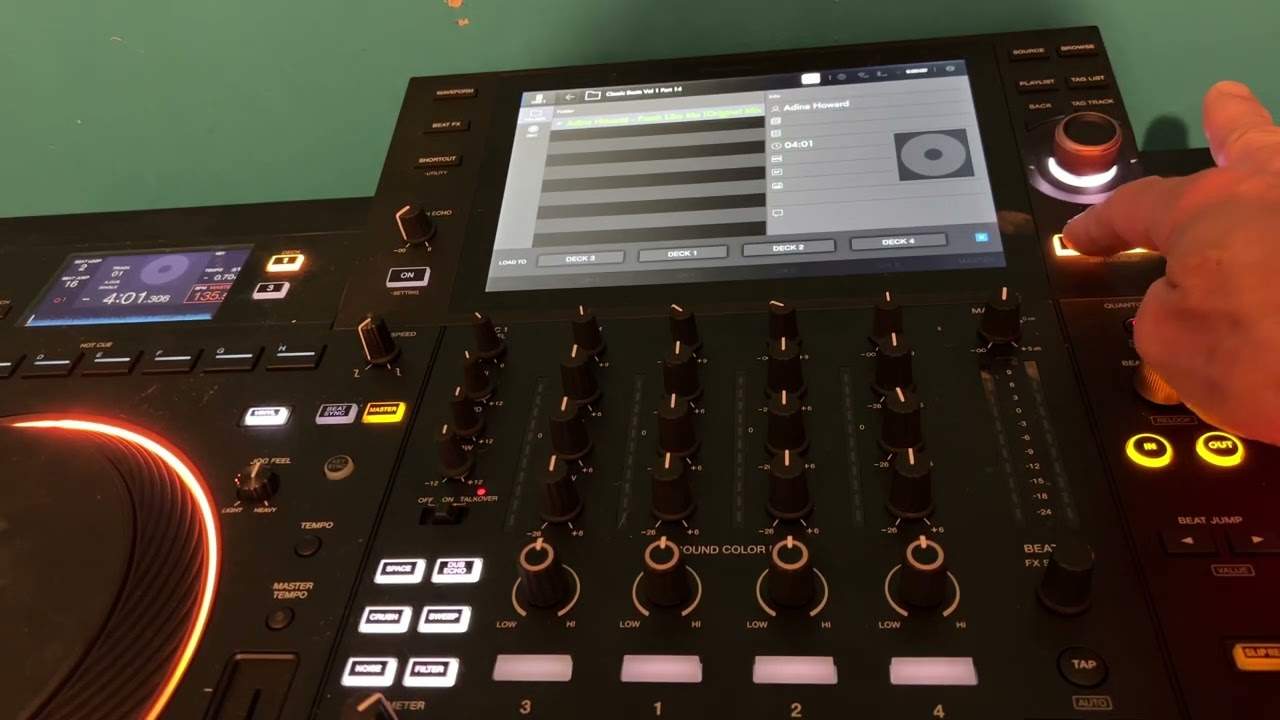
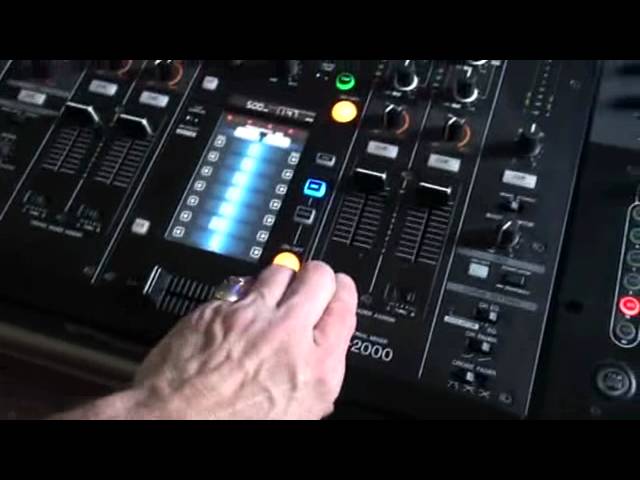
The master is always labelled master. Put a track on and watch the LEDs: you want them hovering around 0 dB and not sitting in the red.
Now the part at the end of the video that deserves to be at the front, because it is the most common sound problem in DJing:
The master meter does not show you what is happening inside the mixer. It shows what is leaving it. If a channel gain is set far too high, that channel is already distorting internally - and you can pull the master fader down until the master meter looks perfectly healthy. The meter is calm and the sound is already ruined, because the damage happened upstream.
So set the channel gain first, with the channel meter peaking around 0, and only then use the master for overall loudness. He puts it exactly right: an over-driven channel feeds an already squashed, distorted signal into your amplifiers, and nothing downstream can unsquash it.
3. Crossfader assignment
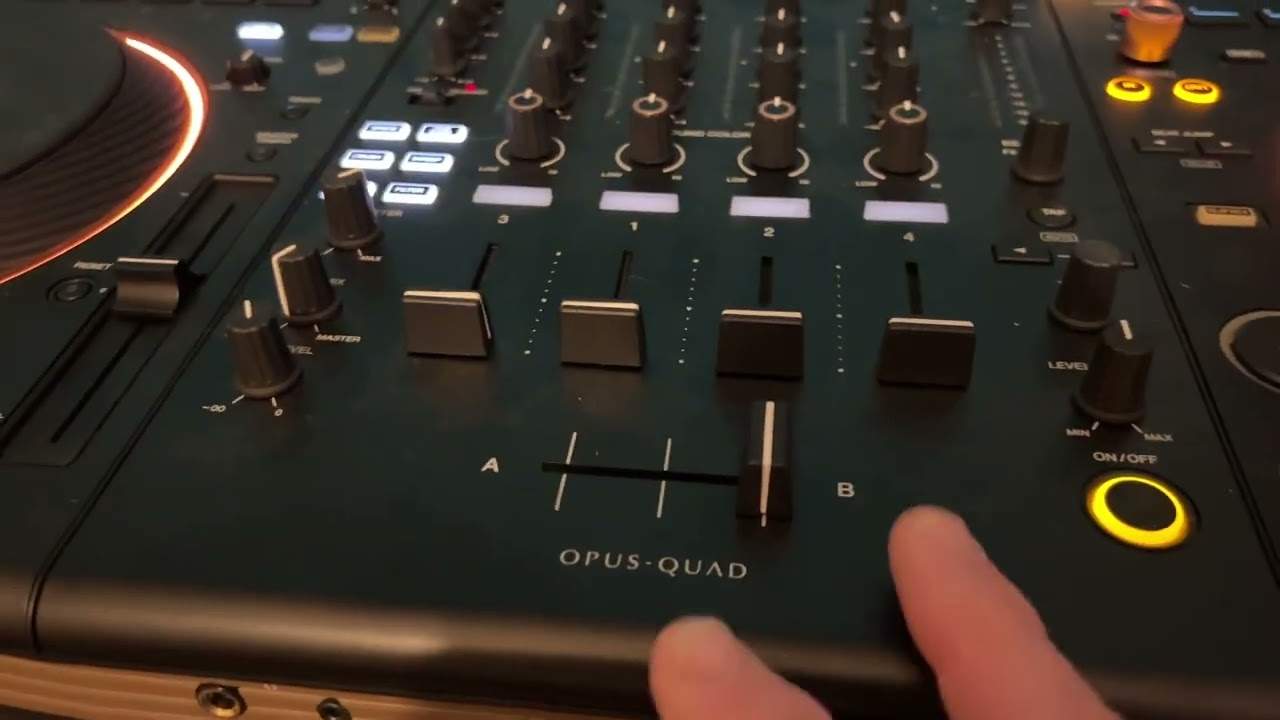
Each channel can usually be assigned to side A, side B, or THRU.
THRU disconnects that channel from the crossfader entirely - the channel plays whatever its fader says, regardless of where the crossfader is.
The trap is a mixture. Two channels assigned and two set to THRU means the crossfader appears to work on some of your music and not on the rest, which is genuinely baffling if you do not know the switch exists. Check all of them, and set them deliberately.
While you are there, look for the curve controls, often on the front edge, usually one for the crossfader and one for the channel faders. A sharp curve brings the sound in almost immediately - what you want for cutting and scratching. A gentle curve spreads it across the travel, which is what you want for a blend.
4. Fader start
If there is a thin cable running from the player to the back of the mixer, fader start may be enabled: lifting the channel fader starts the track automatically.
Useful if you want it, alarming if you do not - you nudge the fader to check something and the music begins. Find the switch and decide.
5. The microphone
Two sockets usually: a quarter-inch jack and an XLR.
The rule is simple and skipping it is memorable in a bad way: turn the microphone channel down before you plug anything in. Plug a live microphone into an open channel in front of a PA and you get a howl of feedback at full volume, in a room full of people, before you have played a record.
6. The quick sweep
EQs to twelve o'clock. Gains at a sensible starting point. Check nothing in the effects section is lit - an effect left engaged by the previous DJ will be on your first track, and finding out live is not the moment.
And if you are playing vinyl, check the phono/line switch on the back for that channel, because a mixer set to line will give you nothing from a turntable and you will have about four seconds to work out why.
The condensed version
Which channel is live. Gain before master. Crossfader assignments. Fader start. Microphone down before plugging in. EQs flat, effects off, phono or line.
That is the lot, and thirty seconds of it buys you a confident first track instead of a scramble.
Contents of the video
0:00 Very basics you need to look
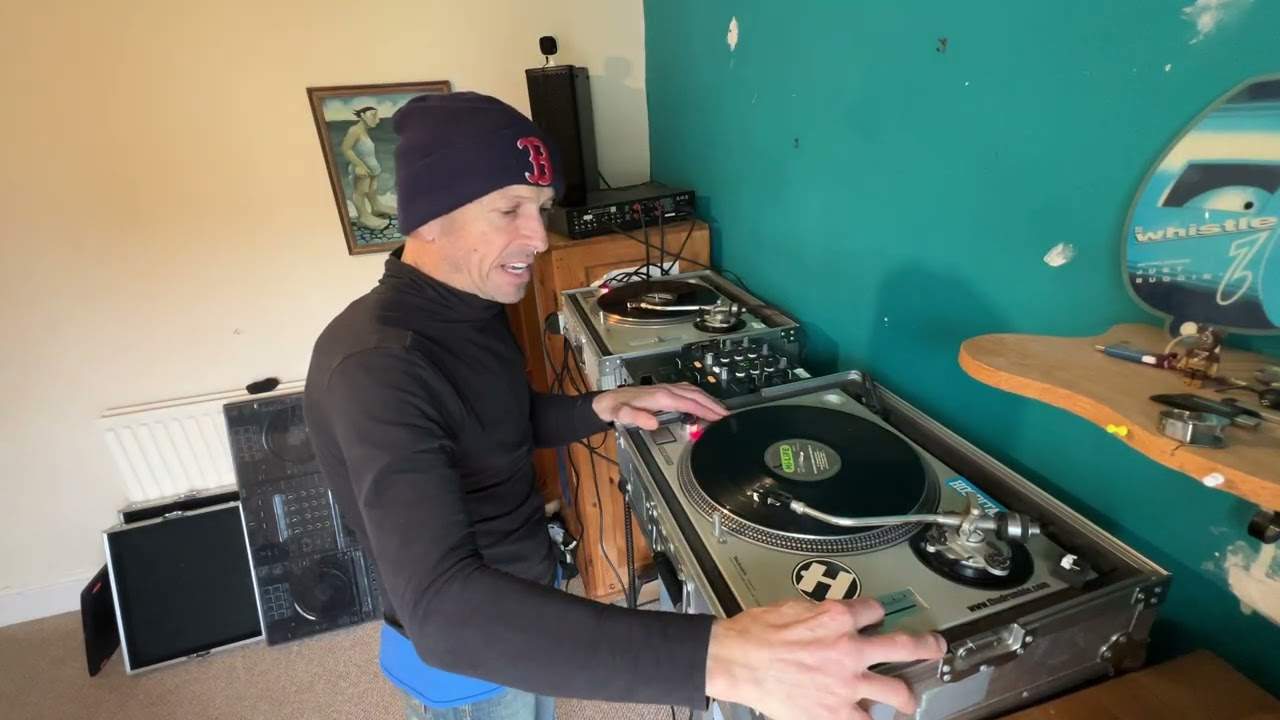
Alright ladies and gentlemen, a scenario for you. Let's imagine you've just turned up to your mate's house party or you've just turned up at a nightclub and all of a sudden the DJ who was before you says, you're on the decks next. Well maybe you know the gear or maybe you don't. So in this video, I'm going to show you the very basics you need to look at that will make sure you don't cock it up from your first tune. In other words, what buttons to press, what to look for, what to find, what to make sure is in the right place, what's in the wrong place. In other words, say you turn up, you plug your headphones in and away you go. Now I'm going to take the wide angle lens off and you'll notice I've got two mixers, very simple.
Because one's a big one and one's a little one. Is it going to not go blurry? Let's have a look. Marvellous, look at that. Right, here we go. Okay, we've got sound on there. So one of the first things you need to do, now notice right, if I turn the master volume down, by the way, the master volume will always have master on it. There you go. Well theoretically it should always have master on it. So even with the master volume down, if you get some sort of sound, you should see, if you put a tune in, you should see the master volume down. You should see some LEDs shine. So if I do the same on this side here, if we go across there, put that up. Now I'm going to have to put the master up here now. We've got the LEDs there as well. Now the first thing you need to make sure is to make sure that the LEDs do not go above or too much above 0 dB.
2:22 I'm just pretending, yes that is a mixer
It's a little bit more difficult with this relu guy because the LEDs are all the same colour. So if I just turn that up again, what we don't want to happen is we don't want it doing that. So as soon as you put your first track on, again with this guy here, if you can see it's going into the red, then do yourself a favour, turn it down. Because all you're going to be doing is putting quite possibly a nasty sort of sound, distorted sound through the main PA. Alright so that's near enough. One of the first things to check. But also you want to find out what volumes you're on. Now again, alright, easy way to do that is I press play there. Look, the volumes are down. I've got a CD in. Think about it logically. Straight away, I know that with the track in there, bearing in mind, let's imagine there's another CD over this side.
So alright, this is the last DJ and they've just played a CD in this particular CD player, OK? I'm just pretending, yes that is a mixer. So that one is playing, the volume is up say for this one, and you want to find out where is the music coming from here. Now this could be a CD player, it could be an iPod, it could be a PC program CD player. A vinyl turntable, it could be a dishwasher. Who knows? But you want to find out. So even with the volume down we can tell that the music source there. There's where the sound is coming through. Alright so if we turn that up again and put that on there like that, we can tell. Alright, couple more things you need to look at, very important. Crossfade. Now we've got this thing here called Through.
This is not on every single mixer but it's very important. What does Through mean? Well if I set all of these guys to Through, what that means now is that the crossfade is now disengaged. So if I put that up there, make that horrific sound again. No matter what I do with the crossfade, I'm always going to get that sound. On the other hand though they could be set to that side and they could be set to that side. Which means, so these two could be set that side, these two could be set that side. So that means that if the crossfade is over there and all of a sudden then you put it over there, that means your music will come in. Check though because sometimes that could be on Through and then that might not be.
4:20 Again this is a very basic video so it's not rocket science
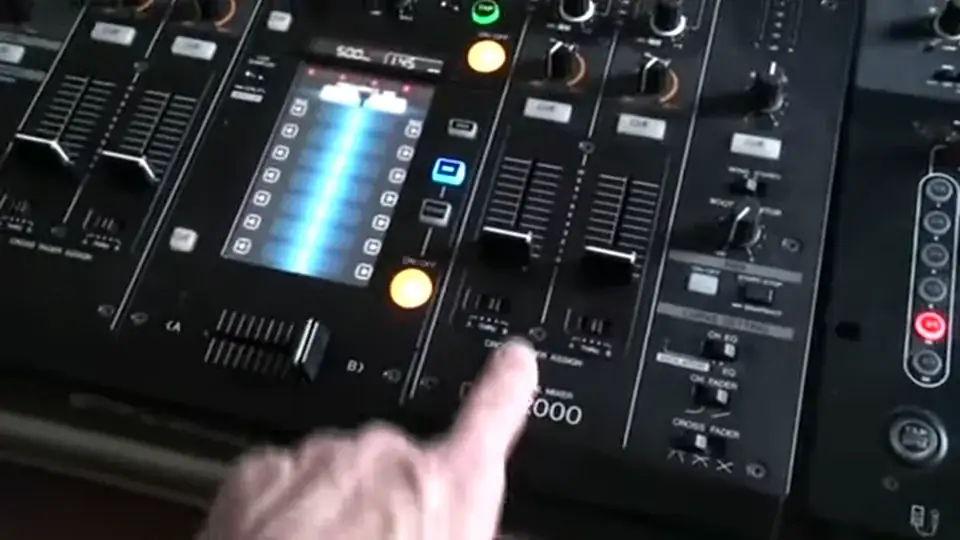
So you may be wondering what's going on? You know, you can have the sound through there and the sound through here but at the same time while the crossfade is over there you're getting sound through this channel and this channel. Alright small point but if you think about it very logically you need to make sure that these are set correctly. Also with this mixer and others similar, you've got A and B. So if you want to you could have all those set to A which means that all those channels now on that side and if you put it over there you would get no sound at all because they're all set to side A. Alright also what you need to look for, very important, is phones. Now again this is a very basic video so it's not rocket science.
So phones, that is where you put your headphones into. At the top here, MIC. It's got nothing to do with rodents. It's a mic. It's not mice. That is where you put your microphone in. Now you will notice two different plugs there. Alright if you see anything like that, that tells me straight away I can put a quarter inch jack in there. Also if I want to, if I just... Shall I take it out the back of the... No I can't sorry I beg your pardon. You can put what's known as an XLR in there as well or sometimes known as a Canon lead inside there. When you do that, very important, make sure prior to putting it in that the microphone is off. That is vitally important because let's imagine it's up there and that's on. If you put your microphone in there now
There's a very good chance you'll get a shitload of feedback and a nice whistling sound through the speakers and you won't be up for the rest of your life here. Alright so let's put that over there. So that's a couple of things to look for or to look for. Now again I do talk a lot but if you condense this particular video into like 30 seconds you should be able to go, you know right bosh, bosh here we go there no, no, no and away you go. Bass, mid and treble alright they're all at 12 o'clock. Gain control there alright what you can do is reduce and increase that to get that to the suitable level for you. Another small factor check for effects are there any effects working on the mixer? Occasionally if there are effects
Maybe one or two lights will be flashing so in other words just maybe make sure nothing's flashing or if they are flashing try and find out if the flashing will say to you that particular track you're going to be playing on that channel will have that effect. So it's always a good idea to put your headphones in, cue up like that and then you can hear your next track. Alright now let's have a look at a smaller mixer again near enough exactly the same if we turn that up and we go across here we can check the actual gain control we've gone to master now you can see that that is sort of near enough tapping it's just above 0 dB but that's fine. Also check to make which to check which channel you're on so for example that one could be up there
7:31 CD and auxiliary what's auxiliary?
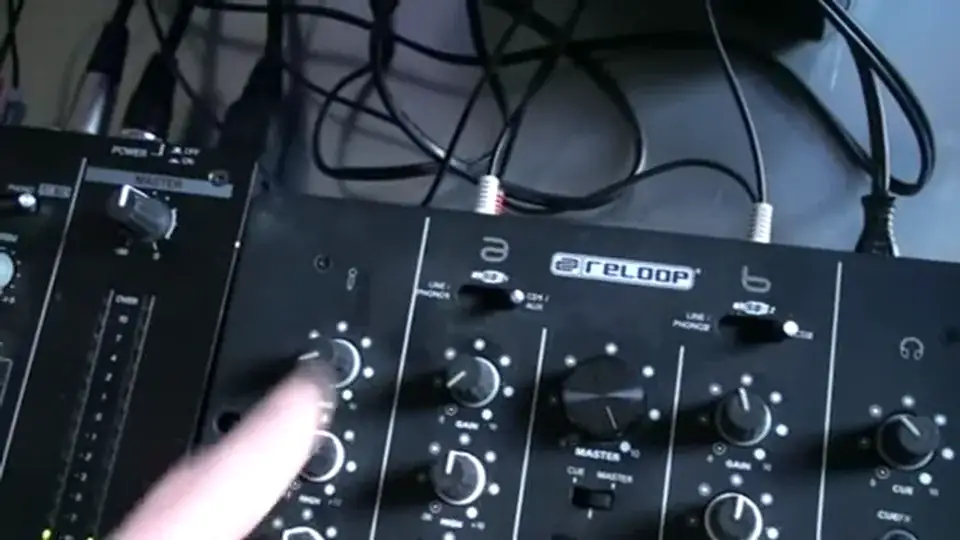
That's across there and of course because it's only a two channel mixer theoretically it's a lot easier Is it? Yes it is but also it's not because you could be turning up wanting to play vinyl so make sure if you're vinyl you are a vinyl DJ you are set to phono that is very important. CD and auxiliary what's auxiliary? Auxiliary is near enough exactly the same as CD and over there we have line and phono why have we got line and photo over there? Well you may switch that to phono and you may all of a sudden realise once you put that up and you put a piece of vinyl on your turntable you're not getting any sound right at the back of this mixer like with all other mixers that have line and phono together there will be a little switch
8:36 Bottom sorry the front of
The switch needs to be on phono to get the vinyl turntable to work now very quickly as well the crossfader I forgot this you have a different crossfade setting this here is let's say for the scratch turntabler so as soon as I bring that over the sound will come in if I have it at this guy or this guy that's more for a DJ who prefers to do a smooth mix so you can use your crossfade like so alternatively if you have through like that I generally like to do this where you'll blend the music this one is playing and then you'll want to do I'm slightly digressing but you'll want to lift this one up slightly and bring this one down like so also on quite a few mixers if we have a look at the bottom sorry the front of the unit here
We've got LF curve and XF curve ok so this is for the crossfade and these are for the up faders fader start alright now what is fader start now let's say for example the CD players are plugged in and there is a very very thin cable from the CD player into the back of the mixer and if I show you that is what you're looking for now what that means is that all of a sudden you may put the volume up and you may think I have not pressed play on my CD player how come the music is starting that's because fader start is on so if you don't want that to happen disengage the fader start very important otherwise as soon as you put the volume up just a tiny bit the music will start maybe you didn't want it to start at that point maybe you wanted
To have it up there and then go tappy tappy on the cue or the play to bring it in alright now a couple of tiny bits of information there the main thing you need to look at is as soon as you get to your kit you want to find out which channel you are going to be playing on next that's vitally important also crossfade make sure the crossfade is engaged or disengaged depending on what you want also check your levels here make sure it's not like that because believe me if it's like that when you're setting it there in other words nothing's playing you can't hear anything but I've just put the CD in there I'm having a listen to it and I'm not making note of that there so as soon as you start playing it you could have a distorted sound if not a distorted
Sound what will happen is that will go into here now you can see that's quite low that is relatively low but what's happening is that's only the output going into the speakers this output is going into here so that is not telling me that there's zero dB coming out of the mixer what it isn't telling me this guy is that I'm feeding a very high output into this so you won't then have a nice sound going into your amplifiers what you'll have is an already squashed distorted sound going into your amps so even though that's zero dB make sure that is around zero dB so that's what we're going to be talking about in the next video and I'll see you in the next video bye bye
This transcript was produced automatically from the audio of the video and may contain mistakes.
This video is part of
Related videos
-
Complete Beginner DJ Lessons Tags Key BPM Etc
A more advanced lesson folded in early, and worth doing once rather than putting off, because everything it sets up gets used for years…
-
Complete Beginner DJ Mixing Lessons Video 19 Getting Your Kit Ready for an Easy Mix
A whole lesson on getting ready, which is the right call - the exercise in the next video only teaches anything if the two decks are…