 10:03
Dropping a toon in, Video 1, using the x fade
Contents of the video
0:00 Track, turntable, wrong place
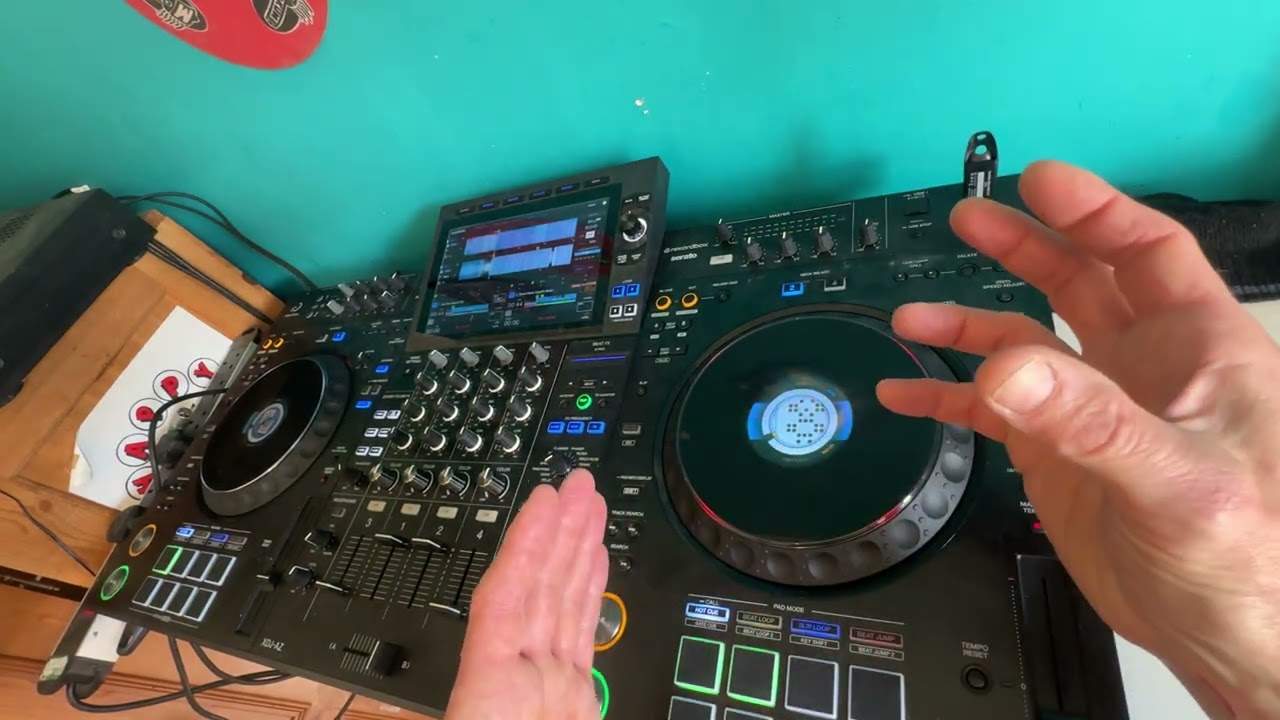
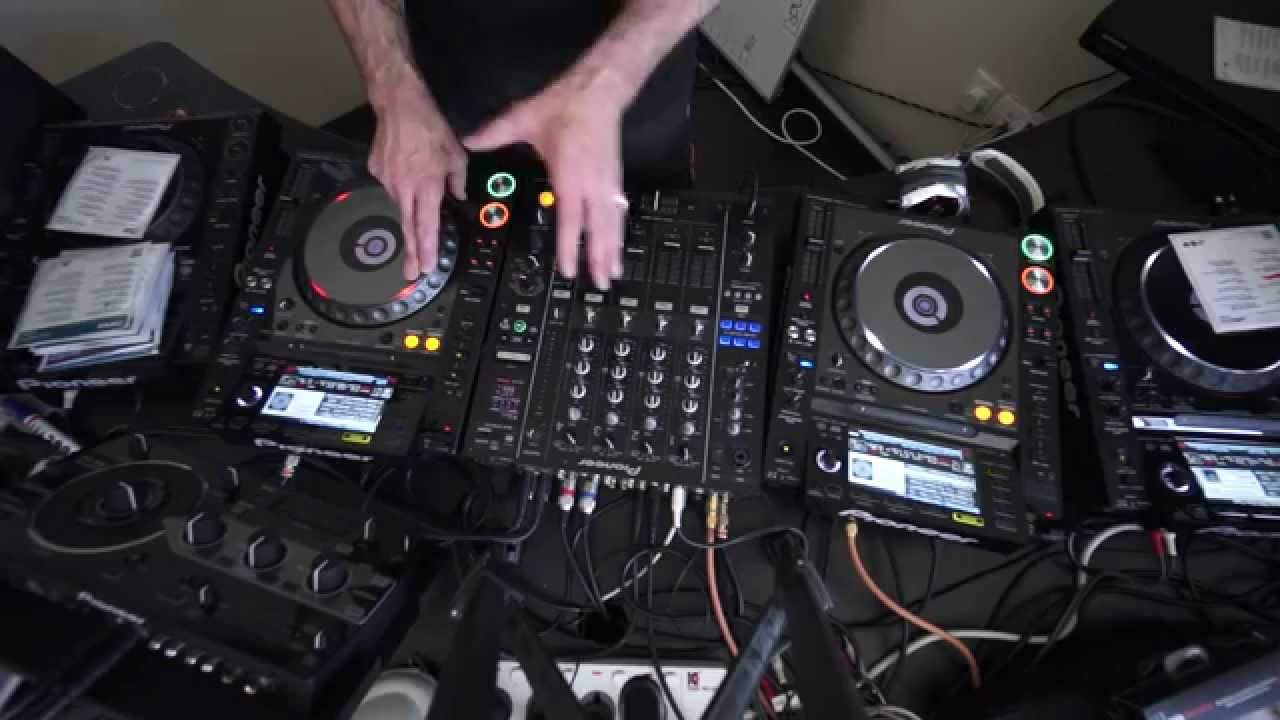
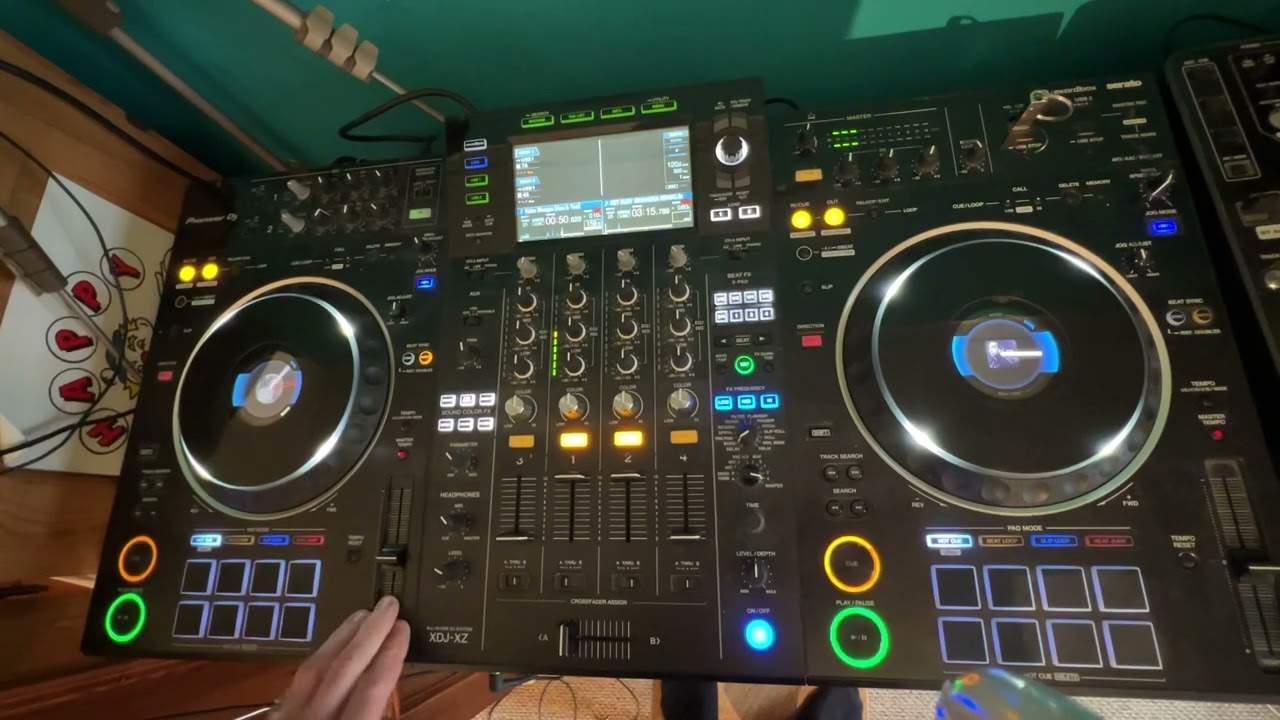
Alright folks, Jonathan here. Now another tutorial for you. This time what we're going to be doing is we're going to be doing a bit of a mix and we're going to go from one track to the other. We're going to go from one CDJ turntable to the other CDJ turntable but what we're going to be doing is we're going to be having both of the volumes on the actual channels at full and we're going to be utilising the actual crossfade. Now then again when you're doing a smooth mix basically what you will do if you're going to use the crossfade you will go from one side The timing, which is very important. Timing, totally and utterly important to where this is concerned. Because if you get it in the wrong place, if you drop one track in the wrong place, it sounds terrible. Sound, now sound is just, in fact it's more important than dropping the one track at the correct position. Because at the end of the day, if the one track that you're bringing in
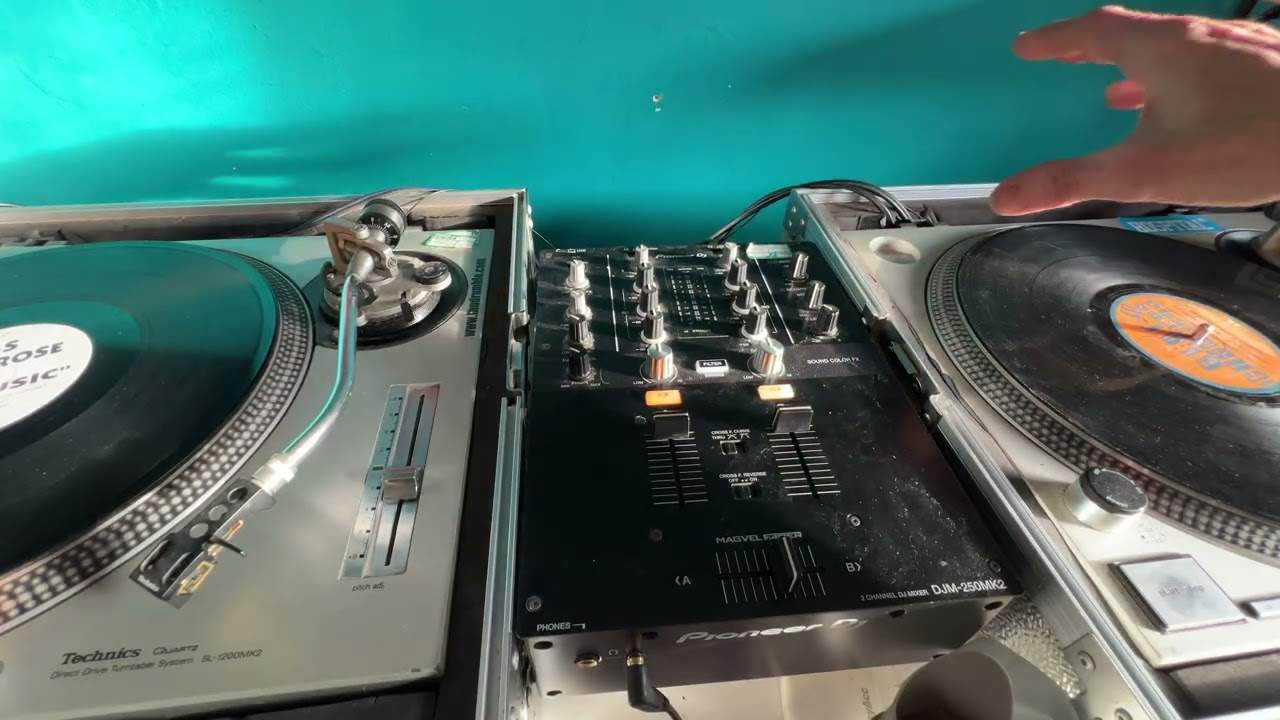
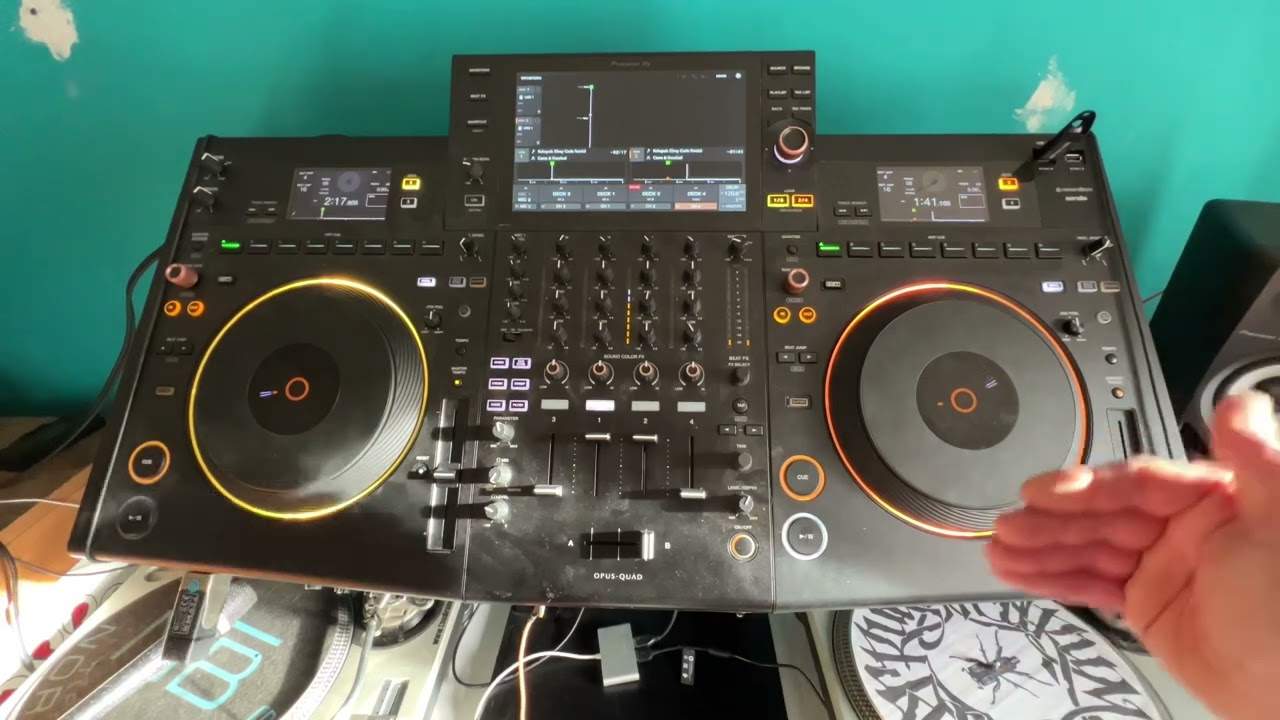
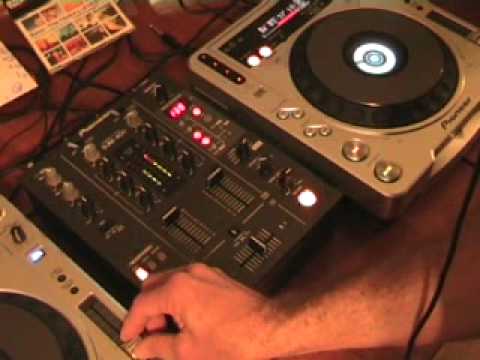
Now, on most crossfades, or most modern day crossfades, you've got two or three settings. You can have a very smooth transition from one track to the other. Or you can also have a very abrupt... Almost, when I say abrupt, I'll start again. What you can have is you can have almost a sound as soon as you move that crossfade from the one side it will come in directly. Now that is what we don't want. With this particular type of cutting what we need to do is we need to be able to have a slow transition from the one track to the other. But also what we want to do is we want to know that when we wang that crossfade straight over Yes, we're getting that mix, but as soon as that crossfade is straight over, we've got all the other side coming in and nothing else. So what you need to do, you need to make sure that the right hand turntable is set to the right hand side of the crossfade, the left hand turntable is set to the left hand side of the crossfade, okay? Now then, what you need to do as well, if you don't really know what I'm on about, on your mixer, you should have maybe something like that, a diagram like that with a cross.
2:36 It goes 50%, 40, 30, 10, almost, well, to nothing
Now basically what that means is as one sound is going out, the other one is coming in and dead center, they're perfectly matched 50-50. And then as you lift out, this one starts to disappear. It goes 50%, 40, 30, 10, almost, well, to nothing. And then the other one comes in, 50, 60, 70, 80, 90, right? What I'll do, I'll pause the camera now, okay? I'll give you a quick demo, okay? And we'll have a closer look at this particular part of the mixer. And then what I'm going to do as well, I'm going to actually have the audio in to the actual side of the camera and bear with me alright if you're watching this video as soon as it's up. Don't worry because I will have very shortly all the information of the two tracks I'm playing to that side of the video. Okay, hold tight. Thought of an idea, now there is a lot more to this than meets the eye because when you get good at it not only do you have to consider moving the crossfade
7:25 Actual crossfade and I'll explain
He also covers bass, mid and treble. If you think about it, you could have the crossfade halfway over and maybe there's a lot of vocals so you could actually reduce the mid, no vocals, therefore no vocals clashing. Maybe you want to reduce the bass. So what would you do? Or the bass line? Remove the bass, take it all the way off. Thank you for watching. If you can learn one tiny tip from me, then all the better, right? Now what I'll do now, I'll pause the camera and we'll have a look at the actual crossfade and I'll explain to you what I was doing. Hold on. Right, now first of all, I had the actual crossfade in the centre and then what I was doing, I was pressing the cue buttons. Now basically with these particular CDJs, if you press the cue button...
BANG! Like so. You keep your finger on the cue button, as soon as you take your finger off, the music will stop and it will go back to its original position. So I was just doing like so. And of course you could hear them both because the crossfader is in the centre. Then as soon as I moved the crossfader to the right hand side, you couldn't hear anything on the left but you could only hear music from the right hand side. As I was slowly moving the crossfade over, you could start to hear the left-hand side until at this point dead center. Look at the cross there. We had perfect volume from this side and an identical sound from this side. But of course that is dependent on your levels here. In other words, your actual gains there...
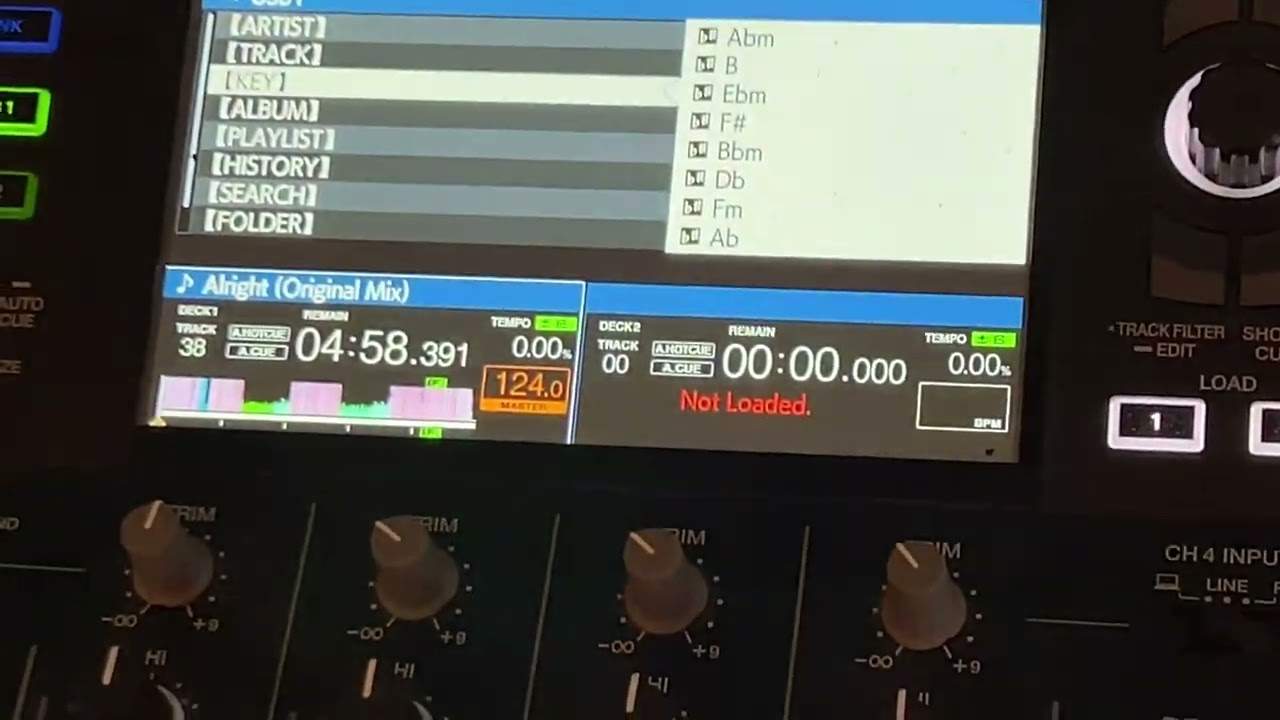
Have to be, or trim, have to be exactly the same level. In other words, if this side was peaking more than this side, that would mean this side was louder than this side, which would mean in turn that this side here would be louder than this side even though the crossfade is in the centre. So don't forget, always make sure that the two trims are set so the levels here are exactly the same. That is very important. And also, if you're using an LP, in other words a long player on this side, quite often there are lower volumes so you will need to turn that trim up. Now what I was doing again, I was moving the crossfade over to the centre, get a bit of both of the tracks and occasionally then you saw me go wham, straight across, wham, straight across. Now I was listening to the phrases. For example...
Pump up there, jam, straight back over again. And pump, straight back over again. And then the bass line. Like so, losing my voice, never mind. Right, I hope you get the general idea, OK? Like I said, there's a lot more to this and possibly in a future video, hopefully soon, maybe tonight, what I'll try and do is utilise the bass, mid and treble on both sides. Thanks for watching, practice and enjoy.
This transcript was produced automatically from the audio of the video and may contain mistakes.