 10:04
Setting a graphic EQ
On YouTube this video is called How I set my graphic EQ.
What this lesson teaches
Ten minutes on a rack unit most DJs own and almost nobody uses properly.
What it is
Your mixer has bass, mid and treble - three rotary controls, each covering a wide band.
A graphic equaliser has sliders, lots of them, each covering a narrow band from the bottom of the bass to the top of the treble. Same job, far finer resolution: instead of "more bass" you can say "more at 100 Hz and less at 160".
What it is for - and this is the part people get wrong
Not for making music sound how you like it. For making this system, in this room, sound right.
His demonstration of the principle is the strongest argument in the lesson: he could set the graphic until the sound in that room, through that amp and that speaker, was superb. Move the whole rig to a different room and it would sound completely different and need resetting. Keep the room and change the speaker, and it would need resetting again.
So a graphic EQ's settings describe a combination - room plus amplifier plus cabinet - and they are not portable. A curve carried from last week's venue is a guess at best.
Which means a graphic is a tool you use on arrival, as part of setting up, and not a preset you dial in at home.
Before you touch it
The safety step, and it matters more here than anywhere.
Set the mixer so everything is tapping the amber, not sitting in the red. Then set the graphic.
The reason: a graphic adds gain. Feed it a distorted signal and then lift a band, and you are amplifying something already broken. His specific warnings:
- Lift the bass with the amp wide open and you can blow the bass drivers.
- Lift the treble and you can blow the compression drivers - which are the fragile, expensive part of any cabinet.
His method
The practical core, and it is a genuine technique rather than a rule of thumb. With music playing:
1. Start with a mid band and set it to about halfway - 50 per cent. 2. Bring up the next band along. Raise it until it starts to overpower the one you just set - then back it off until it sits alongside. 3. Next band. Same thing: up until it dominates the previous one, then back. 4. Continue outwards through the highs, then come back and do the same downwards through the bass.
His running commentary while doing it is the useful part: that's too loud, that's too much, it's almost as though she's talking through a tin can - so lower it. You are listening for a band pushing itself forward, and removing that.
The principle underneath: you are not boosting what you want, you are levelling - setting each band relative to its neighbours so no frequency range sticks out. That is why it works by ear and why it produces a curve rather than a shape you chose in advance.
The smiley face
The saying he passes on, with the right amount of scepticism.
A common target curve: bass around the midpoint, mid-bass slightly below halfway, mid about halfway, mid-high slightly below, highs slightly above the mid. Drawn out, that is a shallow smile.
It is where a lot of rooms end up, and it is a starting point rather than an answer - his instruction is to experiment, which is consistent with everything else he says about the unit.
The thing that will catch you out
His closing worry, and it is a real one at a shared gig.
You set the graphic with a lot of treble because the room needed it. Another DJ takes over, does not know, and boosts the treble on the mixer as well. Now the compression drivers are getting both, and they are the cheapest thing in the chain to destroy.
So: if you have shaped the system at the graphic, say so to whoever follows you, and leave the mixer's EQ flat so there is only one place the sound is being adjusted.
Contents of the video
0:00 What is a graphic equalizer first of all?
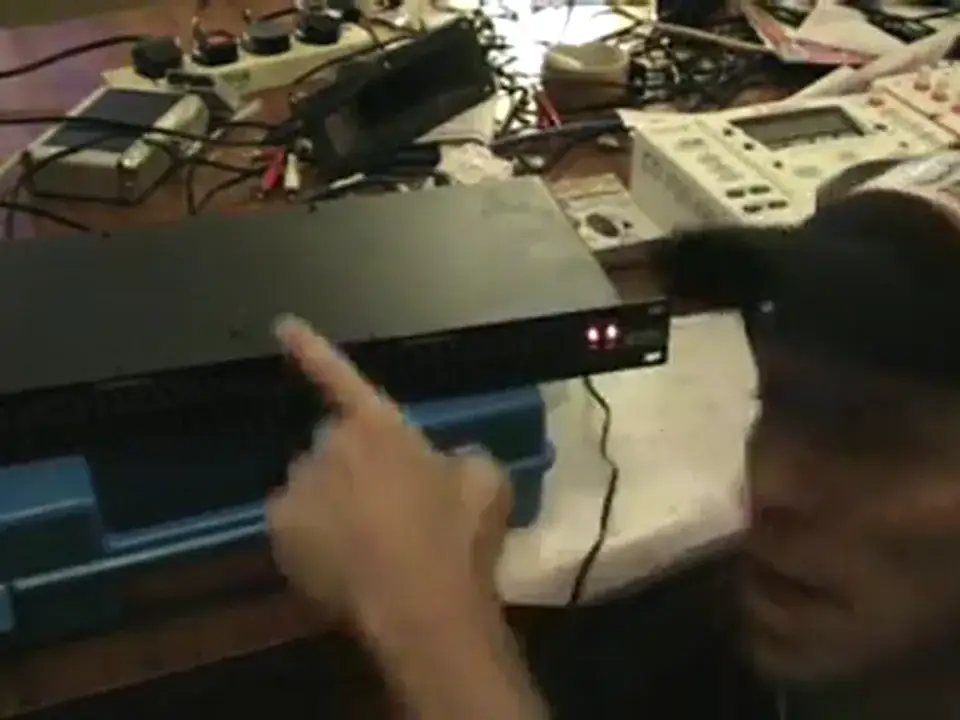
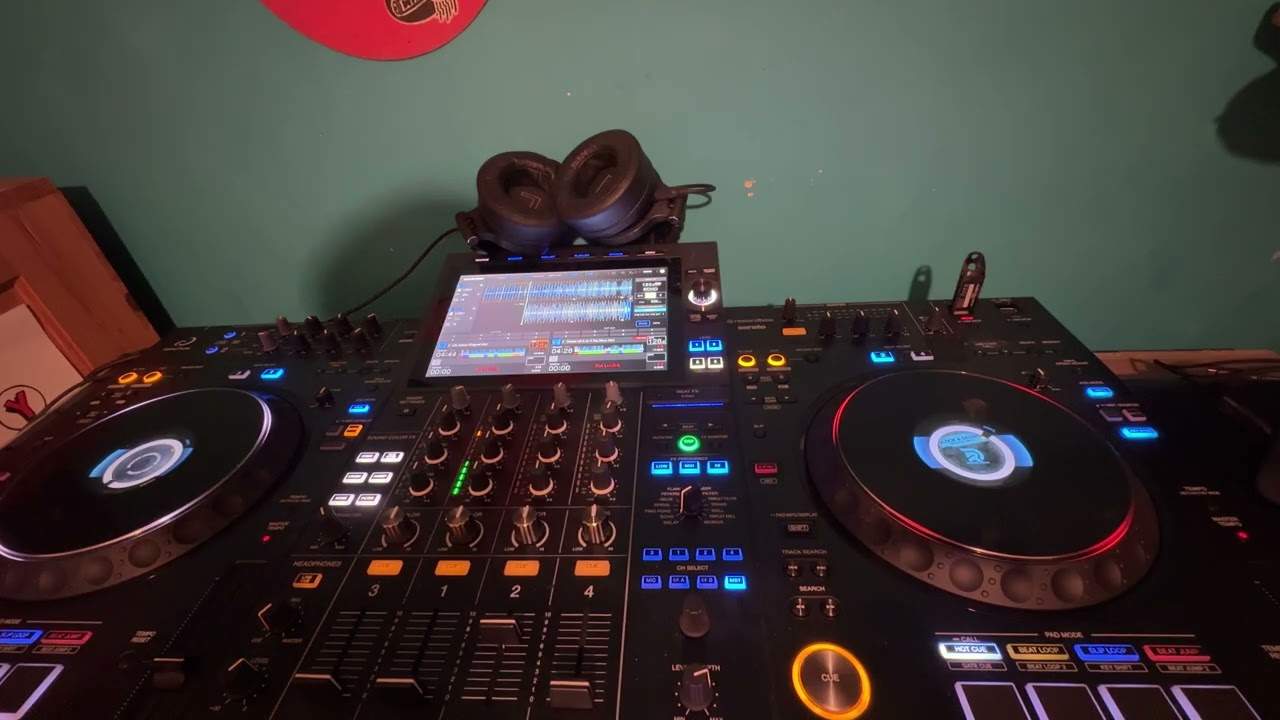
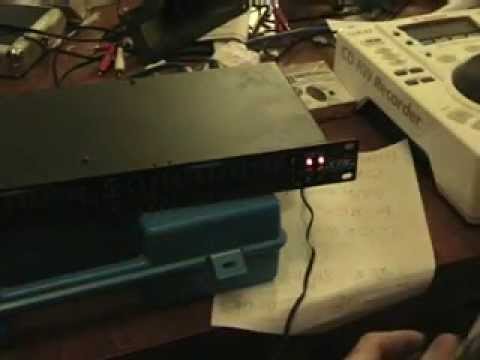
Alright folks, quite a few people have asked me to do some tutorials on graphic equalizers, which is one of these guys here. I have done a couple, but what I'm going to do now, I'm just going to put the actual light on and move away from the camera because it blinds me, and give you a quick close-up. Now, what is a graphic equalizer first of all? Right, on your mixer, you should have bass, mid and treble, okay? And of course, when you turn the bass, mid and treble like so, what happens is that way, what happens is, you know, you turn it clockwise and it gets louder, anti-clockwise, it goes quieter. Now then, on a graphic you have sliders. OK? You can see them here. Now then, theoretically if I go out again, what we've got here is we've got lots of them. But, we can basically split them up into bass, mid in the centre and treble. But the difference is with this, is there's lots of different sounds in between. I will give you a demo in a second. Now then, one thing you have to remember about a graphic equaliser, and that is that I could set this graphic
Let me just turn that light off for a second. I could set this graphic to a nice sound in this room, through that amplifier, through that speaker and it could sound fantastic. But then if I took all these items and put them in a different room, it would sound completely different so I'd have to reset the graphic. Just on the same point, if I set, like I said, I set this graphic through that amplifier, through that speaker over there, and then I unplugged that speaker and put a completely different speaker in, It would sound different again, so I'd have to reset it. So really what a graphic equaliser does, it will set the sound for any speaker in any room and it will optimise the sound. It will make your sound, your music sound fantastic for the actual speakers and for the actual room you're in. Now first of all, I'll give you a demo of what the graphic sounds like, but before we do that, very important, before you do anything with a graphic equaliser,
2:22 I'm going to give you a demo, see what it sounds like
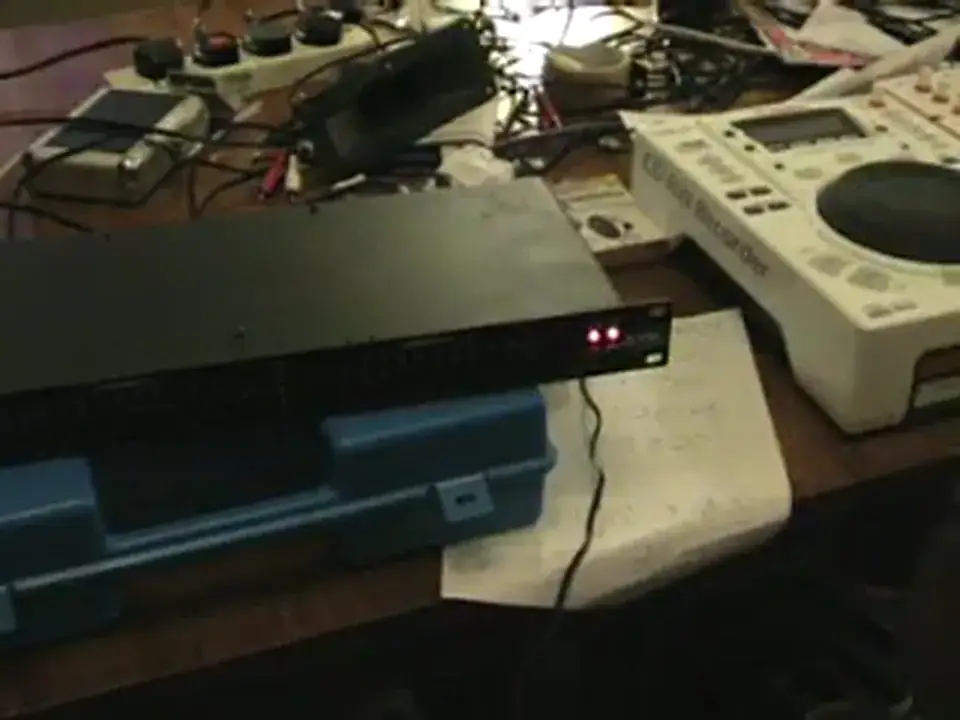
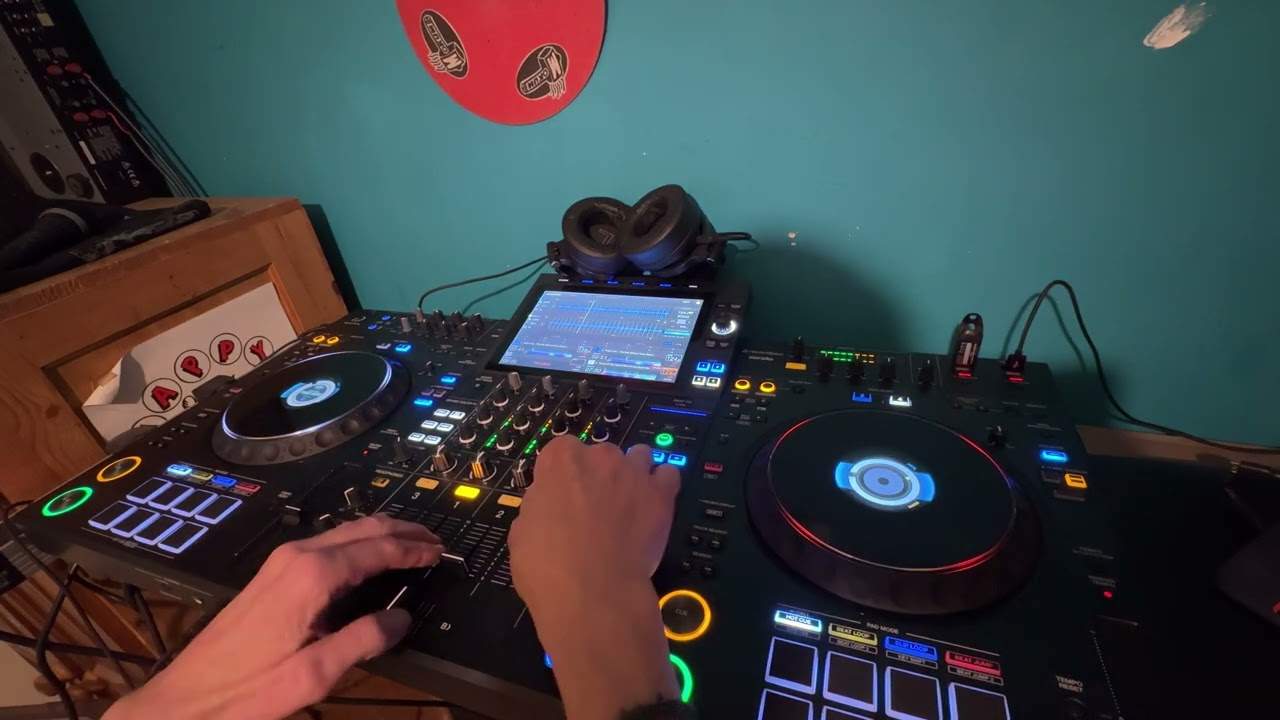
Make sure your mixer is set so everything's going into the amber. Never have everything going into the red and then start setting your graphic because all you'll do, you'll put nasty signals through this and then as soon as you start lifting the bass up and you've got the amp full blast there's a good chance you could start blowing the big speakers in your speakers or if you start putting the treble up there's a very good chance you'll start blowing the compression drivers or the high frequency speakers. The DJ Tutor is available for purchase at Ellaskins, The DJ Tutor is available for purchase At the moment now, you shouldn't do this. I'm going to give you a demo, see what it sounds like. This is all the way up. Can you hear that? Really? Now you listen as we go through them. Can we there? This is how I like to set my graphic. Right, let's just stop that. Stop the music, right. Now this is what I will do first of all. I will have, like I said, I'll have my mixer set so it's flat. So in other words, it's going into the amber. Now then, first of all, very important, I know...
That amplifier is compatible with that speaker. So I know that if I have that amplifier full blast, there is no wait just so long as I am careful I can blow the speaker. That's very important, OK? So make sure that when you do something like this you haven't got a really powerful amplifier and a small crappy speaker because there is a serious chance that you will make your speaker go pop. Right. So, hold on, am I, no, I'm not pulling anything out there. Right, so what I've got now at the moment, I've really, at the moment I've just got the amplifier quite low because everyone's gone to bed and I don't want to wake anybody up. Now then, this is what I'm going to do. This is what I do to get a nice good sound, right? Let's press start. What I'm going to do now is I'm going to start at the mid and start bringing it up. I'm going to go now to the next one up and I'm going to start bringing it up.
4:44 Up so it's just not overpowering
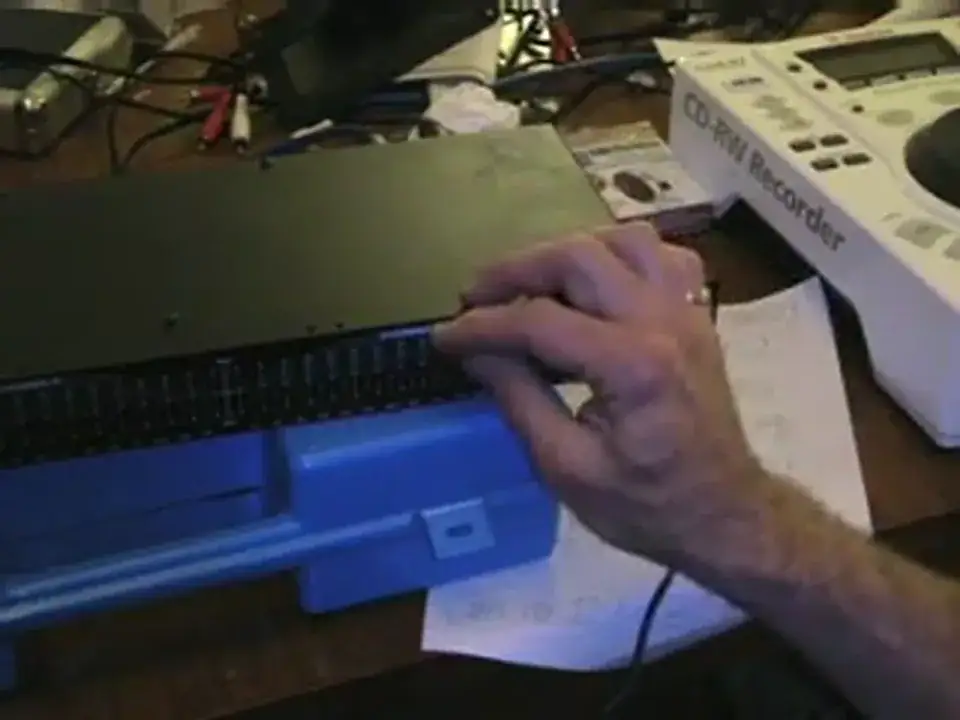
Now if you listen, that's too loud. It's too much. So what I do, I bring the next one up so it's just not overpowering from the last frequency. Now the next one up again. It's all about listening as well. Now at that point, it's too much. It's almost as though she's talking through a tin can. So we lower it down. There. Same with this one. See there, too much. Next one. Now we'll do the bass. Listen again. So bring it down and slowly bring it up. Now the next one. We'll stop that now, let's turn that light off. Now again, this is how I actually do it. Now I've got to sort of fine tune and mess around with it a little bit. But basically what I was doing, I started off with one of the mid frequencies. I put that in the centre, 50%.
7:11 I bring that one back down until it's a nice sound
Then I brought up the next high frequency to that. Now, the way I work it is this. I've got the one up, the middle one up, halfway. I take the next one up and as soon as the next one starts to overpower the first one I've done, I bring it down. And then I take the next one along and I bring that up. And as soon as that one starts to overpower the second one I've done... I bring that one back down until it's a nice sound. And then likewise with the 4th, 5th, 6th, 7th and 8th. Now we'll just do it again very quickly with the high ones. We'll put it on. Let's say we'll do this one here. And we do the bass. Basically there is no point in having everything just full blast. There's an idea of what I do. Quite often there's a little terminology or there's a saying.
With a graphic, and that is to try and get a nice smiley face. In other words, your bass is sort of ticking just around about the midway, your mid-bass, which is here, is just below halfway, your mid is ticking up around about halfway, then mid-high is just below, and then your high is slightly above the mid, okay? Now, here's just a basic idea, but if you have got a graphic, it's all about experimenting, alright? But remember, if you're going to mess around with a graphic equaliser, mind those speakers because you can blow them. If you've got too much treble, if you think about it, if you set your graphic and you're thinking, yeah, wow, let's have loads of treble, and then all of a sudden, another DJ...
Get on your mixer and they start wanging the treble up on the mixer as well. That basically means you could have knackered compression drivers. The same applies if you've got loads of bass booming away. I mean, listen to this very quickly. Let's put it on. I mean, if I thought, yeah, that's a pucker sound, that's really nice and beef and bassy. But of course, bearing in mind the bass on the actual mixer itself... Thanks for watching, practice and enjoy.
This transcript was produced automatically from the audio of the video and may contain mistakes.