 8:38
Replacing a tonearm
On YouTube this video is called How to fix replace Technics SL1200 tone arm Part 1
What this lesson teaches
He takes apart a turntable that is beyond saving, in the interest of science and so that you do not pay somebody an extortionate amount for a job you could do.
What is wrong with it
Worth listing because it is a catalogue of how these decks die: the pitch control is shot, the armrest is broken, the arm itself does not feel right, the platter wobbles, and there is a visible bend in the chassis. Somebody has thrown it.
Getting in
Platter off - and if it is stuck, tap the top gently with a small piece of wood.
Four feet off, then what he estimates at 650,000 screws. Then the base, which on a club deck may be glued down by years of spilled beer and coke.
What is underneath
Not much, as he says, and that is reassuring.
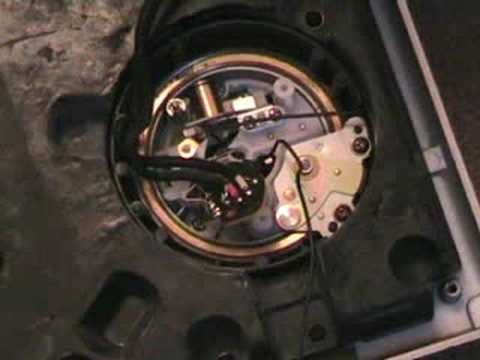
The circuit board. The centre section, which is the motor. The pitch control area on one side. The arm area on the other, which is where the job is.
And a clue worth reading: one of the screws holding the arm cover is missing, which tells him somebody has already been in here. Always worth looking for on a second-hand deck.
The arm wiring
Under the cover, two sets of wires.
The thick ones are the RCA lead going out to the mixer - leave those alone.
The very thin ones are the four conductors running up from the cartridge: blue, white, red and green. Those are what you unsolder.
Note the order before you touch anything
First instruction: get a piece of paper and write down which is which. Blue, white, red, green, in the positions they occupy.
Four thin wires in a confined space all look the same once they are loose, and getting them back in the wrong order gives you channels swapped, phase inverted, or both - with no visible sign that anything is wrong.
The trick that makes it possible
This is the part worth the whole video.
Those four thin wires pass through a tiny hole between the arm housing and the underside. Once you pull them out, you have to get the new arm's wires back through the same hole from the other direction - with no way to reach inside and no way to see.
So: tie a thin cable or length of string to the wires before you pull them through.
The wires come out, the string follows them and stays in the hole. Then tie the new arm's wires to the other end of the string and pull it back, and the string drags them through.
That is the standard cable-pulling technique from any trade that runs wires through walls, applied to a turntable, and without it the job goes from fiddly to nearly impossible.
The arm itself
Two screws on each side hold the arm assembly. Out they come, and the whole assembly lifts away - and with the wires already pulled through, it comes free completely.
Fitting the replacement is the same steps in reverse: arm in, four screws, wires pulled through on the string, soldered back in the order on your piece of paper.
And the thing not to forget
His closing instruction: always reattach the earth.
That is the separate thin wire, and without it the finished turntable will hum. It is the easiest thing in the job to leave off, because it is the one wire that carries no signal - and the one whose absence you will hear through the PA.
Is this worth doing
His argument is that it saves you a packet, and for a deck worth keeping, with an arm that is physically broken, it does. The procedure is unscrewing, careful note-taking, and four small solder joints.
What it is not is work to do the week of a gig. Do it on a spare deck, with the paper, with the string, and with the earth back on.
Contents of the video
0:00 This here is a Technics SL1200 turntable
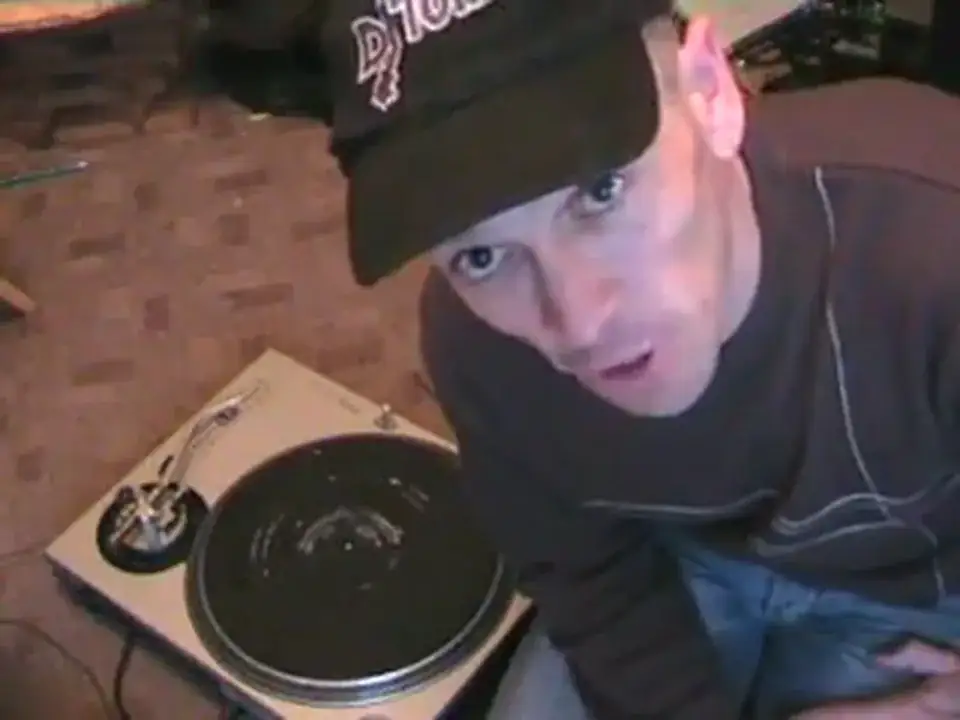
Alright folks, how can I explain? It's got to be done I suppose. This here is a Technics SL1200 turntable. It is an exceedingly old Technics SL1200 turntable. The reason I'm doing this video is because it's in the interest of helping science, technology and also you may get some tips. Loads of people have been asking about how do you fix this, how do you fix that, how can you do this, how can you do that. With some of these turntables. So hopefully, in this video, I'll show you, this video by the way could be in two parts, I'll show you how maybe you will be able to fix your deck without charging or being charged an extortionate amount of money. That reminds me of some other bloke. Right, hold on. So, I'm going to pause the camera and then we'll have a closer look at it.
Alright, first off, what's wrong with this turntable? I'll explain. Well, what's right with it really? The pitch control is pretty knacked. The armrest is broken. The complete arm itself, it doesn't feel right. There's something about it. The platter wobbles a bit and also, if you can look there, can you see the bend there? So, someone's basically chucked this. Remove the platter. Now very quickly as well, if you find that this is stuck on your deck, here's a small tip. Just get, I don't know, you could get something, a small piece of wood and just tap the top gently like that. That will loosen it and it'll come off. Right, I'll pause the camera again because I'm going, well no hold on, actually it won't yet. What I'm going to do is undo the base so take the four legs off, four feet sorry, and you'll have about
650,000 screws to undo. Well, not that many. That's bugging as well. OK, so we'll take these off as well. Hold on. OK, all the screws are out. I'm now going to attempt to take the base off. The reason I say attempt is because this thing has probably been doused with 500 beers, so it's rather sticky and numerous bottles of coke. Right, OK, that came off relatively easy. Alright, the underside of a Technics. SL1200 Mark II turntable. Not a lot to it really, is there? Well underneath there you've got your circuit board and you've got the centre part for your motor. That area there is where the pitch control is. This area here is where the arm will sit. Now that's the part I'm going to look at because I'm going to show you, hopefully, how you can change the arm. That's one of the reasons why I'm doing this video.
3:01 I'll just pause the camera again
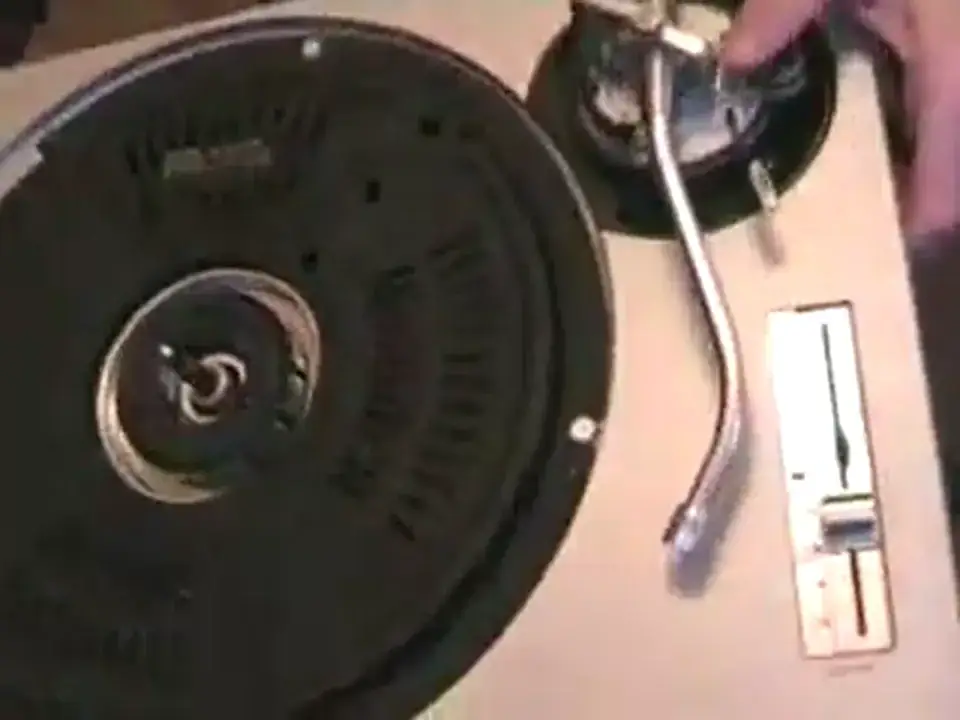
Because someone said the arm's broken, so I'm going to show you how you can take that off, the arm here, where are we? Like that. The arm there and replace it. So I'll just pause the camera again. Right, we've got a close-up view. You've got one screw there and there should be another screw there but that's missing so that shows me that someone has already been inside of here. So what I need to do is unscrew that one, that one and that one and that will get me inside here. Alright, try and do this live so you can see what's going on. Right, I've undone those screws. You've got two pieces. Can you just see how that's folded around there? That's to keep it in place. Move that out of the way. Try to. Hold on. It's all one-handed here. Rather awkward. OK, there you go. Right. So, what we've got here now is the area where the arm is. Now that is a very intricate...
Intricate area, there's a lot that cannot necessarily go wrong but if things do go wrong in there it can be ka-ching. Just pause the camera again. This is where we need to get a bit of a close up in a sense. Now if you can see there what I've done, I've removed a couple of screws, one there and one there and we've got this cable here which goes directly from the turntable into your mixer. Now can you see these delicate little cables? There's red, green, there's white and black. Red, green, blue as well, they're white and black. If let's say the arm of your turntable has snapped or broken or bent or in some way, you know, you can't use it anymore, follow this procedure. Again do this at your own risk but...
Follow this procedure and you can basically change the arm yourself and save yourself an absolute packet. What you need to do is you need to not unsolder these wires here, but unsolder the very, very tiny ones. Now, what you've got to do as well is note where they are, get a piece of paper and just remember which one's first, second, third. Like here I've got the green, white, red, sorry, I'll start again. Blue, white, red, green.
6:30 These thin cables are going to pass through that tiny hole there
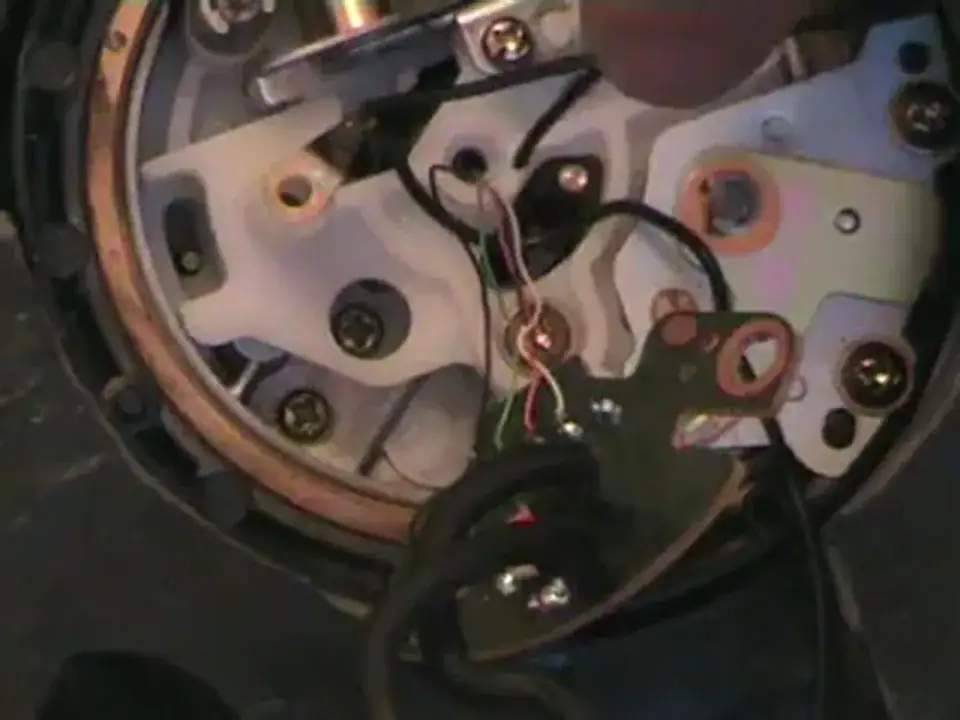
These thin cables are going to pass through that tiny hole there. So, once they've passed through, if you don't attach anything to them, you've got to then re-pass them through the opposite direction when you replace your tonearm. So, if you attach a thin cable, what happens is those little wires will go through that hole and then the thin cable will pass through as well. Then, when you've taken off your old tonearm... You'll then reattach or attach the new good cables from through, or pull this through, and guess what? Those thin cables will pass through back to here. So what I'm going to do now is show you how you can unscrew the tone arm. Now if you can see there we've got one, two screws. Right, I need to unscrew those. Just hold tight a second.
There you go. There's the last one. I've taken the two out. Let's have a look on the other side now. Okay, here we go. There's the other side. Now the two screws are attached to this part here. Now look, I can now lift that up. And again, if I'd have taken those wires apart, I'd be able to pull this through now. The wires would come through that little hole attached to that thin piece of cable. Then all it's a case of is replace this. The DJ Tutor offers a wide range of features and features to choose from. The DJ Tutor offers a wide range of features This RCA cable, so there you go. And always make sure you attach this guy back on because that's the earth cable.
This transcript was produced automatically from the audio of the video and may contain mistakes.