 8:28
How to Pimp up Your Old DJ Turntable
Contents of the video
0:00 How you can pimp up your
Right folks, Jonathan here. Someone has emailed me and they've said they've got an old SL1200 turntable and it's looking a bit rough. How do they make it so it looks nice? Not so much it looks new, but maybe they want to pimp it up. So what I'm going to do, I'm going to show you how you can pimp up your old SL1200, silver, black, doesn't really matter. And it's not going to cost you... Well, it'll cost you something, but it's not going to cost you much. This is what you need. You need some scissors. You do not need a cat. Now I've got that stuff, but just pretend that's spray paint. You need some sort of tape, like so. And you need paper, any sort of paper, a newspaper, old magazine, that sort of stuff. And also the most important thing, you need chocolate. Right, hold tight.
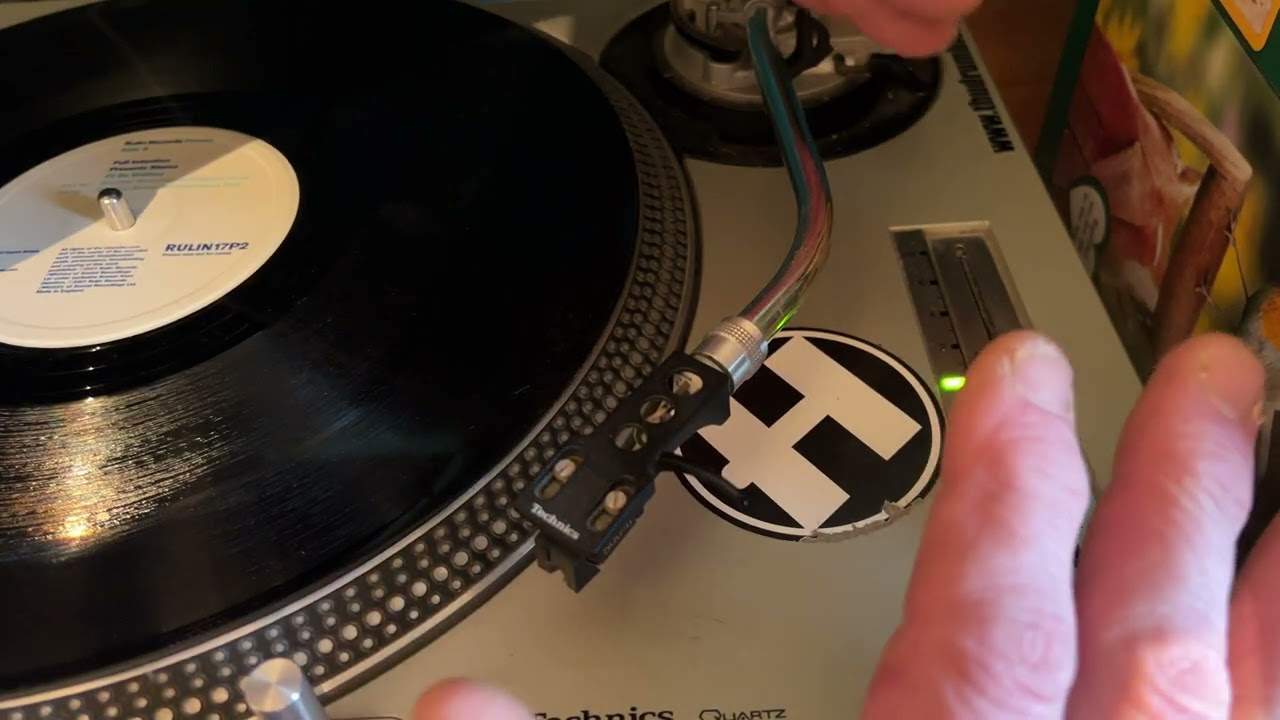
We'll go a bit closer. OK, there's the deck and the cat. Right, first off what you need to do is you need to take away all of the bits that are movable. So we're going to get rid of the slip mat, we're going to get rid of the platter, we're going to make sure the arm's secured, we're going to get rid of the counterweight, we're going to get rid of the cartridge and styli. Now what you're left with now This is basically the deck. Right, excuse these pieces there of gaffer tape. Now then, if you can imagine, you know when someone re-sprays a car? Well what they'll do is they will actually make sure that none of the actual spray goes over the windows. So, what you'll find them doing is they'll do something like this. They'll get the paper. Imagine that there is the window.
This is the only difficult part. Actually spraying it is easy, but this bit you've got to make sure that you get the sellotape or whatever tape you're using Perfectly around the sides because at the end of the day you don't want areas whereby you've got paint where you don't want it and you haven't got paint where you do want it. So, just pay attention along here and make sure that the tape is neatly all the way around here like so. Now again, I've only done a tiny bit but imagine now that's all the way around in the centre. OK, that's the first thing. Then of course, very important, you've got this area here. Which is basically the start-stop. Now if I just go a bit closer. Now there, that's pretty easy to do. Because what you can do, where's the other tape gone? Is you can get the likes of even gaffer tape. Something like that now. Now again, here's an idea for you. Put the tape across like that. Then with a sharp knife, a Stanley knife or a very sharp blade, what you can do, where's the scissors gone?
3:30 Imagine that is a Stanley knife
Right underneath me. If you imagine, there you go. Imagine that is a Stanley knife. What you can actually do then is you can actually cut in there like so. Now bearing in mind you don't want to start scratching your deck so be careful. Now any person, any professional who re-sprays a car will tell you that time spent doing this is time well saved. Thanks for watching. You also need to cover the actual light. What you can do there is press that down. Importantly, you need to cover, very important, the pitch. And again, what you can do with regard, see we've got some sellotape. If you imagine a vat is roughly about the same size. So just a strip of sellotape in there and make sure it's all the way around the gaps here. Okay, you don't want to leave any gaps. So in other words, you don't want any paint to come
5:28 Hold on, no pan in, sorry
On the centre point here where the silver area is, and you want to really have paint across this area. So again, make sure it's covered. Also here you've got the tonearm, so if I pan out again like that. What you need to do with the tonearm is basically just wrap it. Something like that. If I wrap that now, like so, and then I'll have some tape around that, that's going to be fine. And also this area. Now if you can see... If I pan out again. Hold on, no pan in, sorry. Duh. We've got this area here. So what I would do there, if you can imagine some newspaper, you could literally just get some newspaper and put that over the top like that. And again, make sure that the paper is going around there and leaving the silver area here. Now the reason I'm showing you this is because
Normally, with a Technics turntable, you have got around about there, you've got SL1200. Well, you can't see it with this one because this one was re-sprayed ages ago and if you can see, if we get a closer look, you can just about see that I have done it. You can tell that someone sprayed this but it looks, well, it does look relatively good because it was done ages ago but this has been sprayed. Alright, here's the deal. SL1200 is silver. SL1210 is black. Who's to say you can't jazz yours up? Red, green, orange, purple, blue, silver, gold, indigo, multicoloured spots... Triangles, traffic lights, cars, washing machines, tumble dryers. You could basically do anything. Write your name on it. At the end of the day, all of these turntables, when they're silver and black, they look identical. But why don't you just put your name on there? And again, you're thinking, how on earth am I going to do my name? Well, here's what you do. If you imagine that you've sprayed that all in, say, silver, then what you can do...
Is say your first letter of your name is A, so check this out. What we'll do, we'll do an A like this. We'll do a really jazzy sort of A. We'll do like that and maybe like that. There's a sort of an A. Now you can have that there and then you put the rest of the letters. Now bearing in mind this is very quick. Put the rest of the letters there. Make sure that is stuck down. And then what you do, you re-spray it with a different colour. And bingo, what have you got? You've got your name in silver, whatever the first colour was. So there you go, there's a basic idea. And also bearing in mind as well, you will need to do this area here. So again, very simple, just have some paper around here or some tape and then just spray this area. So there you go, there's an easy way of basically pimping your turntable.
What I will do when I've got time is I'm going to pimp this one back up and when it's done, I'll show it to you. Hope it's been a help. Practice and enjoy.
This transcript was produced automatically from the audio of the video and may contain mistakes.