 8:26
How to plug in a new DJ setup
On YouTube this video is called How to plug in your New Dj gear, for the NEW DJ!
What this lesson teaches
A DJ setup is one chain with no branches, and almost every problem a beginner has with it is a lead in the wrong socket or a switch in the wrong position. This walks the chain end to end.
Turntable into the mixer
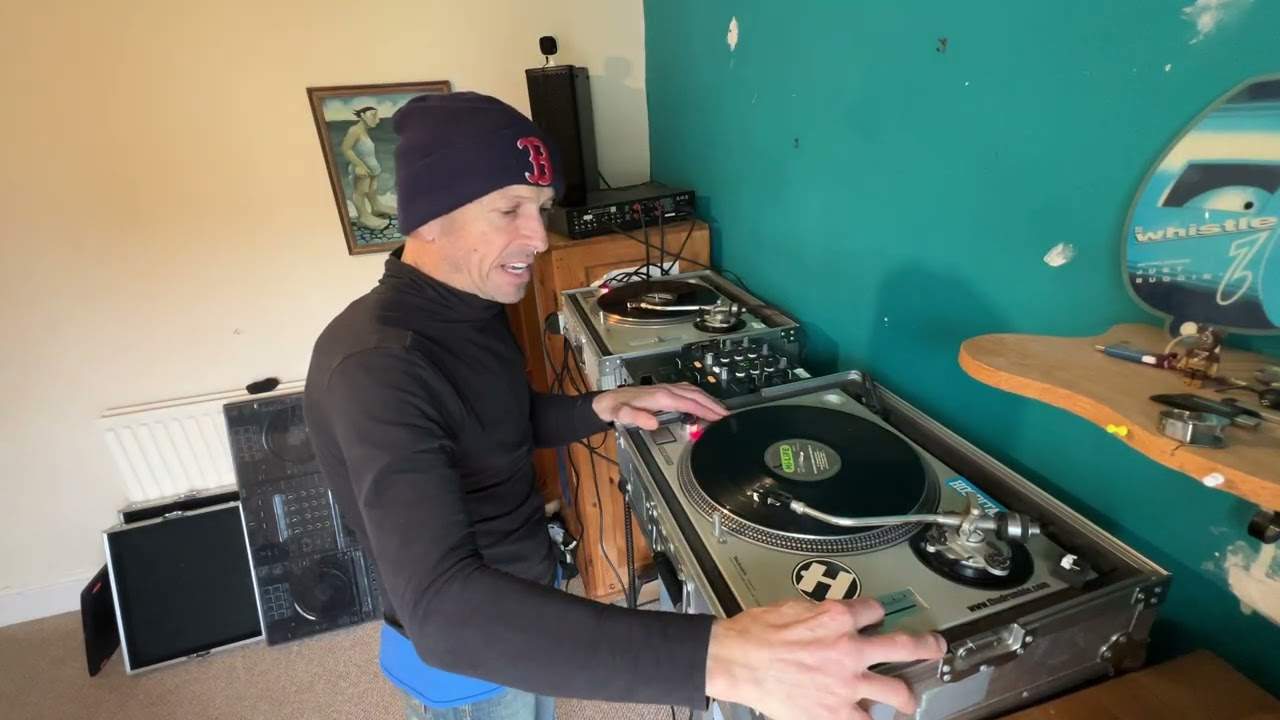
A turntable's output is a pair of RCA plugs - red and white. Red is right, white is left, and that is a convention you will see on every piece of audio equipment you ever touch. On a Technics the leads come out of the deck permanently; on others they plug into the back.
They go into an input marked phono, and they must. A turntable's signal is a thousand times smaller than a CD player's, and the recording has had its bass cut and treble lifted at the cutting stage so it fits in the groove. The phono input amplifies the first and reverses the second. Put a turntable into a line input and you get something quiet and thin.
The thin wire people throw away
There is a separate thin lead with a spade connector on the end, and it is not decoration. It is the earth, and it goes to the small post on the back of the mixer.
Its job is specific. Because a cartridge's signal is so tiny, the deck's metalwork acts as an aerial for mains hum. Bonding the chassis to the mixer's earth gives that interference somewhere to go, and the hum stops.
So if your turntable buzzes through the speakers, check the earth wire before you check anything else. It is the single most common cause.
CD player into the mixer
Also RCA, red and white, into an input marked line (or CD, or aux - they are the same thing).
The switch that makes everything silent
On the top of the mixer, by each channel, there is a phono/line switch. It has to match what is plugged into that channel.
This is the fault he singles out and he is right to. Everything is connected, nothing comes out, and the lead looks perfectly fine because it is. The channel is simply listening to the wrong socket. Vinyl: phono. Anything else: line.
Mixer into the amplifier
Two ways out: the chunky three-pin XLR connectors, or RCA again.
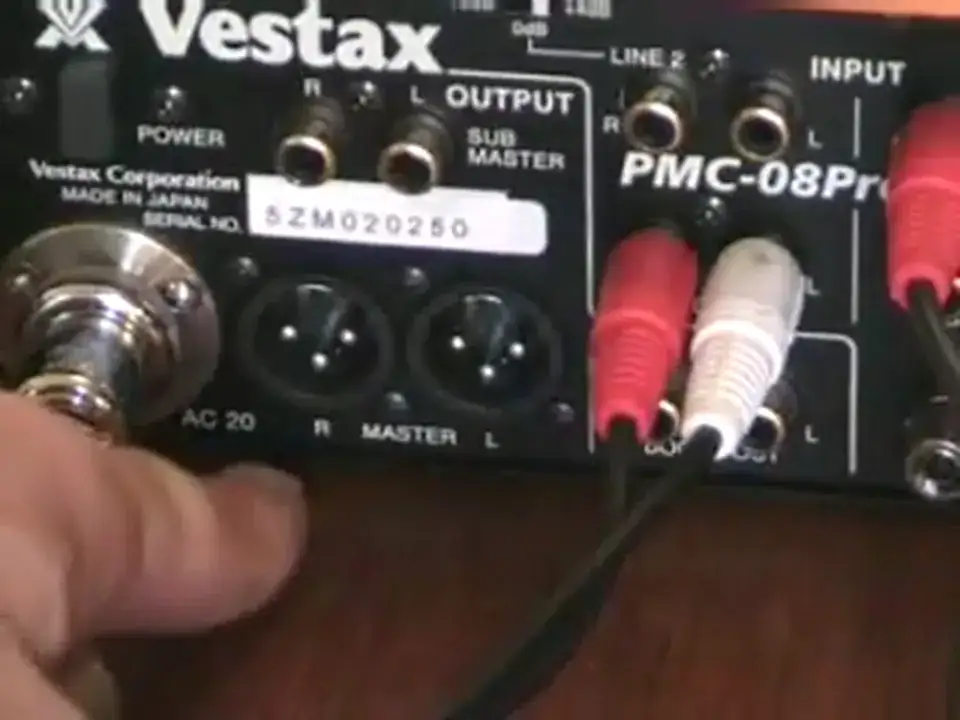
XLR is the better choice where you can use it, because it locks in place and because it is balanced, which makes it far less prone to picking up interference over a long run. RCA is fine for short runs at home.
His advice here sounds fussy and is not: follow each lead with your fingers and keep left going to left and right going to right, all the way through. Not because a swap sounds dramatic - it does not, it just puts your stereo image backwards - but because the day something goes wrong, a chain with consistent sides can be traced in a minute and a chain with a swap in it cannot.
Amplifier into the speakers
Four kinds of connector you will meet. Speakon, the locking ones: push in and twist, and pull the collar back and twist to release. Binding posts with spring clips, where you press a tab, poke bare wire into the hole and let go. Banana plugs, common on larger professional amplifiers. And sometimes plain jack.
Speakon exists because at these currents a plug pulled out mid-set is a real event. The locking collar means it does not happen.
One thing to check before daisy-chaining
He points out that his cabinet is 8 ohms and starts to describe connecting a second one from it, which is worth finishing properly.
Speakers have an impedance, and amplifiers are rated to drive down to a minimum. Hang two 8 ohm cabinets off one amplifier channel and the amplifier sees 4 ohms, which makes it work roughly twice as hard. An amplifier rated for 4 ohms copes; one rated only for 8 gets hot, distorts, and shuts down or fails.
So before running a second speaker off the first, read the back of the amplifier.
The chain, in one line
Source - turntable, player, laptop - into the mixer. Mixer into the amplifier, unless your speakers have amplifiers inside them. Amplifier into the speakers. That is all there is, and everything else is which socket.
Contents of the video
0:00 First of all we'll have a look at the actual vinyl turntable
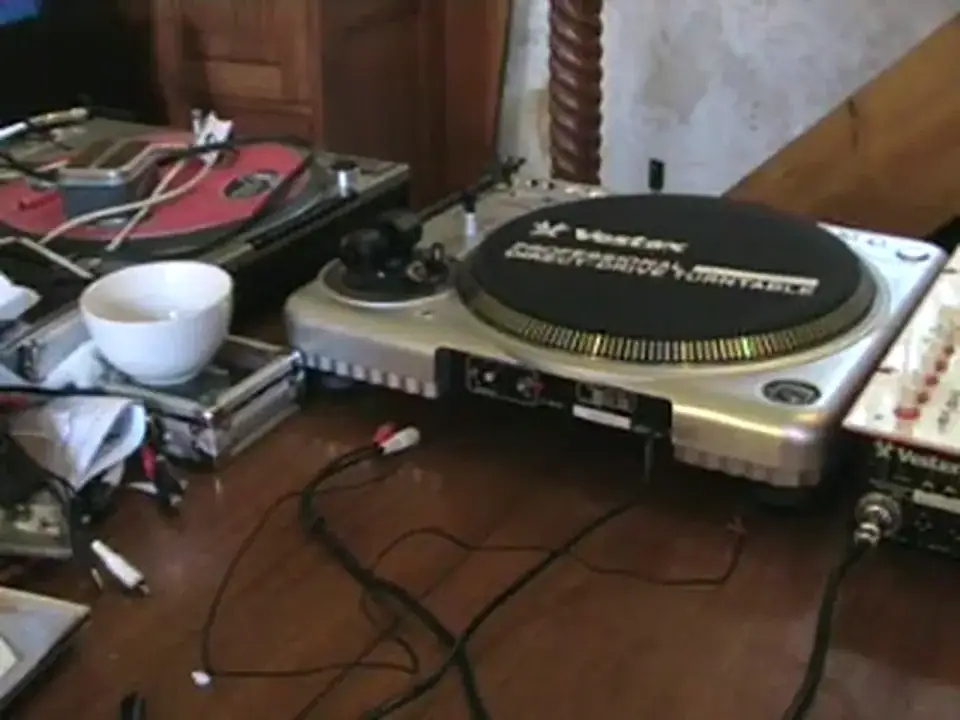
Right folks, this is a video going out to DJ Move-In from YouTube or alternatively for any other DJ out there who'd like to know how to plug in their DJ setup. In this video we're going to be looking at how to plug in a vinyl turntable into a mixer and also a CDJ into a mixer which is the one in the middle. CDJ is there, the vinyl turntable is there and then also the amplifier which I'll show you in a minute. First of all we'll have a look at the actual vinyl turntable. Now then what you should have on a lot of vinyl turntables, you'll have the actual phono plugs you've got to plug in too. But occasionally with the likes of the SL1200, the actual leads will already be inside, factory placed inside the actual turntable. Now then this is self-explanatory, red there into red and white into white like so. Now on this one here you can see this little dangly lead.
1:52 We'll plug those in there
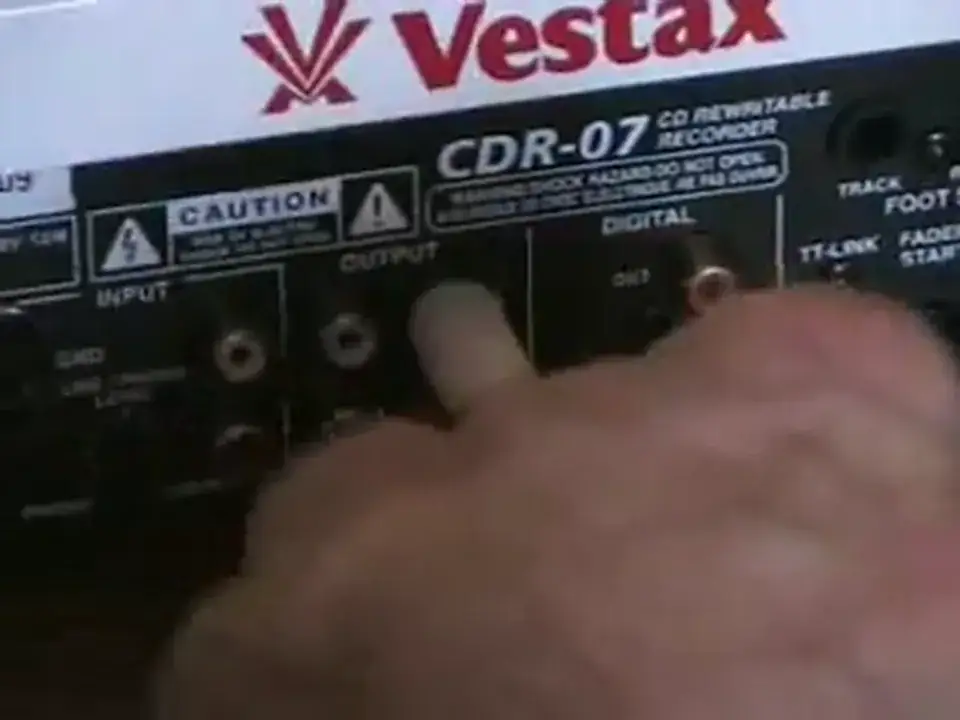
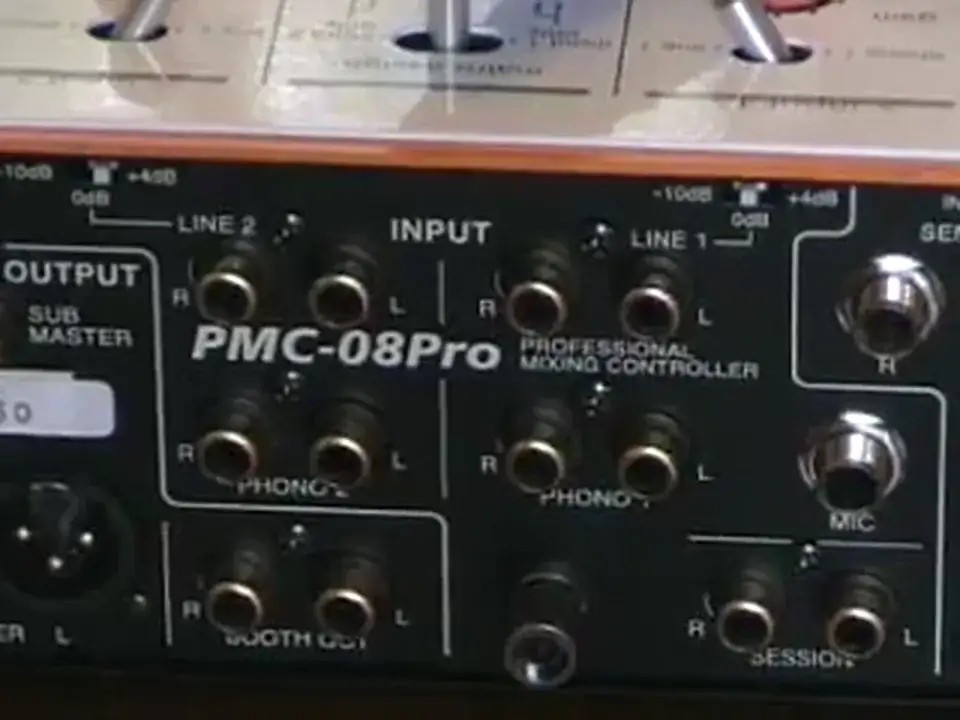
Now, that isn't there to look pretty. That is the earth connection and on most turntables that's needed. Basically what it does, it stops the actual turntable from buzzing and also stops you having a buzzing sound through the speakers. So have a listen. If you can hear a buzzing sound, that is what's happening. Now then, you can see here we've got phono there and you can also see line. Now then, the phono is meant for your actual vinyl turntables. Now then, CDJ. You can see here we have, there's a lot of outputs on this one, but what you're looking for is your line output. And again, red into red and white into white, like so. And then if we go across now to the mixer, you can see now that we have the line here. That's where we're going to put our actual leads, into the line input, like so. So we'll plug those in there.
Now then, if we then have a look at the top of the mixer, what I'll do actually, I'll just take the camera off here now. Now this may be upside down, I do apologise. Right, now you can see here, phono and line. Now then, this channel here, we've got the CDJ input, so we'll have that to line. This channel here, we've got the turntable, so we need to flick that to phono. Now that quite often is very important because you'll plug things in and think, why on earth aren't I hearing anything? And it's possibly because it's just not plugged in, or when I say not plugged in, sorry, it's just not switched in the right direction. So make sure when you're on a vinyl turntable, it's switched to phono, and when you're on a CDJ, it's switched to line. So there you go. Right now then, let's put that back on there. Now then, of course there's many ways of output.
Well, there's two major ones. Output going into your actual amplifiers. Now the big connections there are known as XLR and if I show you here, there are the actual plugs and again these will go in like so. Now you can see here as well, you've got R and L. Now then, try if possible, okay, fit one in first and follow this lead along, okay, this one along and then make sure That goes into the L or left part of your amplifier. It's just keeping continuity, making sure everything stays left to left, right to right. So then we'll put that one in there as well, like so. So there you go. Now then also you can see here, you have outputs there. Same principle, okay? You can just plug your leads into there and then go directly into your amplifier. You can see L for left, R for right. Okay, so I'll just pause this now and we'll take a look at the amplifier.
Okay, right, this is the back of the amp. Now there's many different plugs and goodness knows what on different kinds of amplifiers. But now then, right, if you can see here, we've got A and B. Now then, again, you see some amplifiers will have not just A and B, they'll have L and R. So of course, like I said, if you've stuck two right side out of your turntable into right side of mixer, then right out of mixer into right side of amp, There's continuity, which is what you want. So here we go, we'll put those in there, like so. Now that's the inputs. You can see a word there if I go close to it. That's sort of what you're looking for, is input. Now then, output here, now these here are actual speak-on outs. Very important.
5:43 Speaker, player player, ohms
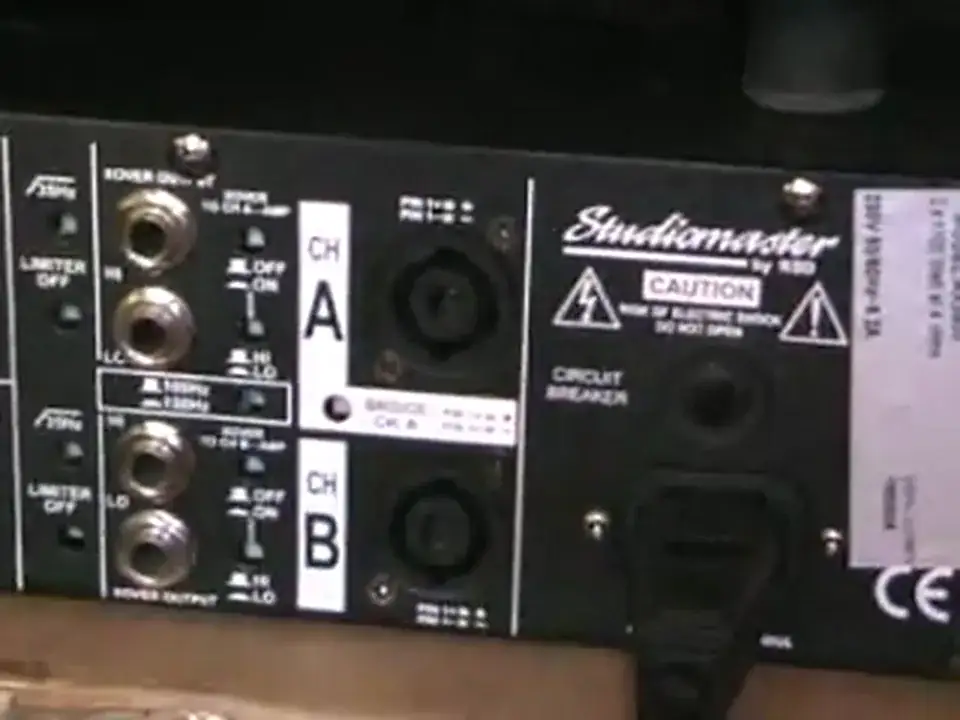
Sometimes on amplifiers, you'll have old amplifiers, you'll have what are known as jack outputs. Some of them, you'll have two spring buttons here, a white one and a red one, and when you press those in, you'll have a small hole, and then what you do is you poke a bare wire into those, and then let go, and then they will hold the wire in place. Some you'll have what are known as banana connectors, and you do find a lot of those on big pro audio amplifiers. And then occasionally, like I said, you'll have jack outputs as well. Right now, what we need to do now, let's say for example, okay, this here, up here is the right hand speaker. So let's say for example now, this is the right channel, it's come all the way through, so all this is the right channel, so what I'll do now, I'll put that in there, put the speak on in, like so, and twist, and then this here is a short lead anyway,
And then we can go in here, like so. Now very quickly as well, what you'll find with some speakers, well actually with quite, well most speakers actually, you'll have two inputs. Now this one's got four. The reason it's got four is there's jack inputs in case you've got jack connectors or speak on, in case you've got speak on. Now this particular cab here is an 8 ohm cabinet. Okay, now just a bit of on the bass on, talking about ohms here. Now then, this speaker here, as you can see, is 8 ohms. If we have a bit of a close-up of that, you can see 8 ohms. Now then, if I was to attach another one of these, in other words, I go from the amplifier here into this speaker and then if I go out of this speaker here... So there's basically the easy way or the way in which you would set up your actual system and your PA. So theoretically all you'll actually need is an audio source as in a turntable, a CD player, a DAC player, MP3 player and then a mixer to mix the actual audio signals. Then from that you'll need something to amplify it. So go into an amplifier. Thank you for watching.
This transcript was produced automatically from the audio of the video and may contain mistakes.
This video is part of
Related videos
-
Complete Beginner DJ Lessons Tags Key BPM Etc
A more advanced lesson folded in early, and worth doing once rather than putting off, because everything it sets up gets used for years…
-
Complete Beginner DJ Mixing Lessons Video 19 Getting Your Kit Ready for an Easy Mix
A whole lesson on getting ready, which is the right call - the exercise in the next video only teaches anything if the two decks are…