 3:05
Setting cue points
On YouTube this video is called How to set cue points on the Pioneer CDJ-1000
What this lesson teaches
A short, practical demonstration of three buttons.
The mechanics
A, B and C at the top left of the unit, with a record mode button below them.
Put record mode on so A, B and C glow red - that means they are armed and waiting to store. Play the track, and at the moment you want, press one. The point is saved and the button changes state.
From then on, pressing that button jumps to that point.
The part that is easy to miss
He sets his three cues on three different tracks - one on each.
That tells you something important about how the feature works: the cue points are attached to the music, not to the button. Load a different record and the same buttons address that record's points.
Which is what makes them worth setting at home. Every track in your collection can carry its own set of entry points, permanently, and they are there when you load it.
Where to put them
He does not say, so here is the useful version, and it follows from the structure stage:
The start of the first beat - so the track always drops cleanly, with no lead-in silence.
The end of the intro, where the beat properly begins.
The breakdown, so you can jump to it.
The drop after it, which is the most useful cue in most dance records - it lets you skip a build you do not have time for.
Four points turn a record with one entry into a record with four, and the whole argument for them is in the stage 4 lesson about not being a beginning-and-end DJ.
And set them with time
A cue point lands exactly where your finger did. Set in a hurry, it will be a fraction out, and every drop you make from it will be a fraction out too.
Set them at home, with the track paused, nudged to exactly the right instant - or with quantize on, which snaps them to the grid for you.
Contents of the video
0:00 Use the hot cue buttons
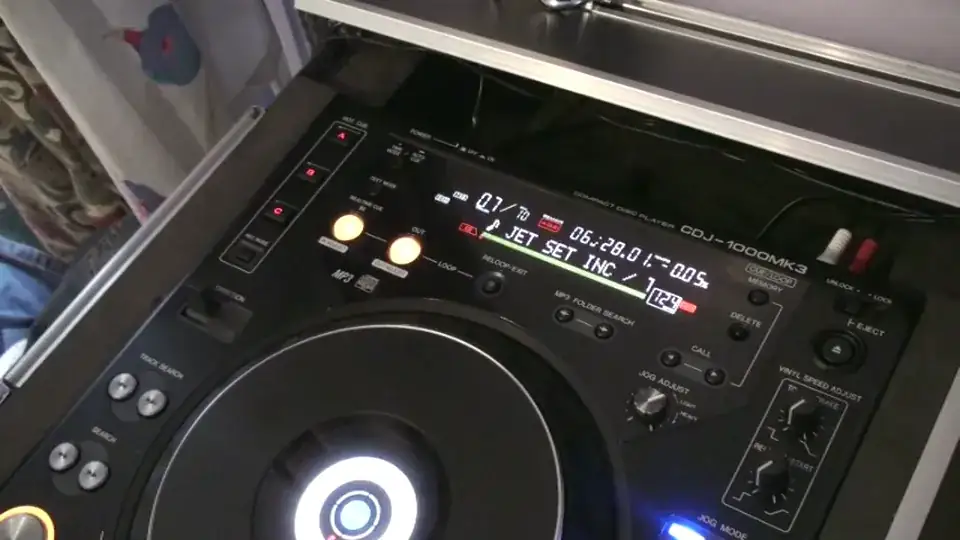
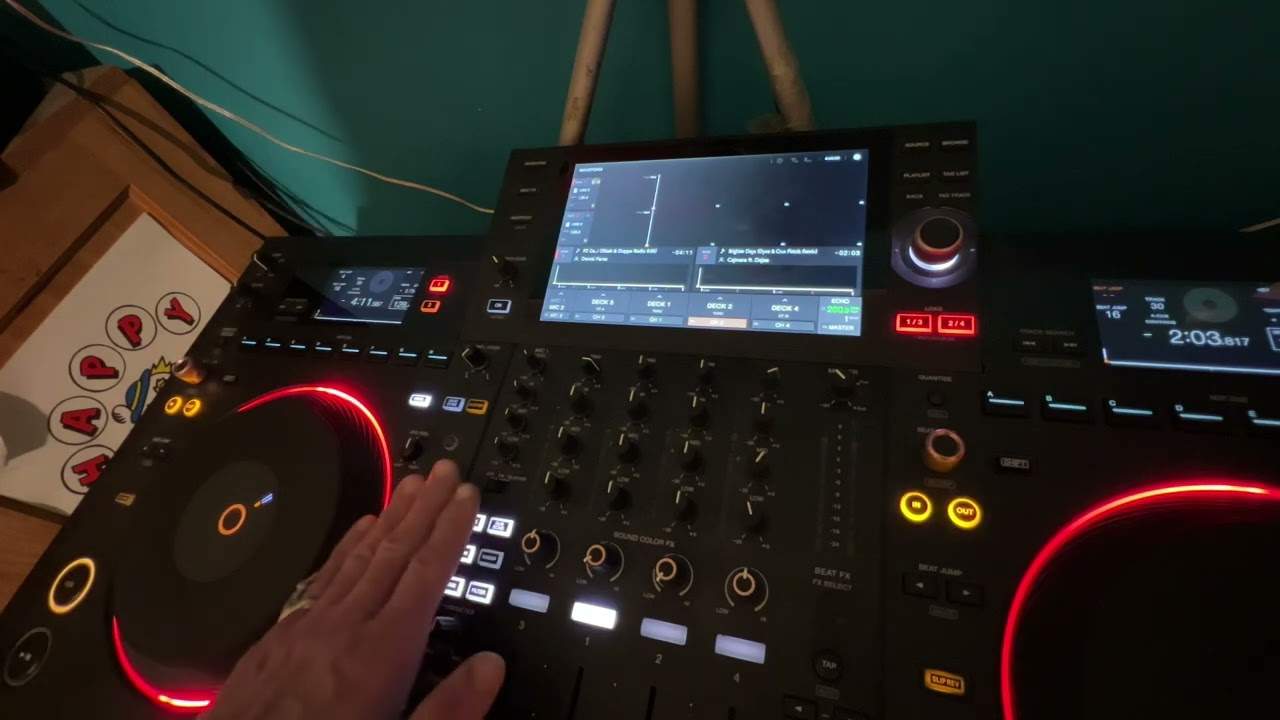
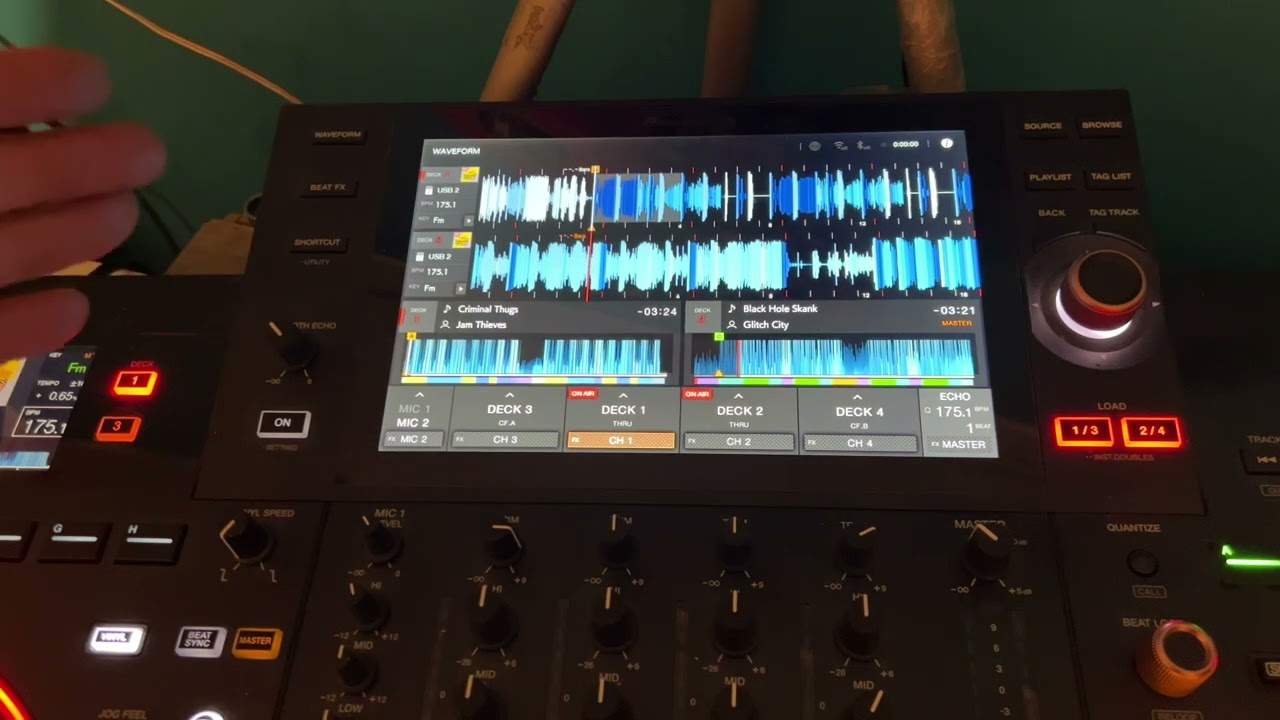
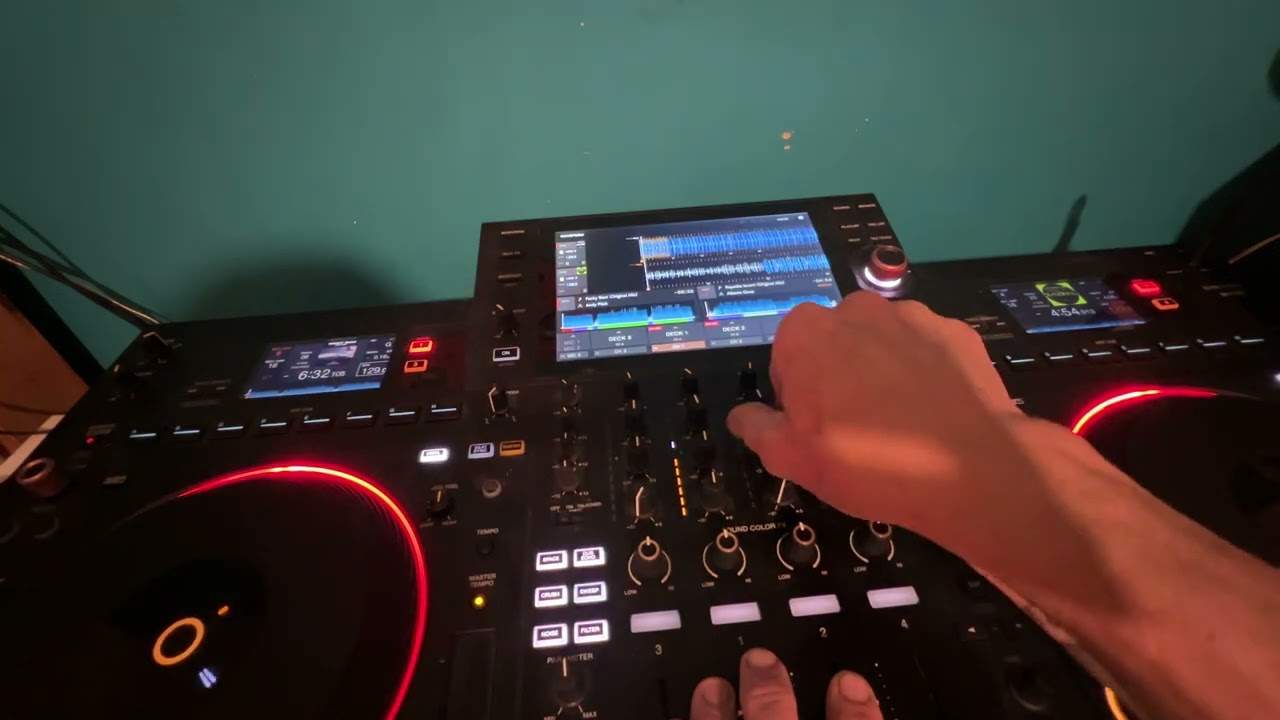
Alright folks, quick demo stroke tutorial for you on this guy here. It's the CDJ-1000 Mark III. In this video I'm going to show you how to use the hot cue buttons A, B and C. You'll find those top left hand corner of the unit. A at the top, then B, then C. Just below C you've got a button with record mode. We'll be using that as well. What you need to do first of all is set the record mode so A, B and C are shining in red. Three different tracks. The track I'm going to be using for Hot Cue A is Jet Set Inc, a track entitled Too Shy. For B, I'm going to be using Arch Type featuring Sarah White, a track entitled I Want To Be With You. And on C, I'm going to be using Andy Sant featuring Amy Hanna, a track entitled In Between Dreams. So with the hot cues in red, I'm going to play the music and we'll start off with Hot Cue A.
1:48 Any of these hot cues
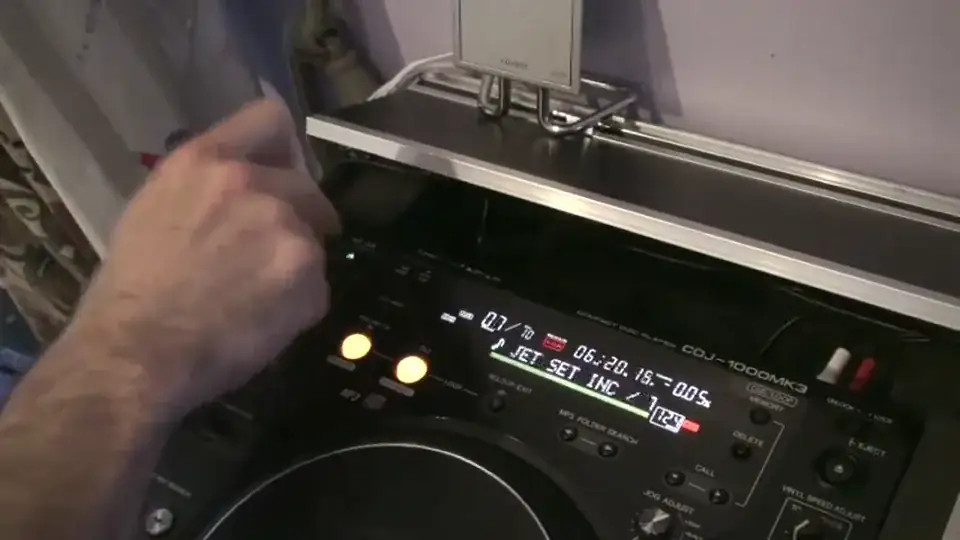
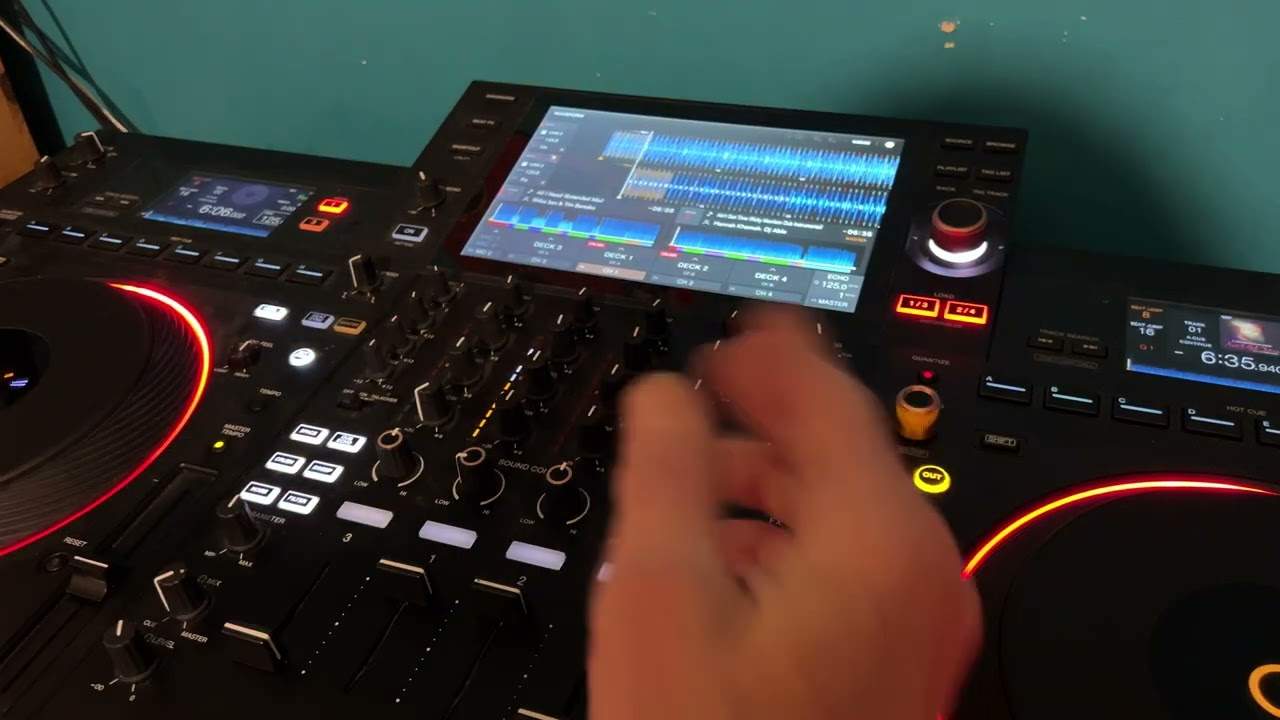
What I've done now, I set the cue point at that point on that track. I'm going to press Q, I'm going to go to the next track now and I'm going to set a cue point on B. Okay, I've done exactly the same now, I've set a cue point on B on the second track. I'm going to go to the third track now and we'll do exactly the same on C. So here we go. Okay, what I've done now, I've set a cue point from each track on A, B... The first track I played, cue point on A. The second track I played, cue point on B. And the third track, cue point on C. What I'm going to do now is press this button here, the record mode. Now we've got these buttons shining in green. So, if I press play down here, watch what happens. Basically now I can go to any of these hot cues and go back to the exact point where I cued up the track on that individual song I started with.
Hope that's a help, practice and enjoy.
This transcript was produced automatically from the audio of the video and may contain mistakes.