 4:08
Setting the tonearm
On YouTube this video is called How to set the tone arm on a vinyl turntable
What this lesson teaches
This is the job that decides whether a turntable tracks or skips, and it is done in a strict order. Doing the steps out of sequence does not work, which is why so many decks in bedrooms are set up badly.
Before you start
Fit the cartridge to the headshell first, and keep a finger underneath the cartridge throughout.
The reason is immediate: the moment you release the arm clip and swing the arm away from its rest, it can drop. A stylus landing on a bare platter is a bent cantilever, and that is a new stylus. The finger costs nothing and prevents it.
1. Float the arm
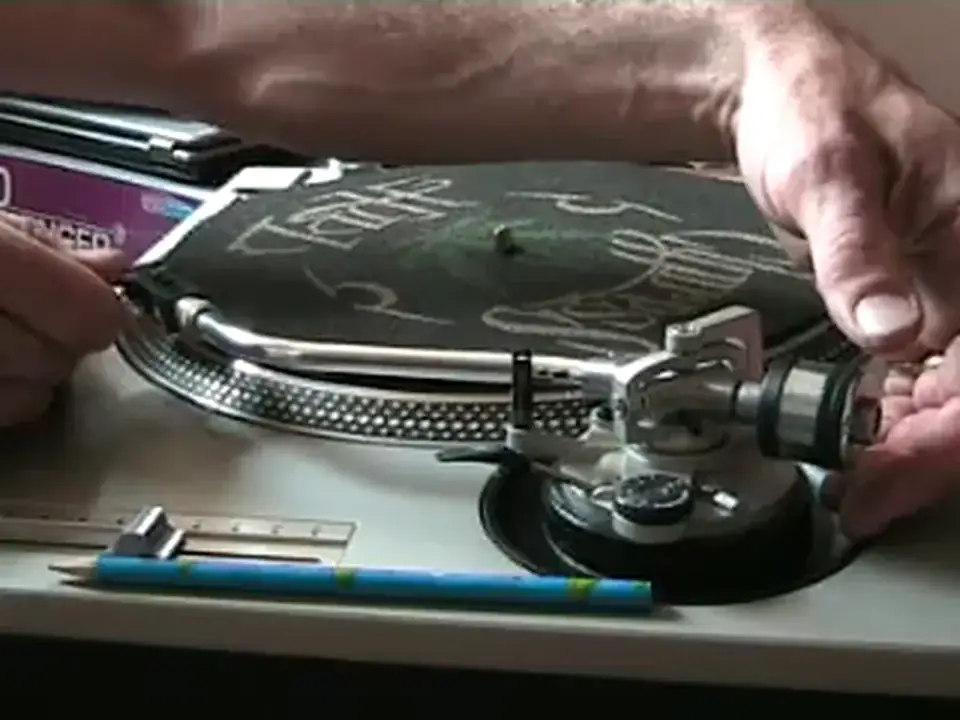
With anti-skate at zero and the arm off its rest, slide the counterweight backwards and forwards until the arm balances level - neither the cartridge end sinking nor the weight end sinking. It should hover parallel with the top of the turntable.
He takes a while over this on camera and says it is worth the time, which it is. You are looking for the point where the arm has no preference at all.
What you have just done is cancel out the weight of the arm and cartridge, so that whatever you add next is the only downward force acting on the stylus.
2. Zero the dial
Hold the counterweight still so it cannot move, and turn the numbered ring on it round to zero.
This is the step people skip and it is the one that makes the rest meaningful. You are not changing the balance - you are telling the scale that this balanced position is "nought grams".
3. Dial in the tracking force
Now turn the whole counterweight until the dial reads the figure your cartridge requires.
Every cartridge is different and the number is on the box: two and a half grams, three, three and a half. Guessing is the mistake. Too light and the stylus skates out of the groove; too heavy and you wear both the record and the stylus faster than you need to.
4. Anti-skate
The small dial beside the arm, and it is worth knowing what it is for.
As the record turns, friction between the groove and the stylus drags the arm inwards, towards the spindle. Left alone, that pulls the stylus harder against the inner groove wall than the outer one - uneven pressure, uneven wear, and a tendency to jump out on one side.
Anti-skate applies a small outward force to cancel it. He sets it by eye: wind it up and the arm swings away to the rest, so back it off until the arm sits still. As a rule of thumb it is set to roughly match the tracking force, and he notes you may not need to move it at all.
5. Height
Some decks have it, some do not.
For mixing, flat - the arm parallel to the record.
For scratching, tip the back up very slightly so the weight end is a little higher than the cartridge. It helps the stylus stay in the groove under a hand, which is exactly the situation where it is most likely to leave.
Why bother
His closing reason is the right one and it is not about sound quality. It is that a properly set arm stops the needle jumping all over the place, and makes your records last longer. Both of those are money.
Contents of the video
0:00 Set the tonearm on a vinyl
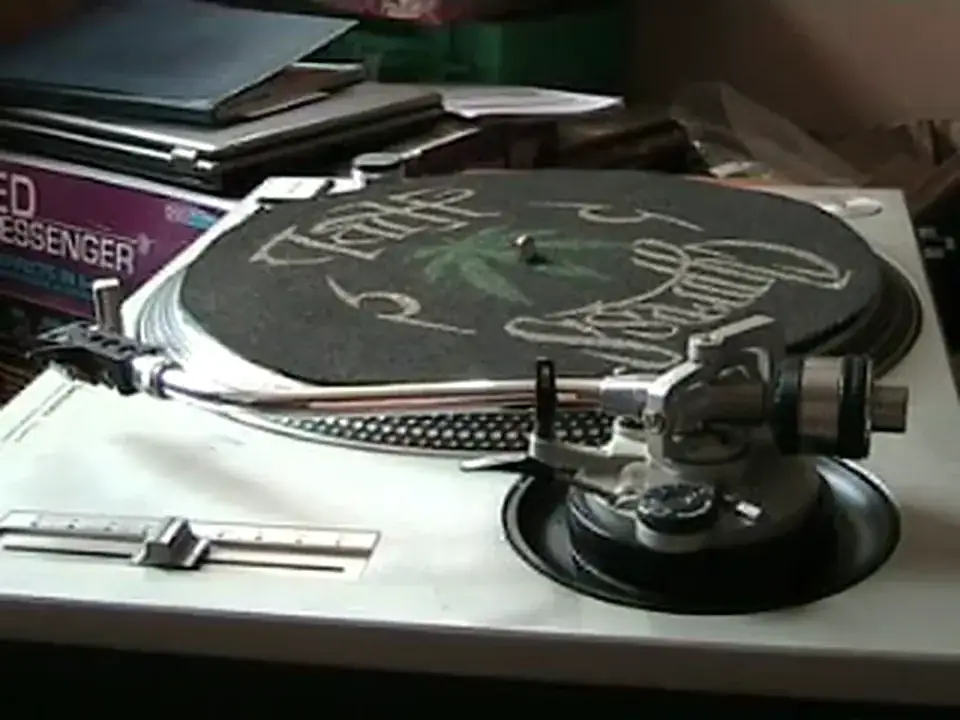
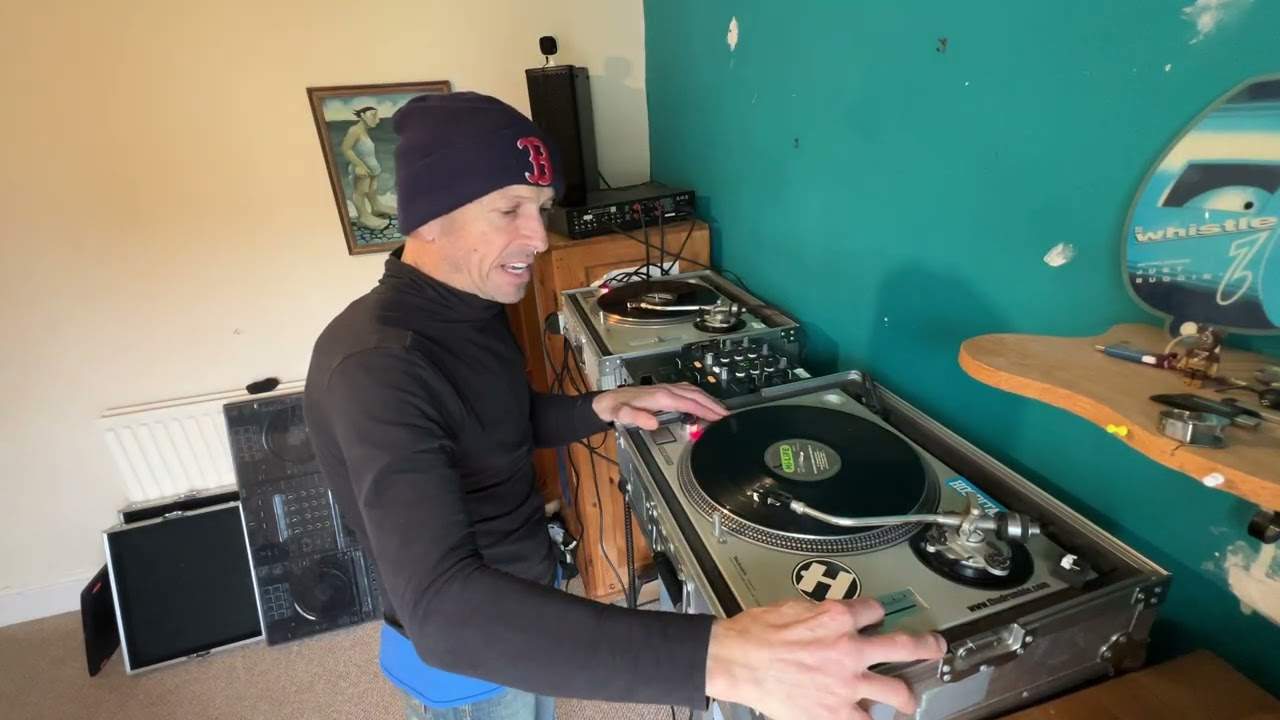
Alright folks, in this video I'm going to show you how to set the tonearm on a vinyl turntable. Now first of all make sure you've got your specific cartridge and stylo on the end of the actual tonearm itself. Secondly, small tip here, just make sure that you've got your finger underneath the actual cartridge at the ready. Now very quickly by doing something like this it will... Stop, hopefully, stop the actual needle, the styli from skipping. More importantly, it will prolong the life of your vinyl as well. Now the reason I've got my finger underneath here is because there's a good chance when I take the clip off the arm and then move this over away from the arm that the actual cartridge will drop. So you've got your finger at the ready so the needle doesn't bang against the actual turntable. Now what I need to do, I need to get this particular tonearm to float.
1:23 There you go, that's near enough floating
Watch what happens. Can you see now the actual cartridge is going up and the actual weight is going down? What we need to do, we need to have it so it's flat. If you can see the way the pen is there, it's flat exactly the same as the top of the actual turntable itself. Now we can do that by either moving the weight forwards or backwards. Always make sure that you've got your finger at the ready. So if I just move that back a little bit, forwards a tiny bit, I still need to go back. A segment, back again, back, back a bit more, forwards, and let's have a look, back a bit. I mean this will take a little bit of time, but it's well worth it. Right, there you go, that's near enough floating. Alright, we've got a dial here, it's got anti-skating on it. Now watch what happens if I move this anti-skating all the way to number three. What happened then is the tonearm moved straight to the actual armrest.
2:31 Every single cartridge in styli will have a different setting
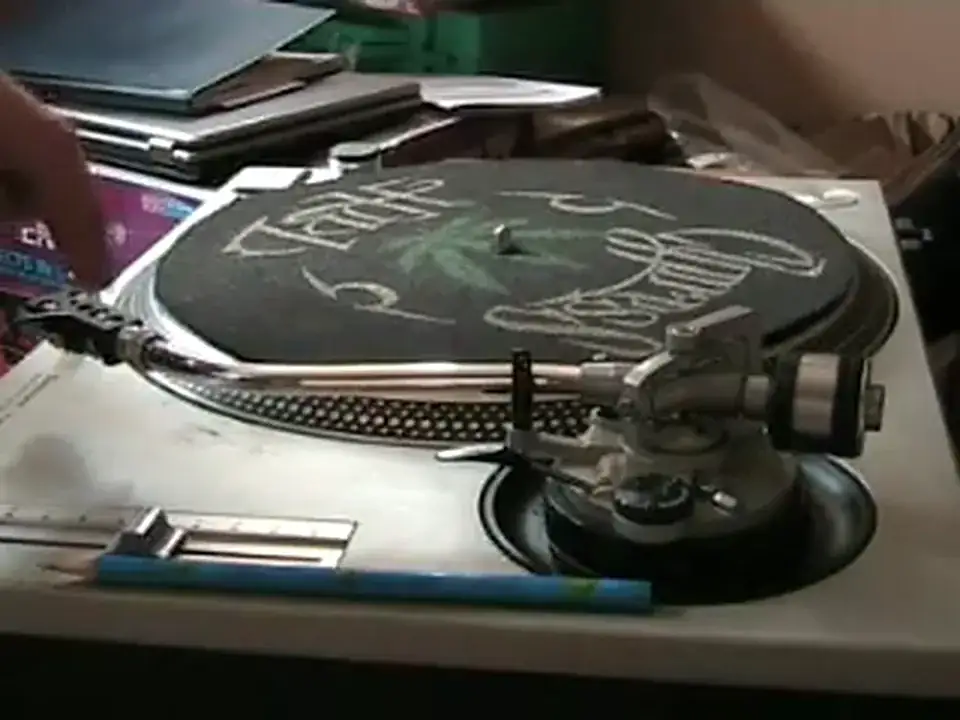
It's now moving away from the actual armrest. Now what I need to do, I need to set the anti-skating so it's near enough staying still. Now you may find that you may not need to move the anti-skating at all. Now once we've got that set, with my finger on the actual weight at the back, I need to move this black dial to the zero position, like so. Now that's at the zero position. Okay, here's the deal now. Every single cartridge in styli will have a different setting. Now on the box you'll have maybe a weight of 2.5 grams or maybe 3 grams or 3.5 grams. Now that's where this guy here comes into play. Now what I'm going to do now, I'm just going to pause the camera and we'll have a closer look at this area. Alright, let's say hypothetically this cartridge was set for 2.5 grams. Now what I need to do then, I need to move this
There you go. Right, once you've got that set, it's just a matter then of setting the actual height adjustment. Now some turntables have got height adjustments, some haven't. What you generally find is if I suppose you're a turntablist and you like cutting, scratching, that kind of thing, quite often it's a good idea maybe to have the actual arm itself so it's tipped very slightly In other words, the weight is a little bit higher than the actual cartridge at the back. But let's say if you're just a general mixing DJ, then keep it straight and flat, exactly like that. So in other words, for a turntablist, maybe have the back lifted very slightly. For a normal DJ, a mixing DJ, have it flat like that. So there you go, a bit of an insight for you and hopefully this will...
Make sure that your needle isn't jumping all over the place and your vinyl lasts a little bit longer. Practice and enjoy!
This transcript was produced automatically from the audio of the video and may contain mistakes.
This video is part of
Related videos
-
Complete Beginner DJ Lessons Tags Key BPM Etc
A more advanced lesson folded in early, and worth doing once rather than putting off, because everything it sets up gets used for years…
-
Complete Beginner DJ Mixing Lessons Video 19 Getting Your Kit Ready for an Easy Mix
A whole lesson on getting ready, which is the right call - the exercise in the next video only teaches anything if the two decks are…