 6:19
Needle jumping, and anti-skating
On YouTube this video is called Needle jumping on your turntable? Set the Anti-Skating
What this lesson teaches
Six minutes on a dial most people never touch, and the test he describes is the standard one.
Where it is
On an SL-1200 or 1210 - identical machines, different colour - the anti-skate is the small black dial between the tone-arm housing and the counterweight, to the right of the arm.
What it is for
A record spinning under a stylus pulls the arm inwards, towards the centre. Anti-skate applies a small outward force to cancel that, so the stylus sits centred in the groove rather than pressed against its inner wall.
Get it wrong and the cartridge tracks lopsided: one channel louder than the other, distortion on loud passages, and a needle more inclined to jump.
What you need
A one-sided record - a disc with music on one face and a blank, mirror-shiny surface on the other. The blank side is the test surface, and he points out how to tell them apart: the playing side is duller, the blank side shiny enough to see your face in.
A blank groove-free surface is essential, because any groove will hold the stylus and tell you nothing.
And a flat, solid surface under the turntable. A deck on a slope will give you a reading for the slope.
You do not need it plugged into anything. This is a mechanical test.
The test
1. Turntable on and spinning, blank side up. 2. Use the cue lever to raise the arm, and position the stylus over the middle of the record, floating. 3. Lower the lever so the stylus rests on the blank surface. 4. Watch.
If the arm stays exactly where you put it, the anti-skate is correct at its current setting. Done.
If the arm drifts inwards - towards the spindle - or outwards, towards the rim, the setting is wrong.
The adjustment, which is iterative
This is the part worth following carefully, because it is a search rather than a lookup.
1. Move the dial a fraction of a turn, and remember which way you turned it. 2. Lift, reposition in the middle, lower, watch. 3. If it drifts slower than last time, you went the right way - carry on in that direction, a little at a time. 4. If it drifts faster, you went the wrong way. Turn back the other way - but past the original position, because the original was already wrong. 5. Repeat. Two or three passes and the drift should stop entirely.
Same procedure whichever direction it was drifting; only the eventual dial position differs.
The irony he admits to
His own anti-skate does not work, and he says so. The deck is thirty years old and the tone arm was replaced five or six years ago - with one from an SL-1210, fitted to an SL-1200 - so the demonstration drifts every time.
Which makes the lesson more useful rather than less: you can see clearly what a failed anti-skate looks like, and you learn that it is a mechanism that can simply be worn out, in which case no amount of adjustment will settle it.
Contents of the video
0:00 Both the same, the only difference is the colour
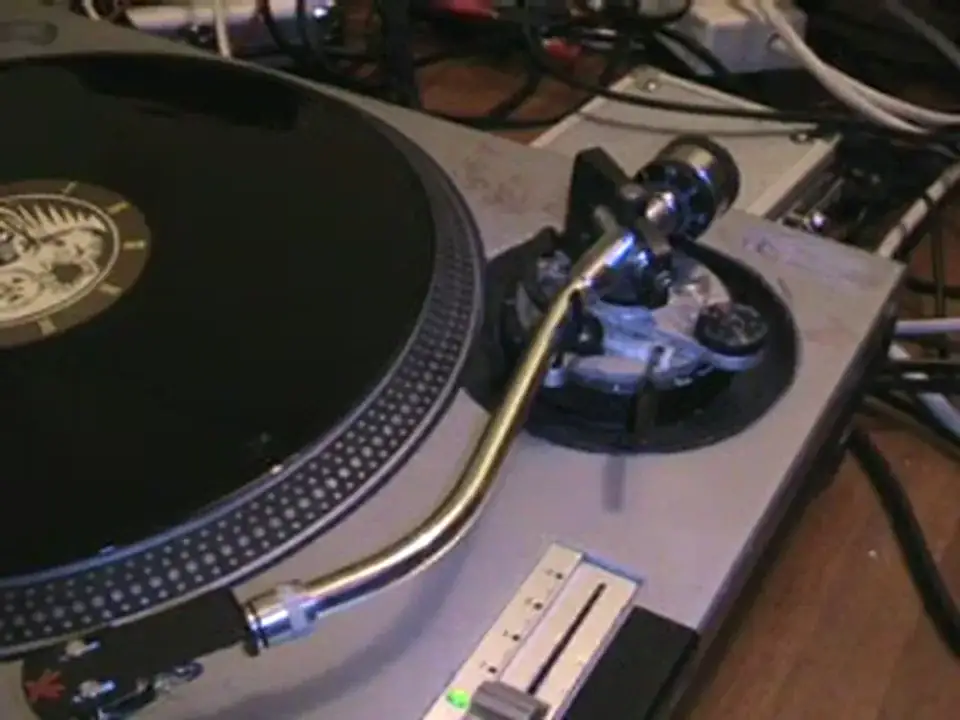
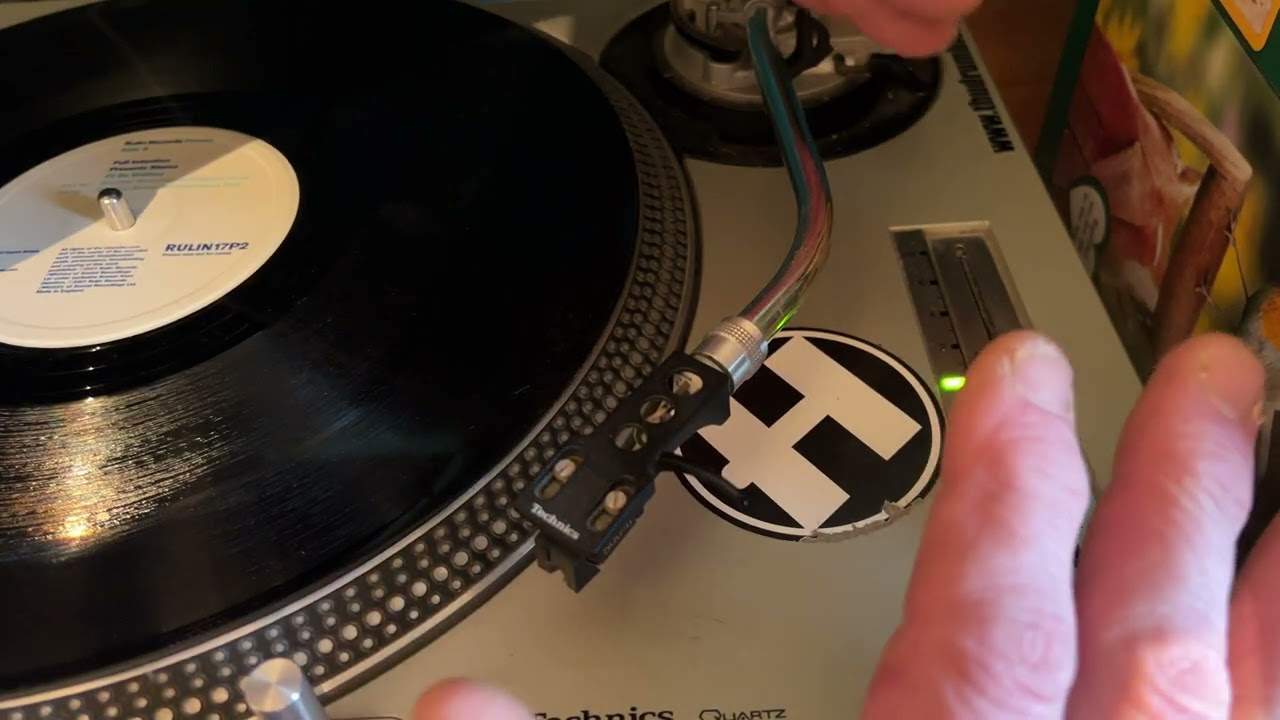
Alright folks, in this video what we're going to be doing is looking at the anti-skating mechanism on a Technics SL1200M2 or a basic SL1200. Both the same, the only difference is the colour. Quote me if I'm wrong but I'm pretty sure that's all it is. Right now then, again I do talk a lot, I do say a lot, but then again you've only got a short amount of time to try and put as much information as possible. Now then, where is the anti-skating mechanism on the turntable? Basically what you have, you have your cartridge styline which is just about there. You have the tonearm, S-shaped tonearm on an SL1200 and then you have an actual housing mechanism here that holds the tonearm to the base, to the actual turntable itself. Behind the actual tonearm you have the counterweight. Now then, in between the counterweight and the tonearm, to the right of that you have a black dial. Now that is your anti-skating mechanism.
Very briefly what you need to do, make sure the turntable is on a flat, solid surface. The next thing you need, you definitely need, is a one-sided piece of vinyl. You can see there that's a very shiny, clear side. Now that means there's no music on that at all, as opposed to the opposite side where the music is, it's a bit more of a duller colour. It's still shiny but that's quite dull as opposed to there, where you could probably see your ugly mug in that, couldn't you? Right, now then. What you need to do, now also there's an irony attached to this and that is that the anti-skating on this particular turntable doesn't work because it's 30 years old and at one point about 5 or 6 years ago I had to change the entire tone arm. As you can see this is from an SL1210 which is the black turntable and this is the original SL1200. Right, now this is what you need to do. Make sure your turntable is turning so turn it on.
2:16 Here, has lifted the tone arm above it
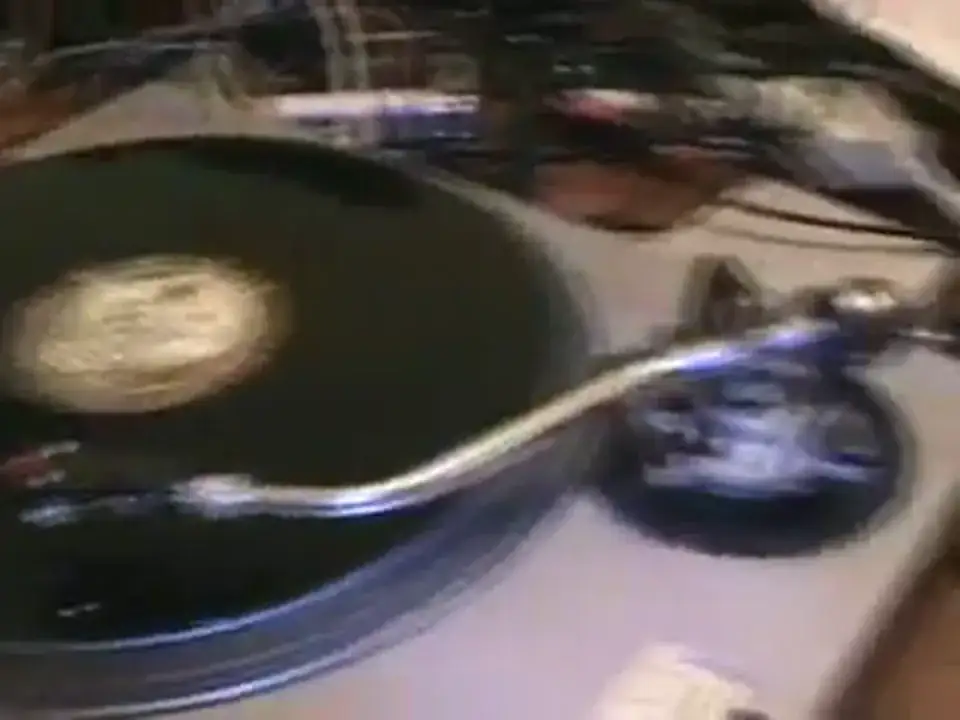
Okay, and by the way, while you're doing this, there's no need to have it plugged in to any mixer or anything at all. You can have this completely separate, okay? Now then, you've got just in front of the anti-skating mechanism, you've got a little arm that lifts your tonearm. So lift that up. Now then, have the tonearm situated so it's in the centre of the piece of vinyl. But the actual styli is not touching the piece of vinyl, it's floating above it. And the reason being is because the actual arm... Here, has lifted the tone arm above it. Now then, let the tone arm drop down. What you should see is one of two things. You just saw that move to the centre. You should either see the tone arm staying in exactly the right position where it dropped. In other words, the needle or stylus is now on the actual piece of vinyl. But there's no groove, it's just sitting there by itself. If that is the case...
Then wherever the anti-skating is, wherever the position that is, that is the correct position for the anti-skating. Okay? If, as you saw there, and bearing in mind this one doesn't work, the tone arm moves to the centre of the record or to the outside of the record, it means that the anti-skating isn't working correctly. So what we need to do is you need to repeat that procedure. Move the arm up. We're going to move the actual arm into the centre. Now, I'm not going to put this on now because this doesn't work, okay? So I'm now not going to, I'm just going to talk you through it. I'm not going to turn the actual turntable on, we're just going to pretend. I like pretending, do you? Marvellous. Right, now then, what we need to do now is this. Let's say, hypothetically, which was the situation here, the cartridge, the arm, everything moved to the centre. Now you need to look at where the anti-skating is if we go a little bit closer.
We can afford to do that. Right, a little bit closer. Now then, what you need to do is just move the anti-skating dial a fraction of a turn and then likewise again we'll move out, we'll put the tone arm down and let's say the actual, remember now, the record's moving. Now then, let's say all of a sudden the actual cartridge arm etc. went in faster than the last time. What you have to do then, you have to consider and remember Which way you turn the anti-skating? If you turned it clockwise, then what you need to do then is turn it anti-clockwise. But don't turn it back to the first position because it was still moving then. You need to move it a little bit more and then you do the same again. You bring the actual arm up, leave it on the rest, get it into the centre of the record, put the arm down and then watch it. Now then at this point it should start to go in slower and then you...
4:39 Very briefly, first time it moves

Repeat that, but you move the anti-skating a bit more, and then it should start to go a little bit slower again, until eventually, when you've continued this process two or three times, you should find that the arm should stop moving full stop. In other words, if I show you very briefly, first time it moves fast, so you move the anti-skating a tiny bit, second time faster, so you need to move the anti-skating the opposite direction, but away from its original position. And then you try again. It'll move slower, and then you move the anti-skating again, it'll move slower again, then you move the anti-skating a tiny bit again, and you'll find eventually this arm here, the needle, the styli should stay exactly in that one position, full stop. Now then, the opposite applies, or sorry, no, say that again, the same applies if...
Let's say the arm is moving towards the outside of the turntable. In other words, you'll do exactly the same with the anti-skating. You'll move it a bit and then hopefully the arm will only move, it'll start to move slower. And then you move the anti-skating a tiny bit again and then the arm should start to move slower again until eventually the arm will stay in exactly the same position as where it dropped. Okay? Now I hope that is complete enough to double dutch you. I do apologise, I do talk fast, but then again, you know, there's only a certain amount of time and I do try and explain things as precisely and concisely as possible, alright? Thank you for watching, practice and enjoy, and I'm going to go and have a cup of tea now. Cheers!
This transcript was produced automatically from the audio of the video and may contain mistakes.