 4:37
Cue, play-pause and the scratch feature
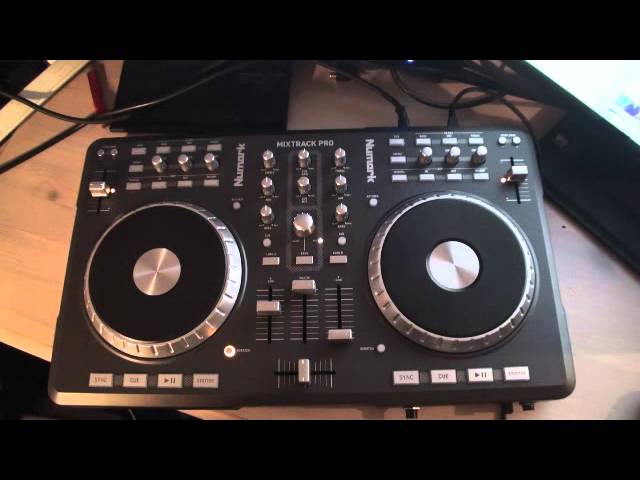
On YouTube this video is called NUMARK MIXTRACK PRO. Tutorial 4. Cue, Play Pause and the Scratch Feature
What this lesson teaches
A short lesson revisiting a control from the beginner course, now in a performance context.
The two modes
Scratch off. Hand on the platter, turn clockwise and the track speeds up; anticlockwise and it slows. Let go and it returns to the pitch setting. This is pitch bend - a temporary nudge, used for beatmatching.
Scratch on. Now the platter behaves like a record. Press down and the track stops. Move it anticlockwise and the audio goes backwards; clockwise and it goes forwards. Lift your hand and it carries on playing.
Same wheel, same gesture, entirely different results - and the LED on the scratch button is the only thing telling you which you are in.
The thing that makes it usable
In scratch mode, the audio you are moving is whatever is directly underneath the point where you stopped it. So you can stop anywhere, work that moment back and forth, and release to carry on.
That is exactly the vinyl behaviour from the first lessons in this course, which is the whole point of the mode existing.
Combining with cue and play/pause
He brings in the transport buttons alongside, and the combination is where the performance value is.
Cue returns you instantly to a stored point. Scratch mode lets you work the sound at that point. Play/pause commits.
So: press cue to land on the sample, scratch it, and press play to let the track run. That is a complete performance move assembled from three controls, and it is the controller equivalent of a turntablist finding a sample by hand.
The habit to build
Know which mode you are in before you touch the platter.
Reaching for a pitch nudge in scratch mode stops the record in front of the room. Reaching for a scratch in bend mode produces a wobble and nothing else. Both are the same mistake - acting without checking a button - and both are avoided by glancing at the LED until the habit is automatic.
Contents of the video
0:00 Scratch feature on the platter, also
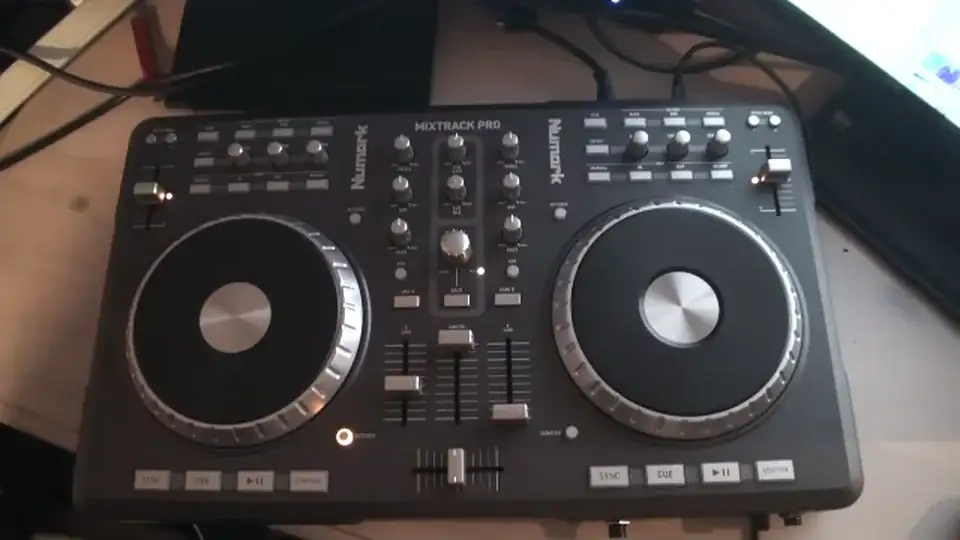
Alright guys, tutorial number 4 on this piece of kit from Newmark. It's known as the Mix Track Pro. In video number 4 we're going to look at the scratch feature on the platter, also the scratch button here and the cue and play pause. The track we're going to be using is called Higher. It's by Deception. I'll put a link in the description. First of all, if we disengage the scratch feature, press play. With my hand on the top of the platter you can hear The tune speed up clockwise, anti-clockwise we can hear the tune slow down. Engaging the scratch feature now we can see that's highlighted with an LED I do the same thing put my hand on the platter and we can stop the track also we can start to scratch the sound that is directly underneath the point at which I stopped that track. I can move the track back by moving
1:48 The track will start off from the point at which I pressed play pause
Anti-clockwise, I can put the track forward by moving clockwise. If I take my finger or fingers or hand off the platter, the track will carry on going. Again, scratch feature disengaged, scratch feature engaged, press play pause. What's happened now by pressing play pause at that point in the track? When I press play pause again... The track will start off from the point at which I pressed play pause. If I press cue, what has happened now, the track has gone right back to the beginning of the track or alternatively it would have gone back to the point at which I would have set the cue point. So if I press play pause, press cue, It will go back to the point at which I set the cue point. And for this video, I set the cue point at the beginning of the track. So if we have a look, we can see there, I set the cue at the beginning of the track. What we'll do, we'll have a look at the software now. By the way, the software I'm using is Traktor LE. So you can see the cue point down here.
3:16 To the second point where I put that cue point, which is there
And cue. Now if I want to, using the scratch feature, I've now got my hand on the platter and I'm going to move the track forward. At any point now, I can press cue. You'll notice now the cue has moved from the beginning to the point which I set it. If I now take my finger off the platter, press play pause, the track will start. To the second point where I put that cue point, which is there. So what this is telling me is that I can at any point in that track set a cue point. So for example if I move it forward, press cue again on the hardware, we have a new cue point. Press play pause and away we go. Press cue again and we start. Also if we go and have a look once more at the hardware, I can press cue, keep my finger on the cue button,
And the track will carry on playing. Take my finger off, it stops, it goes back to that cue point, beg your pardon. So again, play, back to the cue point. Play, back to the cue point. Play, at the same time I've got my finger on the cue, if I now press at the same time play pause, the track will carry on playing. Hope that's been a help. Tutorial number four, practice and enjoy.
This transcript was produced automatically from the audio of the video and may contain mistakes.