 16:08
Pioneer DDJ-T1 Video 2 The set up with Traktor
Contents of the video
0:01 Video number two on the Pioneer DDJ-T1
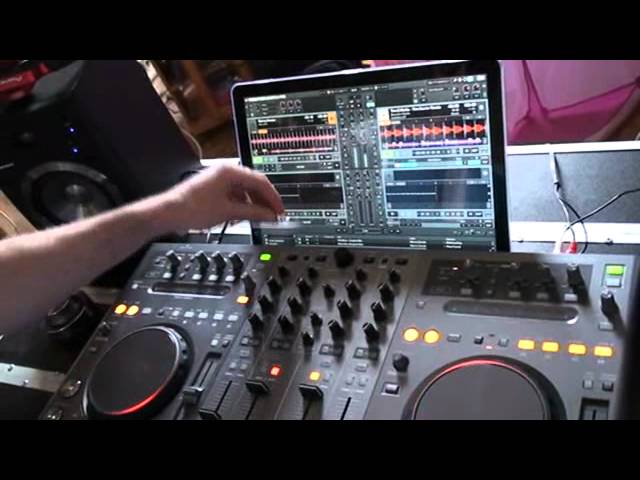
Alright guys, video number two on the Pioneer DDJ-T1. Rob, over to you sir. Okay so, what I've done, I've rebooted my software now. So this is what Traktor will look like when you first turn it on. I've set it up so, as you saw in the previous video, to have my four decks set up. So this is an initialised view of the software, no music in any of the virtual decks. So I'm just going to explain to you how to load music into each deck using the DDJ-T1 interface. So the idea of the controller is, once you've turned the software on and you've plugged your cables into your computer, you don't then have to touch the keyboard at all. All the navigation and all the control is done entirely on the hardware interface.
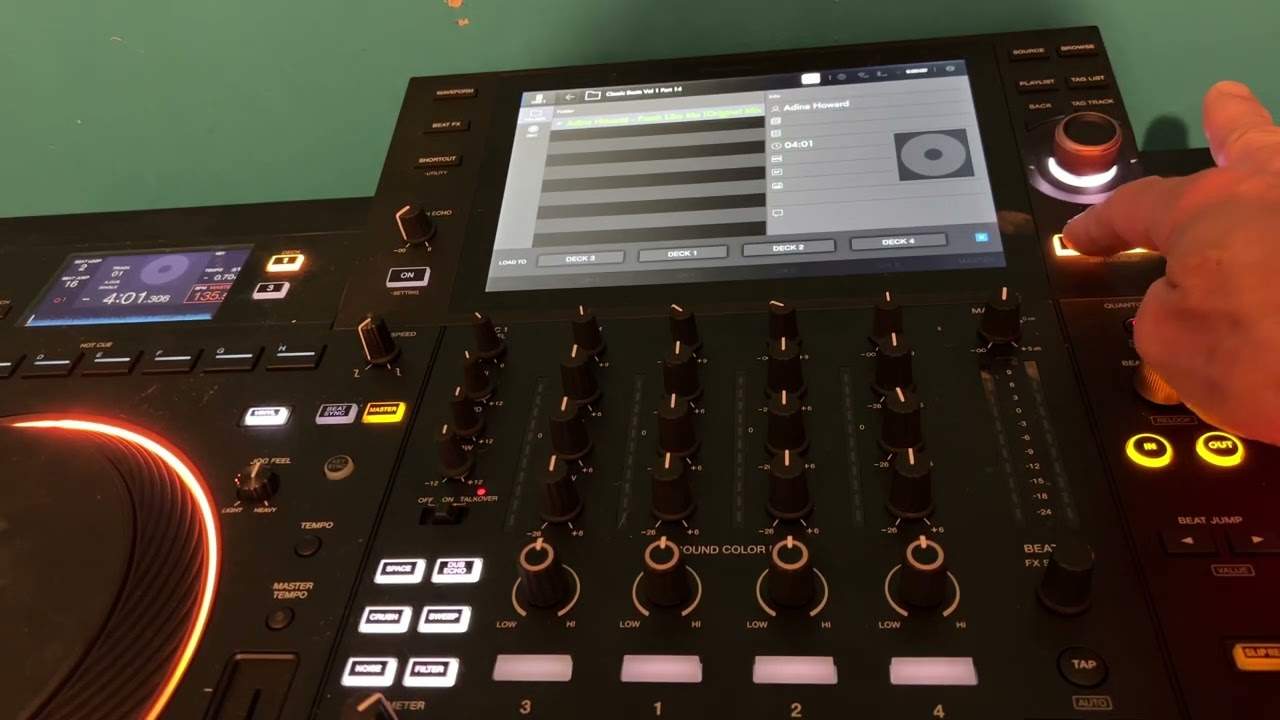
So I've docked my laptop underneath. I'm then going to use the top section of the unit. So this is our browser and navigation section up at the top. You can see we've got a large rotary knob in the middle. This gives us access to our music. So I think most people nowadays are using iTunes. I know pretty much everyone I know is using iTunes. If I jump into my, press my rotary knob, it displays all the music that's available on my computer. So if you were storing your folders on your desktop for example, I'm going to scroll down this tree button here and turning the rotary knob allows us access to different areas of the computer. So say if all my stuff was on my desktop, I jump into Explorer, scroll down, Macintosh HD and you know continue scrolling down until I find my desktop.
For this example, I'm using iTunes, so holding down the tree button again, I'm going to scroll down to my iTunes. Now as soon as the highlighter jumps onto iTunes, it adds a little bit of music to it. It immediately displays everything that's available in there. Nice. So you can see if I keep holding the tree down, if I let go of the tree button, so if I remove my finger from that and then adjust the rotary knob, it goes into the playlist that's highlighted over here. Straight from there over to there? Yeah. So this is your tree, this is your playlist. Yep. So at the moment without me pressing the tree, it's just going to scroll through the highlighted playlist but I want to change it. So I'm going to hold down tree and then scroll down.
2:39 All my music is all pre-organized in iTunes
Do you reckon they call it tree because it is a bit like a tree. It starts off with one place and then splits off into different sort of branches. Yeah, that's it. That's it, yeah. Yeah, excellent. Explore your different branches. So today I'm feeling techy. I'm going to jump onto my techno playlist which has all been assigned in iTunes. So all my music is all pre-organized in iTunes. You know, I download my tracks and throw them into the corresponding playlist. It's a new laptop so there's not a great deal on it. But let's jump into techno. So release your finger off the tree button and then we're free to scroll through and select a track. So let me find, say that one. I know that for a while. Highlight the track you want to play
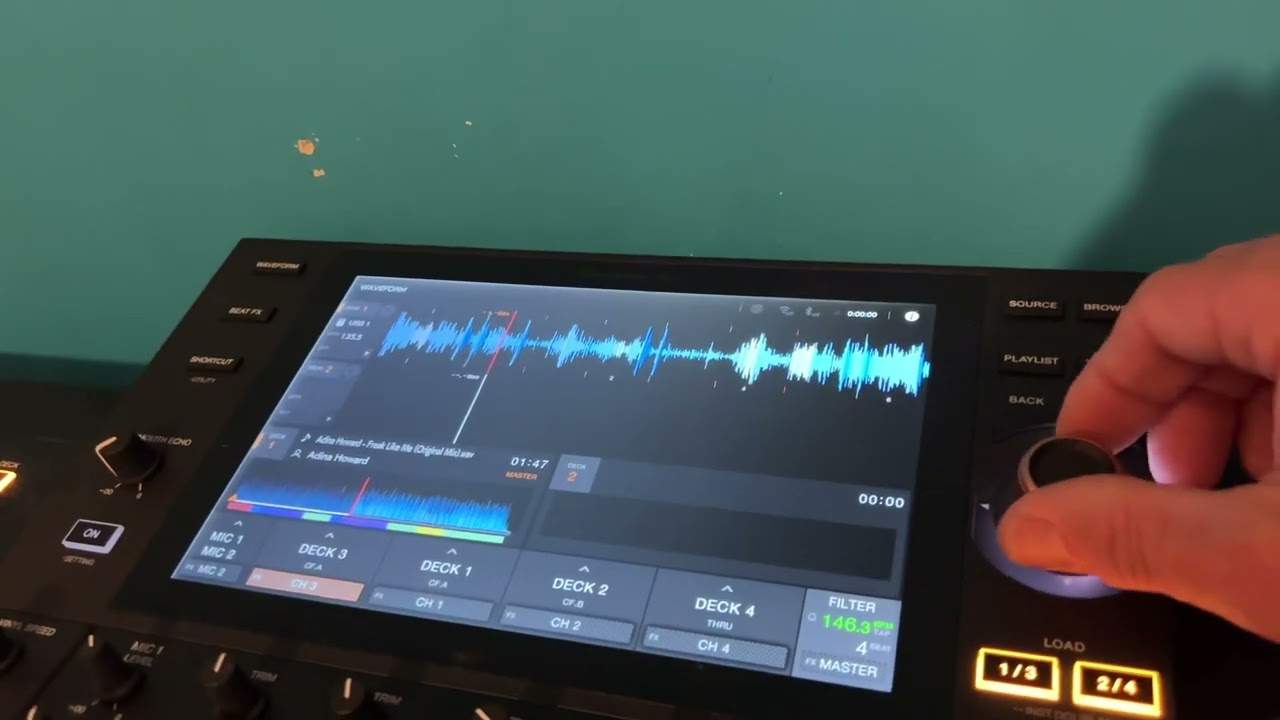
And then you've got a choice of which deck you're going to load it into. A, B, C and D like we showed you before. So I'm going to start off with A. Now as soon as I hit the load button, the screen changes and deck A is now displaying a waveform display. One of the nice things about Traktor 2 is the ability to change the color of the waveform display. So I've got it set to spectrum which is pretty nice. Can you just show how we do that? Is it all good, do you have to go back to settings again? Yeah, yeah, it's all in settings. So to access my settings, I'm using the mouse on my computer. So let me jump in. Settings. And it's under, I think, deck settings. Let's have a look. Yeah, so under your deck settings where we chose to display deck C and D earlier
If I scroll to the bottom, we've got color mode. You've got various different color modes in there that all look different. It's in telly color so different volumes of you know, different segments of the track will be displayed in different colors. So breakdowns will be in lighter color. I prefer spectrum just because it looks cool. Now when I've got that track loaded into deck A you're good to go. So let's check our faders over to the left where deck A will be assigned. Turn the fader up on channel 8 and then, you know, anyone who's ever used Pioneer equipment before will be familiar with the Pioneer setup and anyone who hasn't used Pioneer equipment before you know, it's very user friendly it's ergonomic and it's easy to get to grips with.
There's no struggling on this controller with small fiddly controls. You've actually got two CDJs to work with. Yeah. So, you know, just like you would on a normal CDJ except this time we're not playing CDs or USB we're controlling track ups. So hit play adjust the tempo to maybe a bit slower that's my first track going in my set now what I'm gonna do pick a track to go with that so while that's playing jump back into my browser like this using the rotary knob pick another track so say that now to the next one yeah, now normally I'd be playing in headphones so I'd beat match I'd cue this track up in the traditional way and get the BPM myself listening by ear on my headphones because I'm talking to you I haven't got a set of headphones on
So I'm literally gonna press the sync function now track the sync function is very accurate it will put two tracks together provided the beat grids are sitting sitting spot on the transients of the track the two tracks will be snapped together perfectly so I know it's gonna be in time so I'm gonna put my fader up straight away maybe kill the bass now I've got two tracks running I'm gonna get this track the initial track into a loop
13:26 Change effect, feature freeze, effect change
Now I'm gonna do that using a hot cue I've pre-assigned a loop on this track already so if I hit hot cue there now I should probably explain what the hot cues do as well so the benefit of using well digital vinyl systems and CDJs both have this feature the ability to pre-program eight different points on the track that you can jump to at the touch of a button so if I hit point one it jumps back to the start of the track where my hot cue 1 is set if I hit hot cue 2 if we focus on the software for one second you can see it jumps to a different part of the track where I pre-set hot cue 2 to be will the software match it for you? let's say if you hit a cue point and you're slightly off will the software put it into grid for you?
Yeah one of the key benefits of using digital vinyl systems is the fact you know it takes out a bit of the human element so every time on track day you hit a cue point you can hear it slightly out of time it provided quantize is turned on on the software that's important didn't it? yeah it needs to be turned on here so snap and quantize you've got S and Q okay is that done there just by clicking on those icons or do you have to go into literally by clicking like so got ya alright so using your mouse make sure they're highlighted and it you know it takes out that's an important factor though isn't it really make sure they're highlighted yeah got ya makes your life a little bit easier takes a little bit of the stress out of pushing them in on time
8:16 House, london, needle search
When you're focusing on other creative aspects of your mix yeah so we've got two tracks running together now because if just to tell people you are also a DJ as well whereabouts do you play? house parties anything like that yeah house parties of course mainly London London based DJ so nice you know I play a lot of techno music a lot of tech house kind of stuff around East London Ministry of Sound run a promotion called Esoteric in there cool are you allowed to get information about how people get hold of you on Facebook or anything like that of course any if you want to check out my music I produce as well jump onto soundcloud.com forward slash Anderson tracks can you spell that out just a-n-d e-r-s-o-n t-r-a-x no c-k-s c right okay traditional version of tracks
Tracks got ya so yeah you can check out some of my stuff on there couple of mixes up for download as well so now we've got two tracks synced together jumping onto the three band EQ you can see this track I've killed the bass so literally all I'm gonna do to create to make the mix come to life I'm gonna kill the bass of that track and throw this one in
You know and then you can get creative you can either start signing effects to these two tracks or you could start working with another two decks so this unit as I said is designed in conjunction with Native Instruments so it's it looks the same as the software it's been designed to look the same as the software so these sections at the top of the unit are our effects banks now I should probably mention that loss in sound is due to me just brushing my finger against the needle search needle search yeah I said that now yeah this is a really cool feature it lets you scroll to any point in the track so you can see as I'm scrolling my finger this is a technology from the CDJ-2000 incorporated into the software but if I release it hit play
10:34 Effects, three, switch
See it'll be in time again now to stop that happening you know you don't want that happening when you're playing out or you're playing in a house party you need to highlight these buttons so the function button there will disable the needle search strip it's almost like the opposite because quite often when a light's on this way it's on and it means it's disengaged yeah so fair enough so important to switch that on because obviously every time you reach for the effects banks up here chances are you're gonna swipe your fingers so you know make sure they're highlighted okay then to operate the effects so I've got two effects bags you can see them in group mode and single mode anyone using an older version of Traktor 2 will know them as advanced and chain mode
They're being changed in the new version of Traktor but you can see them up at the top of the software so this is effect one now this is in grouped mode you can see we've got three effects so we've got delay reverb and filter three effects available in group mode now turn on to assign these effects to a specific channel you need to go back to the unit and literally turn on effect one on the desired track so I've assigned effect one onto both tracks so any adjustments I make on the effect itself will affect both of these channels now let me go back up to the unit up to the controller now I'm now gonna turn on my effects so it looks exactly the same I've got three rotary pots controlling each effect and an on off switch and a dry wet switch and this
Switch doesn't actually do anything in grouped mode then you can scroll through the effects as well using these three buttons so you've got one two and three which are one two and three yeah so if I press that number one you see the effect changes function which on this effect select you can see it's in white writing it says back on the hardware actually on the T1 itself you see it says back there that will scroll backwards through the effects always good to know so I can jump back to the desired effect that I had before now if I turn them on and increase the rotary switch the dry to wet they're getting a bit wet so I can get rid of that and then you can see the effect changes as well so if I press this button here you can see that the effect is set to advanced
Mode for the effects however I've got effect two set to advanced mode if you look up on the screen you're able to say a delay a normal bog standard delay which is right at the start you can see as I'm scrolling through the amount of effects that are actually available so I'm holding down shift and you're pressing set back so now I've got my delay and you've got a cool feature which is freeze so I'm gonna manipulate the effect to sound how I want it to sound change the filter the feedback and the rate but then we've got this cool feature which is freeze so if I then hit it's gonna change the effect so if I hit it it will change the effect and it will change the effect so that is what we're going to show you next time so thanks for watching and I'll see you in the next video bye bye
This transcript was produced automatically from the audio of the video and may contain mistakes.
Related videos
-
Complete Beginner DJ Lessons Tags Key BPM Etc
A more advanced lesson folded in early, and worth doing once rather than putting off, because everything it sets up gets used for years…
-
Complete Beginner DJ Mixing Lessons Video 19 Getting Your Kit Ready for an Easy Mix
A whole lesson on getting ready, which is the right call - the exercise in the next video only teaches anything if the two decks are…