 4:33
Pioneer DJM900 NEXUS Tutorial 2, Up Fader's, Cross Fader Assign and Cross Fader
Contents of the video
0:00 Tutorial number two on the DJM-900 Nexus mixer from Pioneer
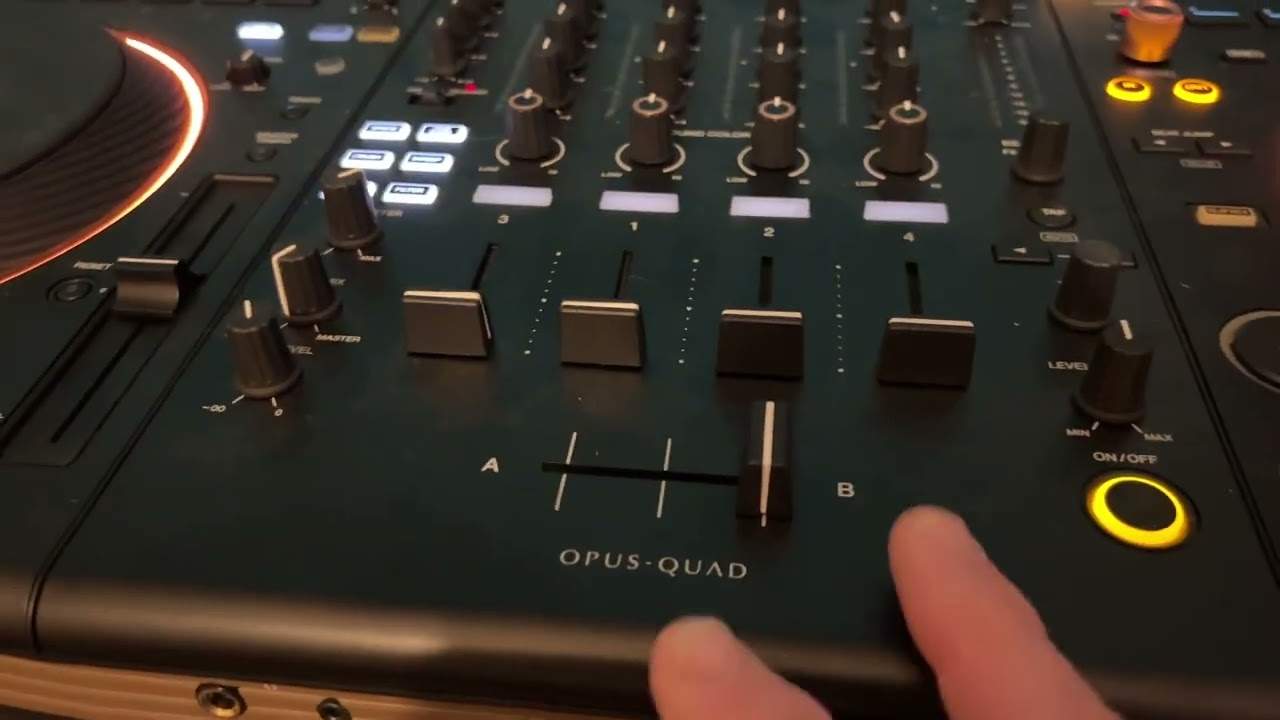
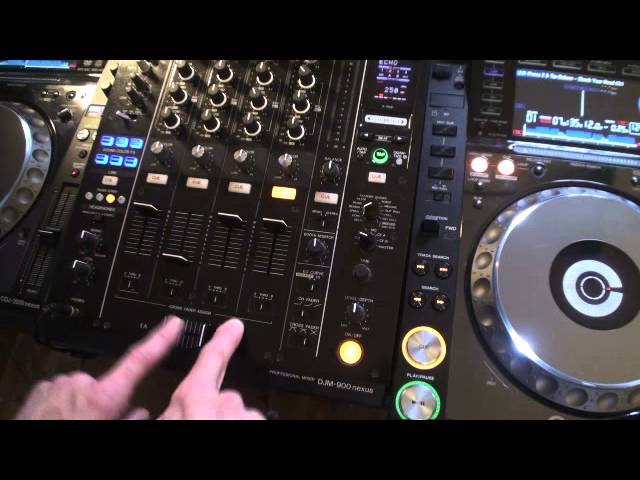
Alright guys, tutorial number two on the DJM-900 Nexus mixer from Pioneer. In tutorial number two we're looking bottom centre of the mixer. There you will find the four up-faders, one, two, three and four. One being far left of the mixer, then two, then three, then four being at the right hand side of the mixer. Below the up-faders, also known as sliders, we have crossfade assign. There are four crossfade assign switches in total, one below each of the up-faders. Then below the crossfader assign, we have the crossfader itself. The crossfader assign switches can be set to three different positions. A on the left hand side, through is the centre position and B. It's the right position on the right hand side. By setting the assign to either A or B, we can then set that particular channel to the crossfader itself.
1:48 I can set channel four
The crossfader, when put on the right hand side, will be assigned to B. When moved to the left hand side, it will be assigned to A. So for example, on fader one, if I set the switch to A, I have... I have now assigned that channel to the crossfader at position A. If I then look at channel four, and I set channel four to B, I have now set channel one to A, and by moving the crossfade over to the B side, I have now set that crossfade to channel four. I can do the opposite if I want to. I can set channel four... I can set channel four to A, and channel one to B. Now, by having the crossfader on the right hand side, I'm able to listen or use channel one. If I move the crossfade over to A, I'm now able to use channel four.
2:44 I've now set channel three and four to the B side of the crossfade
If we bring those down, put the crossfader in the centre, and I set the switches to the through position on all of the channels. I can now utilise and use any of the channels in any position whatever, but the crossfade now has been completely disengaged. By setting each channel to the through position will let me now completely disengage the crossfade and just use the upfaders. But if I want to, I could for example set channel one and channel two to A. By moving the switch to the left hand side, I could, if I wanted to, set three and four to B. So now, I have got channel one and two on the side of the crossfade with A. I've now set channel three and four to the B side of the crossfade. So for example, if I now bring the volumes down on channel three and four...
...and move the crossfade to A... ...I will and can hear channel one and two, of course depending on if there is audio coming out of those channels. If I move the crossfade over to channel B... ...because I've now engaged the crossfade and channel three and four are now down to the lowest position... ...we will have no volume come out of the main PA or the booth. If I though then bring channel one and two down... ...and then move channel three and four down... ...I can now hear channel three and or four. If I move the crossfade over to side A... ...I will now not be able to hear through the main PA or the booth, channel three and four. Bring those down. What the crossfade assign will do... ...it will let you assign any channel to any side of the crossfade.
Hope that's been a help. Tutorial number two... ...and in tutorial number two we've looked at the up faders... ...the crossfade assign... ...and the crossfader itself. Practice and enjoy.
This transcript was produced automatically from the audio of the video and may contain mistakes.
Related videos
-
Complete Beginner DJ Lessons Tags Key BPM Etc
A more advanced lesson folded in early, and worth doing once rather than putting off, because everything it sets up gets used for years…
-
Complete Beginner DJ Mixing Lessons Video 19 Getting Your Kit Ready for an Easy Mix
A whole lesson on getting ready, which is the right call - the exercise in the next video only teaches anything if the two decks are…