 7:08
Setting the trim and the master volume
On YouTube this video is called Pioneer DJM900 NEXUS. Tutorial 5 How to set the Trim and master volume.
What this lesson teaches
He calls this one of the most important tutorials he has made about any mixer, and that is not overstating it. Everything else on the desk is about taste. This is about whether the sound leaving your system is intact.
Setting a channel, step by step
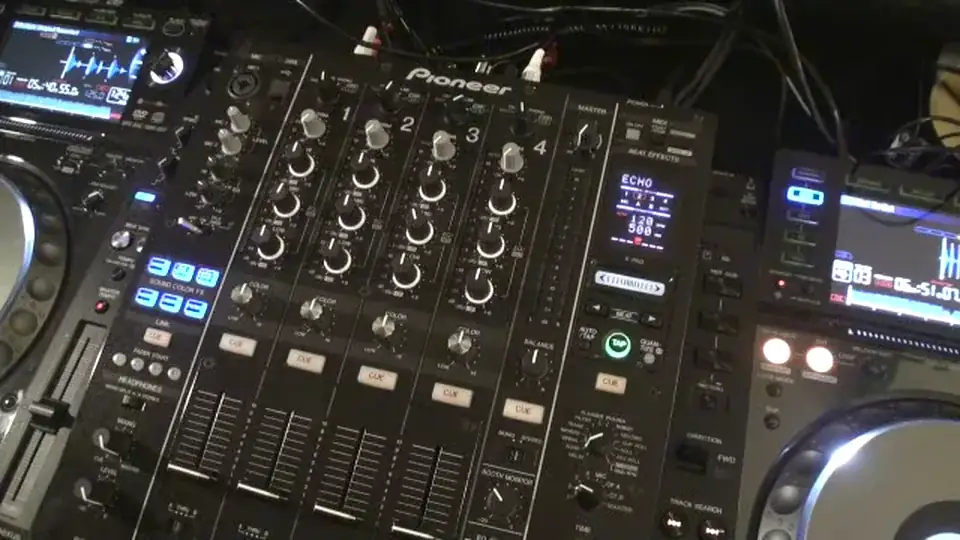
1. Turn the trim fully anticlockwise, to seven o'clock. All of them. 2. Play the track. 3. Push that channel's fader all the way up. 4. Raise the trim slowly, watching that channel's meter.
The LEDs climb from green into amber and eventually into red. The target is the meter flashing around 0 dB, with one or two occasionally tapping into the amber on the loudest hits, and never sitting in the red.
That is the whole procedure, and it takes about fifteen seconds a channel.
The demonstration that makes the point
Here is why this matters, and it is the part to remember.
He deliberately leaves channel 4's trim far too high, with its meter in the red. Then he brings the master level up only slightly - and the master meter reads minus 7 dB. Comfortably in the green. Nothing about the master section suggests a problem.
But channel 4 is already distorted. The clipping happened inside the mixer, at the input stage, long before the master fader. Pulling the master down makes the distorted signal quieter; it does not make it clean.
His cassette analogy is the right one. Record into the red on tape and the distortion is in the recording. Playing it back quietly does not retrieve anything - the information was destroyed at the moment of recording. A mixer channel works the same way, and everything downstream - the master, the amplifier, the speakers - faithfully reproduces the damage.
So a healthy master meter proves nothing. Set the channels first.
Matching two channels
The second half of the method, and it is what makes a set sound even.
Set each channel's trim so that, with the faders at the same height, both channels read the same on their meters. Different records are mastered at wildly different levels, and the trim is where you cancel that out.
Once they match, two things follow. The master fader changes the overall loudness without disturbing the balance between the two tracks. And when you bring the next record in, it arrives at the level you expect - rather than twice as loud, in front of people, with your hand lunging for a fader.
The rule, short
Trims first, channel meters around 0 dB. Then the master, also out of the red. Anything that goes red anywhere is already too late.
Contents of the video
0:00 Tutorial number 5 on the DJM-900 mixer from a company called Pioneer
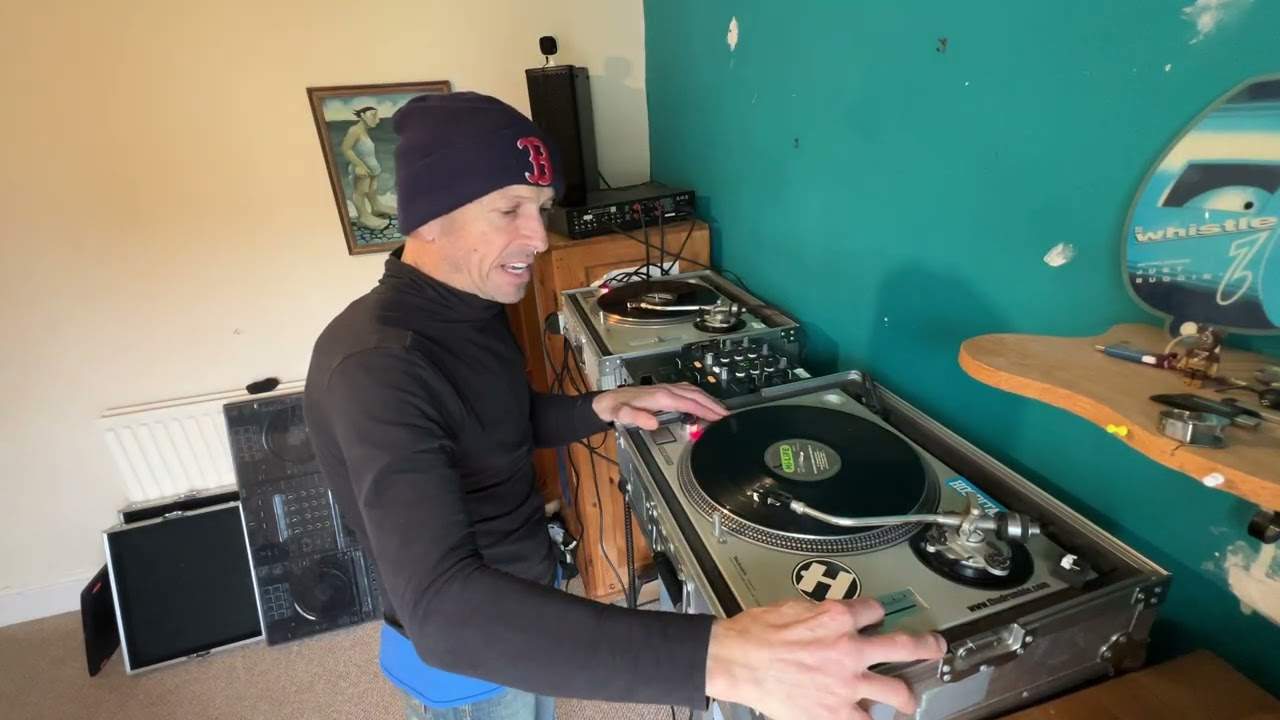
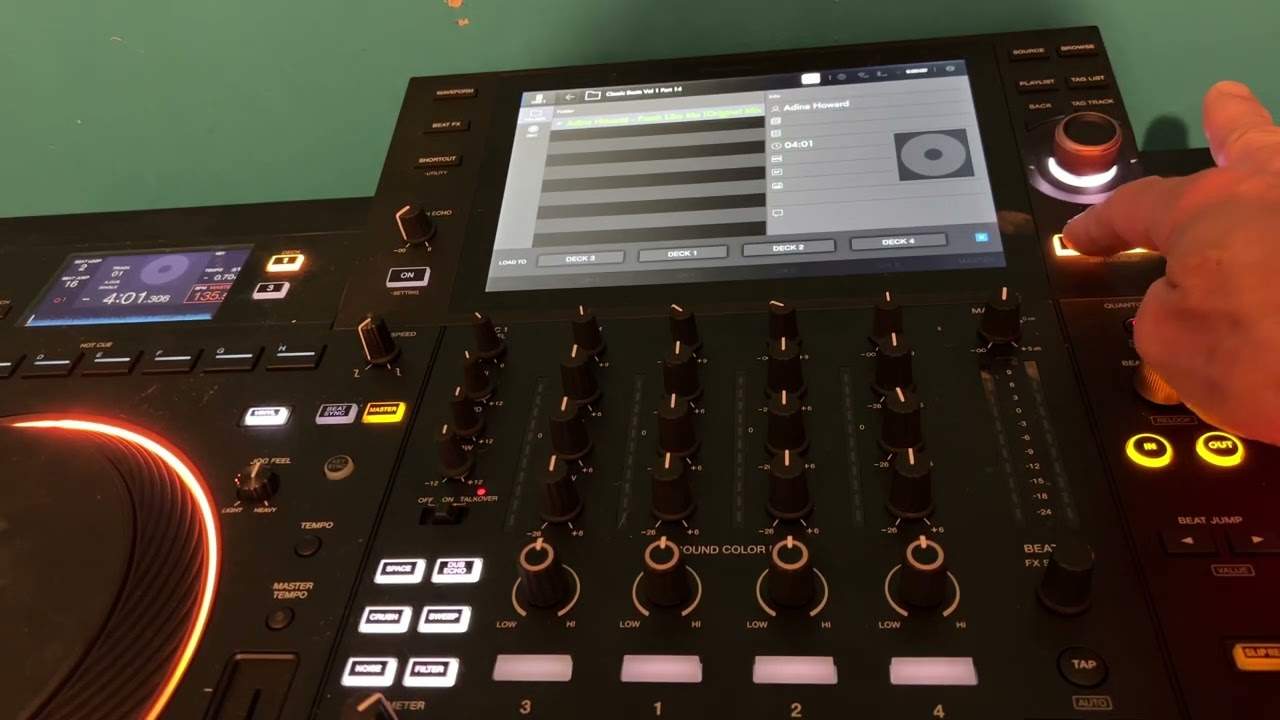
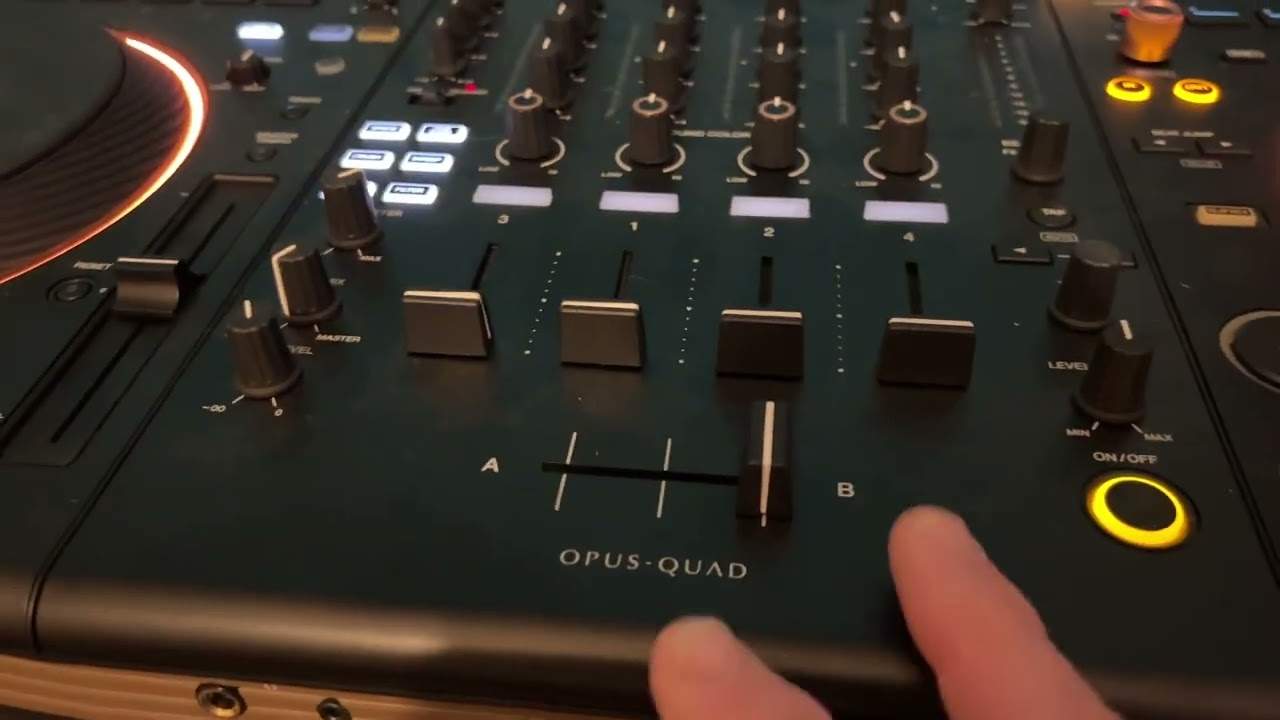
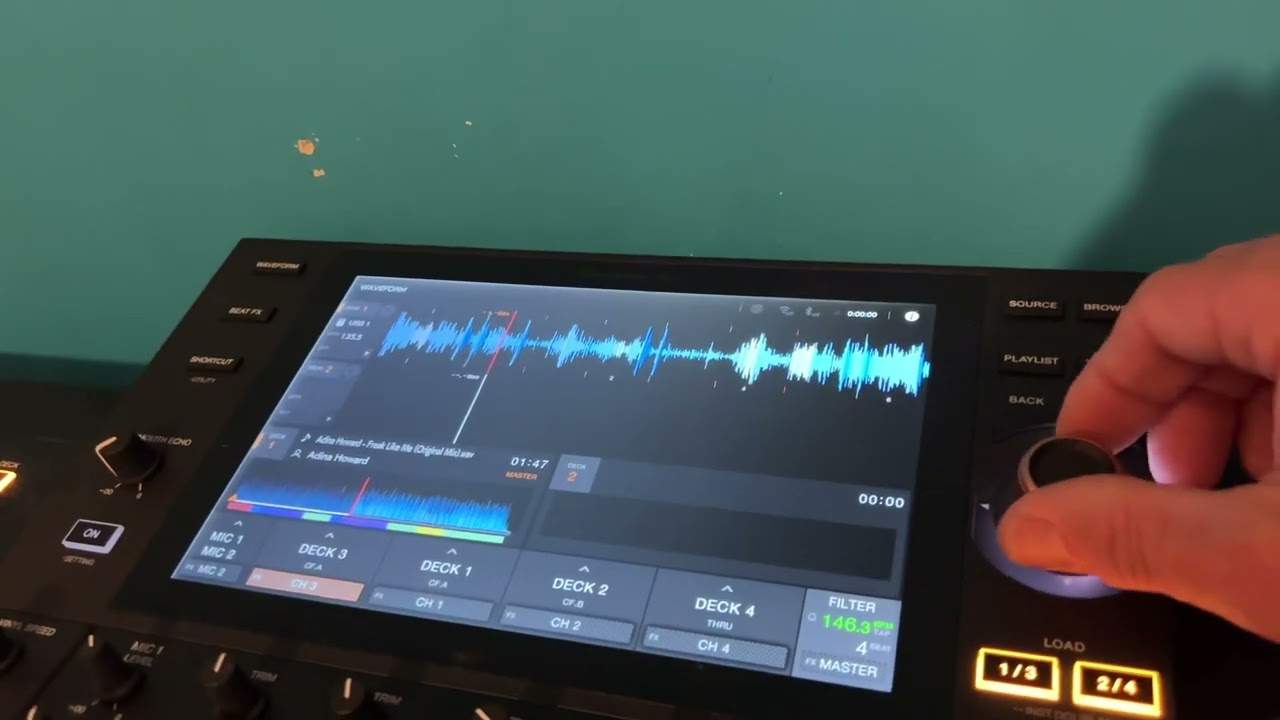
Tutorial number 5 on the DJM-900 mixer from a company called Pioneer. So let's have a look at the mixer. Here we go. Video number 5 is probably one of the most important tutorials to do with this mixer. In fact, it's probably one of the most important things you should know about any mixer, which is the trim control, also known as the gain controls for each channel, and also the master volume, which is this guy here, also known as the level, master level. Now I have two tracks ready, both by Danny J Lewis. The one on the left is called Red Light, the one on the right is called You Got To Get. This guy here is going to be coming through channel 1, and the one on the right is going to be coming through channel 4.
Now the trims here, you'll notice at the moment, are all set to the minimum. And to get them to set to the minimum, you need to turn them anti-clockwise, so they will get to 2, 7 o'clock. If you turn them all the way around to full, they'll be at 5 o'clock. So I'm going to turn all of these guys to 7 o'clock. I'm going to press play on Red Light, which is going to be coming through channel 1. I'm going to push the slider up all the way to the top on channel 1. I'm now going to slowly increase the trim level, and you should notice that the LEDs on channel 1 are starting to flash. The more I turn the trim, clockwise, the more the LEDs will go from green to amber. And then eventually, the more I turn, they'll start going into red.
1:58 Exactly what to do, how
You'll notice now, I've got the trim on channel 1 set to around about 3 o'clock, and we're tapping in the two red lights right at the top. I'm going to now turn that back down. I'm going to do exactly the same with the other track on channel 4. Press play, put the volume up, and I'm going to turn the trim up. You see, as I turn it up, move the dial clockwise, we're going from green-amber to red. Now, what I'm going to do now is I'm going to leave that tapping in the red. If we have a look now at the master level, I'm just giving you a bit of a demonstration here, then I'll explain exactly what to do, how to do it, what's right and what's wrong. I'm now going to turn this level up very slightly, and we should not only hear the track,
We should start to see the LEDs flashing. Now, notice the LEDs here are only flashing at minus 7 dB. Why is it that channel 4 is in the red, yet the master volume is only flashing at minus 7? That's because we're not increasing the master volume enough. We need to increase the master volume more. As we increase the master volume, not only will the audio increase, but the LEDs are increasing as well. We're going from green now to amber, and eventually as well, we'll go to red. I'm going to turn that back down. Turn it all down. Right. Now, what was happening? We were increasing the audio, the signal from this channel, and we were increasing it so much that we were getting into the red. Now, if you're familiar with old cassette players,
If you're not, I will try and explain. When you used to record on an old cassette player, you used to have a little meter that you should jump around like so. And it used to have a 0 dB point. If you went way over that 0 dB point into the red, then when you listened back to your recording, it was highly likely it would've been distorted. And once you've recorded it in a distorted fashion and you've got a distorted sound on your cassette, then it is impossible then to then re-record that back to a good quality. Once it's distorted, it will always be distorted. So this is the correct way of setting the level on your channels. So I'll give you an example on channel 4, and this example I'll give you on channel 4
4:45 I've now got into here a nice good quality clear sound
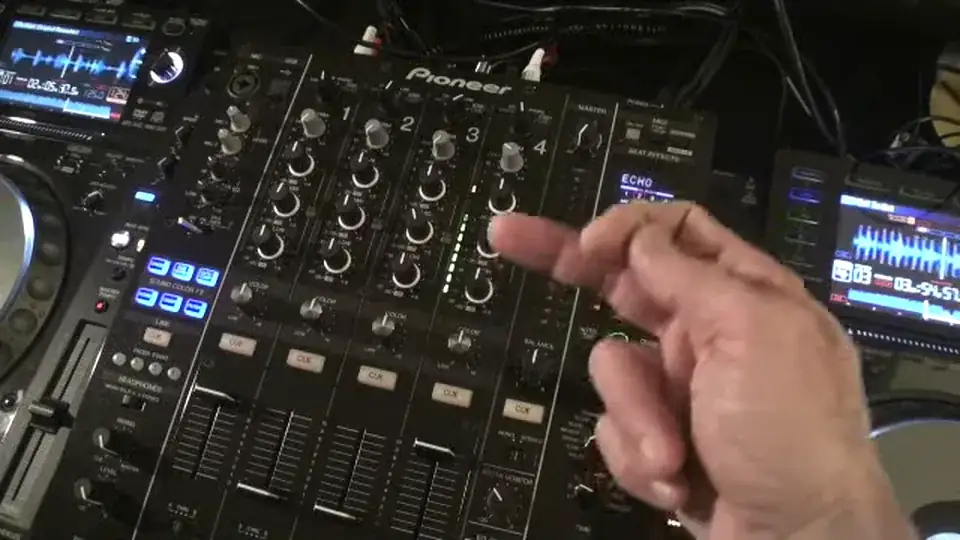
Will be exactly the same for 3, 2 or 1. How to set the level correctly. So first of all, make sure your music source is playing. And then while it's playing, slowly increase the trim. What you need to have is you need to have the LEDs flashing so that in at 0 dB, but on the odd occasion they'll start to tap into the amber. Maybe 1 or 2. That's about as fine as it should be. What's happening here now? Here's the whole philosophy behind what's going on. I've now got into here a nice good quality clear sound. It's not distorted coming in here. Which means in turn if I now bring this volume up here, I've now got... a good, correct undistorted sound coming in here. Even though earlier on when I had this like so...
And I had the volume down quite low on the master, even though the master was still only flashing in the green, I would have been giving a distorted signal into here. In turn it will go into the amplifiers and then in turn through any other form of equalization and then into the speakers. So bring that one down. So what do we do then with other tracks? Let's say we have different levels coming in, different signals. Very simple. So we have another track here on... track, sorry I'll start again. We have another track playing here coming into channel 1. So what I'm going to do, I'm going to use the trim on channel 4, set that to around about 2. I'm now going to increase the volume here, trim on channel 1 and the idea is to have both channels
At the same level on the EQ. If I have both channels the same and both volumes up the same amount, excuse me, I'll know for definite that when I start to bring the level up on the master volume both of the signals will be at the same audio signal at the same audio level. The beauty about this is I know for a fact that I can increase this as much as I want up until we start getting into the red, that it will be a good proper audio sound and it won't be distorted in any way. So...
It's quite low at the moment because I haven't got a very powerful amplifier in here, but I hope that's been a help. Don't forget, it is vitally important that you don't go into the red. Try and keep below the red, tap into the amber and also master volume, keep out of the red. Hope that's been a help. Practice and enjoy.
This transcript was produced automatically from the audio of the video and may contain mistakes.
This video is part of
Related videos
-
Complete Beginner DJ Lessons Tags Key BPM Etc
A more advanced lesson folded in early, and worth doing once rather than putting off, because everything it sets up gets used for years…
-
Complete Beginner DJ Mixing Lessons Video 19 Getting Your Kit Ready for an Easy Mix
A whole lesson on getting ready, which is the right call - the exercise in the next video only teaches anything if the two decks are…