 5:40
Pioneer DJM900 NEXUS. Tutorial 6, Master, Booth, EQ Curve, Channel fader and Cross fader.
Contents of the video
0:00 Master level
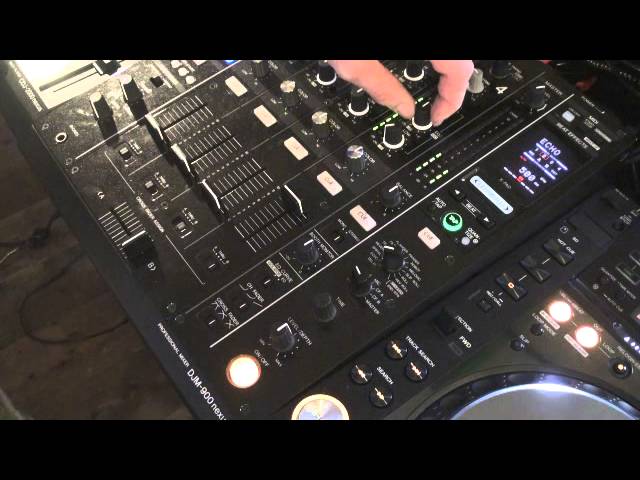
Alright guys, tutorial number 6 on the DJ900 Nexus from Pioneer. In tutorial number 6 we're looking at the master level, balance and booth monitor dials, monostereo switch, EQ curve switch, channel fader switch and crossfader switch. First of all, we'll look at the master level. By moving this dial clockwise, we will increase the signal going into the PA. By moving this dial counterclockwise, we will reduce the signal going into the main PA. Below there we have the LEDs. Below the LEDs we have the balance dial. Move this clockwise and we will take the signal to the right hand side of the PA. 12 o'clock, we have proper stereo. Move the dial counterclockwise and we will take the signal to the left hand side of the PA.
Below there we have a switch for cueing purposes. Below this cue button we have the monostereo switch. Flick this to the left hand side, we will get a mono signal through the main PA. Flick it to the right, we'll have a stereo signal. Below there we have the booth monitor dial. At the back of the mixer, there is capability of plugging in jack plugs, enabling you to have your own PA system. The booth monitor is there for monitoring purposes for the DJ. If the dial is set to 7 o'clock, you will have no sound going into your booth monitors. As you move the dial clockwise, you will increase the sound until eventually when the dial is at 5 o'clock. That's the full optimum sound you will get through your booth monitors. Always be wary with your ears though and check that everything is capable of handling that amount of sound.
2:23 ...the complete frequency of your sound
Below there we have the EQ curve. Set this switch to isolator, which is to the left position. And what will happen if you then move the low EQ to 7 o'clock, it means that you will completely... ...cut away the low sound. Likewise with the mid, move the mid to the 7 o'clock position and now you have completely taken away mid. The same with the treble or top, move this to the 7 o'clock position and you have now completely taken away that sound. The isolator can also be known as say a kill switch, or it's a way of killing should I say... ...the complete frequency of your sound. From the channel. Low, mid and high. EQ curve if we switch that over to the right hand position to EQ. Now what will happen as we reduce anti-clockwise the low to as far as it will go 7 o'clock...
3:27 Left and from the 0 position
...we have reduced that signal to minus 26 dB exactly same with the mid and exactly the same with the high. You can still hear in the background... ...that loop. That's because we have not killed the complete sound. Below there, we have channel fader. Set the switch to the right hand position and when you use the up faders... ...you will get a steady increase of sound from 0 through to 10. If you switch that to the center position from about 0 to 4 to 5... ...you will get a very, very slow increase. Then from 5 onwards you will get quite a nice smooth increase. Set the switch as far as it will go to the left and from the 0 position... ...up to around about the mid position of 5 and 6 there is very little change.
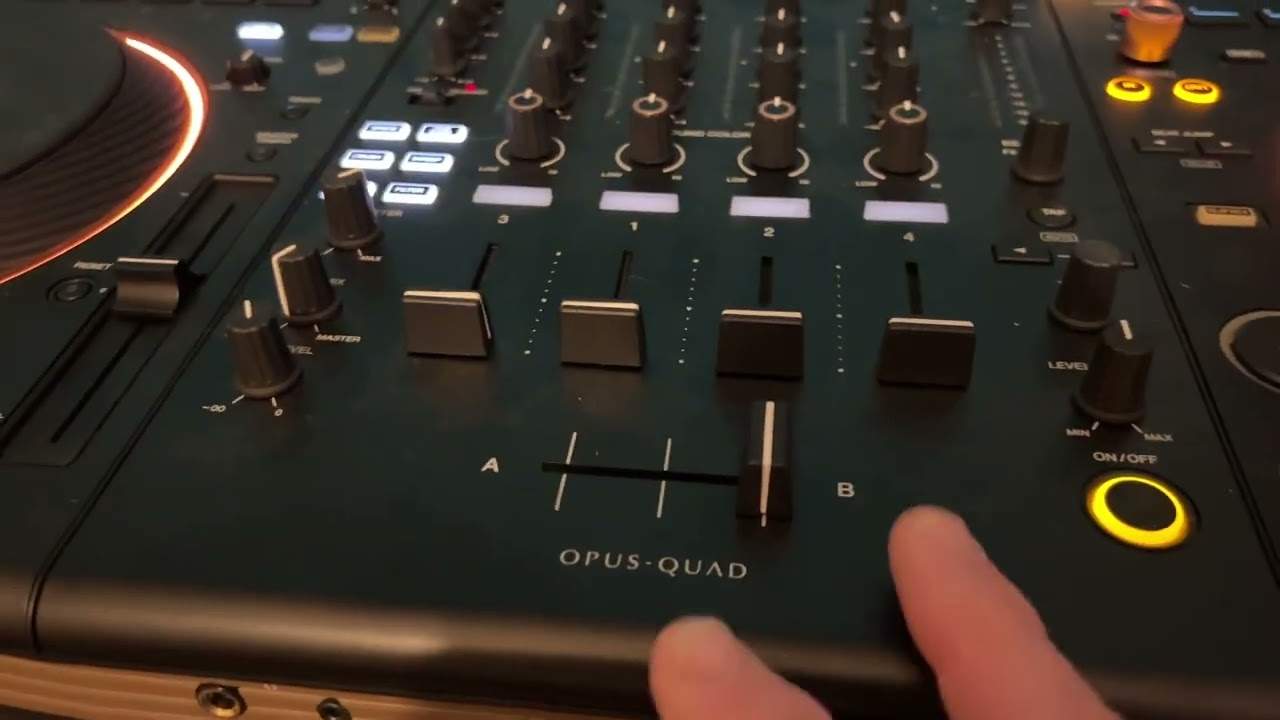
But from that point onwards to 10 you'll get a sharp increase in sound. Below there we have the cross fader switch. Three positions with this one. Exactly the same as the channel fader, three positions as well. Set that as far as it will go to the right hand side. What will happen now if you use the cross fader... ...and you have the channels assigned to the correct cross fader side... ...if you use the cross fader you'll have a smooth transition from one side to the other. But you will find there may be a slight dip in sound at the center point. If you move the cross fader switch to the center position... ...you will get a smooth transition from one side to the other. But there will be less of a dip in the center when you go, when you take should I say...
...or slide the cross fader from the B to the A position or from the A to the B position. If you set this switch to the left hand side... ...this area here is great for scratch turntablists. Because as soon as you move the cross fader over... ...the sound on the other side will come straight in. There will not be a nice smooth increase or decrease in volume. You will have an abrupt increase in volume from the other side. I hope that's been a help. Video number six, practice and enjoy.
This transcript was produced automatically from the audio of the video and may contain mistakes.
Related videos
-
Complete Beginner DJ Lessons Tags Key BPM Etc
A more advanced lesson folded in early, and worth doing once rather than putting off, because everything it sets up gets used for years…
-
Complete Beginner DJ Mixing Lessons Video 19 Getting Your Kit Ready for an Easy Mix
A whole lesson on getting ready, which is the right call - the exercise in the next video only teaches anything if the two decks are…