 18:46
Pioneer rekordbox DJ Hot Cue Pad FX1 and Slicer Tutorial
Contents of the video
0:00 You have in front of you the software known as rekordbox DJ
Alright guys, you have in front of you the software known as rekordbox DJ. Rekordbox DJ is almost identical to the software known as rekordbox from Pioneer. The only difference is the original rekordbox software will not let you mix on a laptop from one track to the other whereas rekordbox DJ will. Now the original rekordbox software is free gratis and for nothing and you can have that indefinitely on your laptop. Rekordbox DJ on the other hand, if you follow the link in the description, you can download it for free for a trial period. So why not just give it a go and see what you think. Now in this video we're using a track from Karmic Power Records, it's KPR-151. There will be a link in the description to Karmic Power Records. It's a track entitled Rocket, it's the original mix and it's by Palmer Tunes.
1:30 ...eight pads, no particular order and no particular time
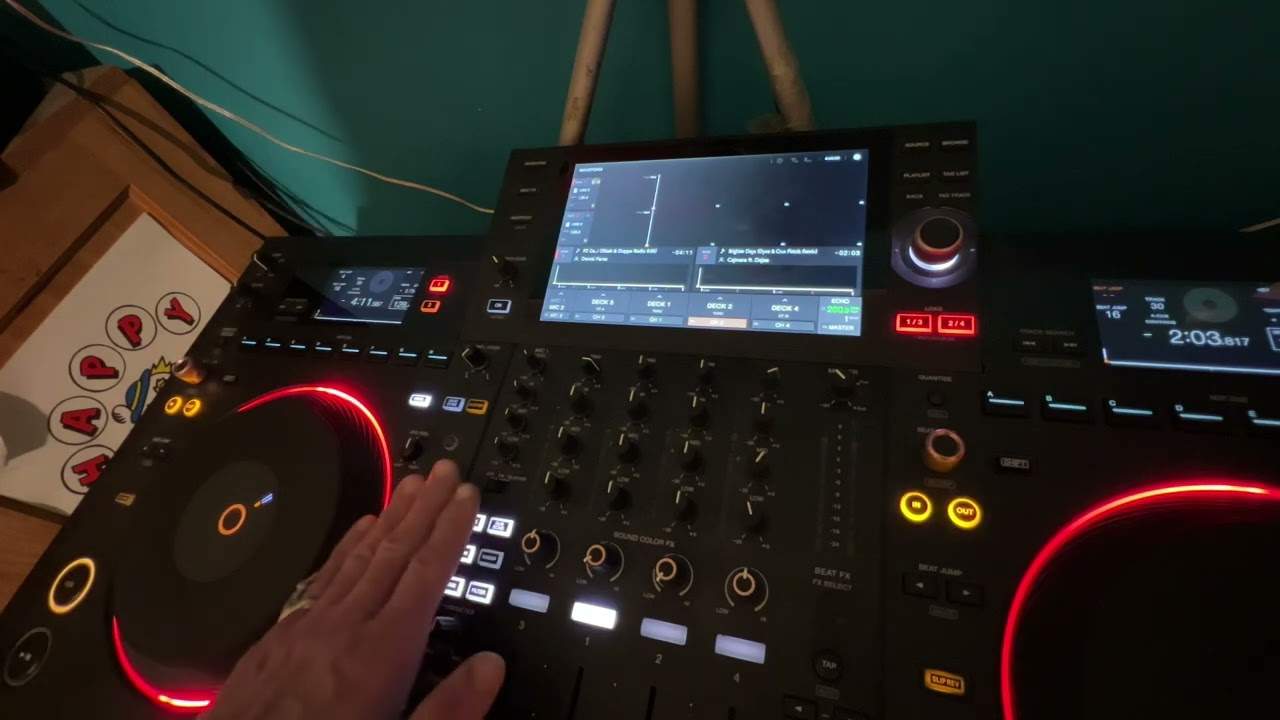
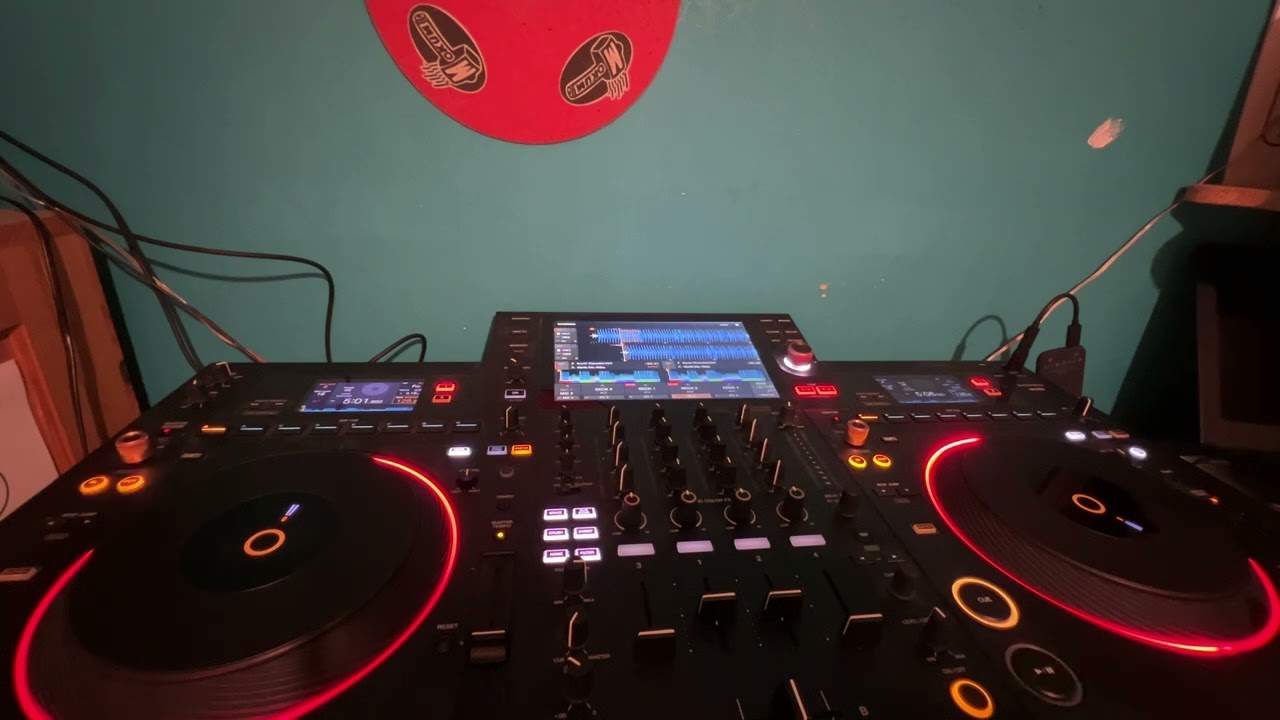
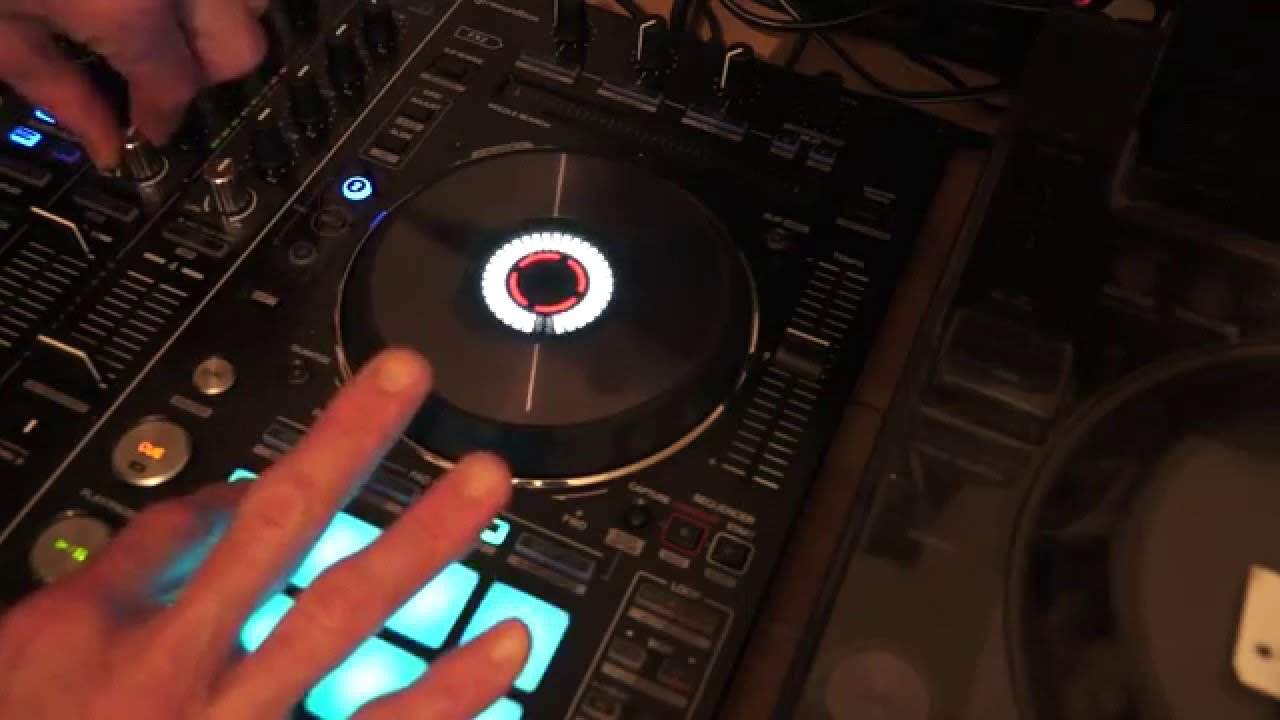
In this video we're going to look at hot cues, pad effects... ...slicer and beat jump. Now the hardware I'm using is the DDJ-RX and the picture I'll put for this video that you would have seen anyway will be a picture of the DDJ-RX and the area that I'll be using. So first of all, very simple, we're going to look at some hot cues. I'm going to press play on the track and with hot cue engaged on the RX, I'm just going to press all... ...eight pads, no particular order and no particular time. Now I have now recorded some hot cues. Now you'll notice as well on the screen we can see 21, 23, 24, 25, 26, 26 and 27. That's pretty much just the time that I've set or I've recorded those hot cues. Very random, not in any order and not in beat.
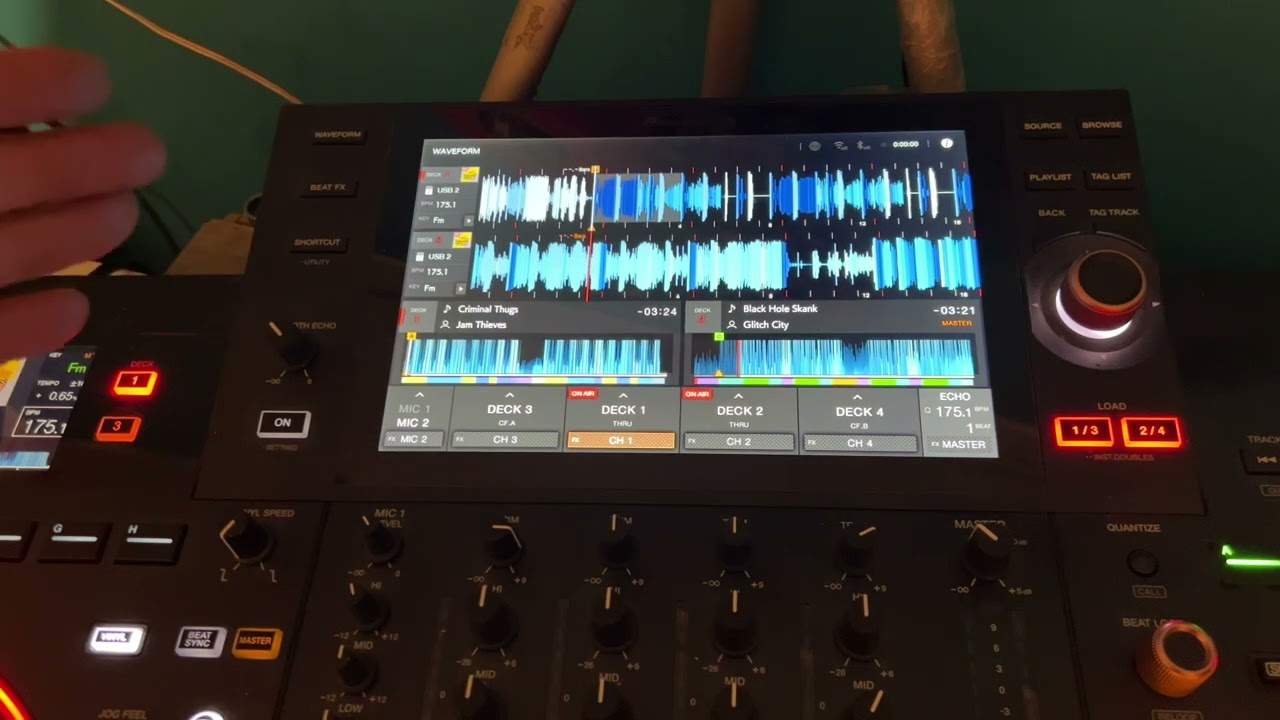
Now then... ...press pause. How do you get rid of those hot cues? You know, I want to now, I want to get rid of them. So what do you do? Right, I'm now going to press shift on the hardware while my finger is on shift. I'm now going to press on those hot cues again and I have now deleted all of those hot cues. So the hot cues are pretty simple. Let's have a look at this wave format. Now you can see the wave format has got different colours, there's peaks, there's troughs. So what you will find... ...is most of the time, not all the time, 99.9% of the time, those different colours are telling me that we have changes in the music. For example it could be the beginning and end of a break, the beginning and end of maybe the bassline and so on.
So I could if I wanted to set hot cues at these breaks and I could go from one break to the other. Using hot cues as well... ...will let you... ...possibly, if you want to, you can start the track in the mix. So you're leaving one track, that track is fading out of the mix. You're starting the next track at the beginning of this song but possibly by the first break... ...you don't want to continue that track at the first break. Maybe you want to start the track at the next break by having a hot cue at that next break. As soon as you come to the first break, at the count of one, if you snap a hot cue in... ...you can jump. Now I'm just going to give you a demonstration of that very quickly. Alright, so what I'm going to do now is...
...with the mouse I'm just going to go to this break here, there. So what I'm going to do now, I've set that, I've got my finger on the platter and I'm going to press the first pad, hot cue. There we go. So what I'm going to do now is go back to pretty much the beginning of the track. Now imagine we're in the mix, bang! There you go. I've jumped a little bit of the track because I didn't want to play that part of the track. And I've done that by using the hot cue. I now want to get rid of that hot cue, press shift, press that hot cue. The hot cue is now no longer there. That's pretty much it for the hot cues. A simple way of looking at them. Okay, cue that up. Now let's have a look at something slightly more intricate.
The pad effects. Now at the moment we have slip loop. I'll explain exactly what... ...that is, what it does and also how we can change parameters as well in the software. Slip loop, we've got 1 over 8, 1 over 4, 1 over 2 and 3 quarters there. Underneath there we've got some effects. I'll show you how we can change the effects as well. So I'm going to press play again, give you a demonstration and after that explain exactly what is going on. So press play on the hardware.
5:05 Slightly more advanced, there will be a tutorial on that in the near f
And once again, top left hand 1 over 8. Now 1 over 4. There I was using the filter as well. Slightly more advanced, there will be a tutorial on that in the near future. Let's go to 1 over 2 which is a half. 3 over 4, 3 quarters. Okay so what is this all about? The slip loop. Now what I'm going to do now, I'm going to do exactly the same thing. We're going to go to 1 over 4 which is one quarter. I want you to watch my finger on the screen. This is important because while my finger is moving on the screen, I will be following a line that will be naturally progressing along the screen even while we are listening to that slip loop of 1 over 4, one quarter. So press play. Here we go again and again. Okay so what's happening?
7:05 Point where the track would naturally
Right. While you're engaging the slip loop, the track is naturally playing underneath that loop. You can't hear the track playing underneath that loop. All you are listening to is the loop itself but while the loop is engaged, that's all you're hearing, the underlying track is carrying on as it normally would. So when you take your finger off the pad you will go to the point where the track would naturally be playing and that line is showing you exactly where the track will be when you take your finger off that pad. Of course 1 over 8 is an eighth of a beat, 1 over 4 is a quarter, 1 half is half a beat, 3 quarters is three-quarters of a beat. But what if we want to change these? What if we don't want 1 eighth,
1 quarter, 1 half, 3 quarters? How can we change that? Okay let's go to edit. Right I have now clicked an icon edit. Now the edit icon is underneath, it's on the software. We have from top left to bottom right. Top left we have 1 2 3 4 and then below top left we have bottom left and from bottom left 1 2 3 4 to bottom right. Below the bottom right icon on the software there's a small tiny icon with edit. Now I can now edit any of those parameters. So for example top left I can click on something that's highlighted there in grey with 1 over 8 and I can change that now to any amount I want to. For example 1 over 16 which is 1 sixteenth of a beat. If I go to the next one I can change that to 1 over 8 which is an eighth, the next one half
It's already half we can see that because it's ticked so I know that's half a beat. I can go to the next one three quarters we can see that is ticked three quarters I can change that to 1 over 1 which is one beat. If I now press edit again now we have changed the parameters according to how we changed it while we were in edit mode. So press play sixteenth So you can have a lot of fun messing around with the parameters so don't worry if it's stuck there you can change it just by going to edit mode. So I'm going to pause that have a bit of a cough excuse me now let's look at the effects now we're still in pad effects 1 mode below loop slice so we're looking at from left to right we have delay filter reverb and V break now we can do two things here
One is we can change the effects also we can change the timing of those effects now before I change anything let's just have a listen to what it sounds like this is delay
Filter reverb V break okay cue that up okay now again what we do is we go to edit alright so in edit mode we can change the effect on the pad effect if we want to so I've got delay on this one here and I'm just going to now click on that very small triangle triangle facing down and now I can change to any effect I want for example slip roll robot there's loads to choose from so we've got slip roll excuse me I can also now change the parameter to whatever I want the timing of that if I want to I've got that to half I'm also now going to change the next one the filter maybe go to delay change the timing to maybe a quarter the reverb I'm going to change to maybe robot instead and the V break let's put that to backspin that sounds interesting 1 over 1
Let's put that to maybe 2 over 1 okay I'm going to click edit again and now press play
So there you go okay let's go along now to slicer so slicer is really interesting actually because what's happening now let's imagine again this is slightly more intermediate to advanced it may be a little bit difficult for a beginner to understand but over time you'll work it out all of a sudden you'll wake up one morning and you'll go I get it Eureka just make sure you've got your clothes on so I'm going to press play now you should be able to see a box that seems to be travelling along the wave format pause it now if we have a closer look at that box we have 1 2 3 4 5 6 7 8 now also the pads we have 1 2 3 4 5 6 7 8 now on the wave format itself at the moment the number 4 box is highlighted and also the number 4 box on the pads associated with the pads
On the controller is highlighted as well now what that means is while the track is playing that small part of the track is highlighted also the pad is highlighting what part of the track is being played as well the wave format is showing you where it is in relation to the track the software is showing you on the pads here which pad is in relation to should I say the the wave format and then on the controller as well you will find that the pad is lighting up alongside the track so what does it do right well while the track is playing I can at any time press one of those pads now even though we're listening to say at the moment pad 1 press play so now let's imagine we were zooming back and we were listening to segment 1 pad 1 would be highlighted if I wanted to I could press pad 7 now we would
Jump to pad 7 and listen to pad 7 that fraction part of that format would be moving along until it caught up with pad 7 and then it would go to pad 8 as soon as we take our finger off it would click to wherever the track would be playing there pause it I'm going to press pad 8 I'm now going to press play pause there so what's happening is actually playing along the track even before we get to it we have the pads playing now at the moment I've reduced that by pressing an icon it was very close to where we had edit to 2 we can press so if I press the arrow facing to the left we can press to 16 we've now increased the entire amount of the time we've got for the pads to play so if I press play using it like that you're not going to hear the sound of the pad playing so I can play with my finger off pause okay that's a bit of an insight now again
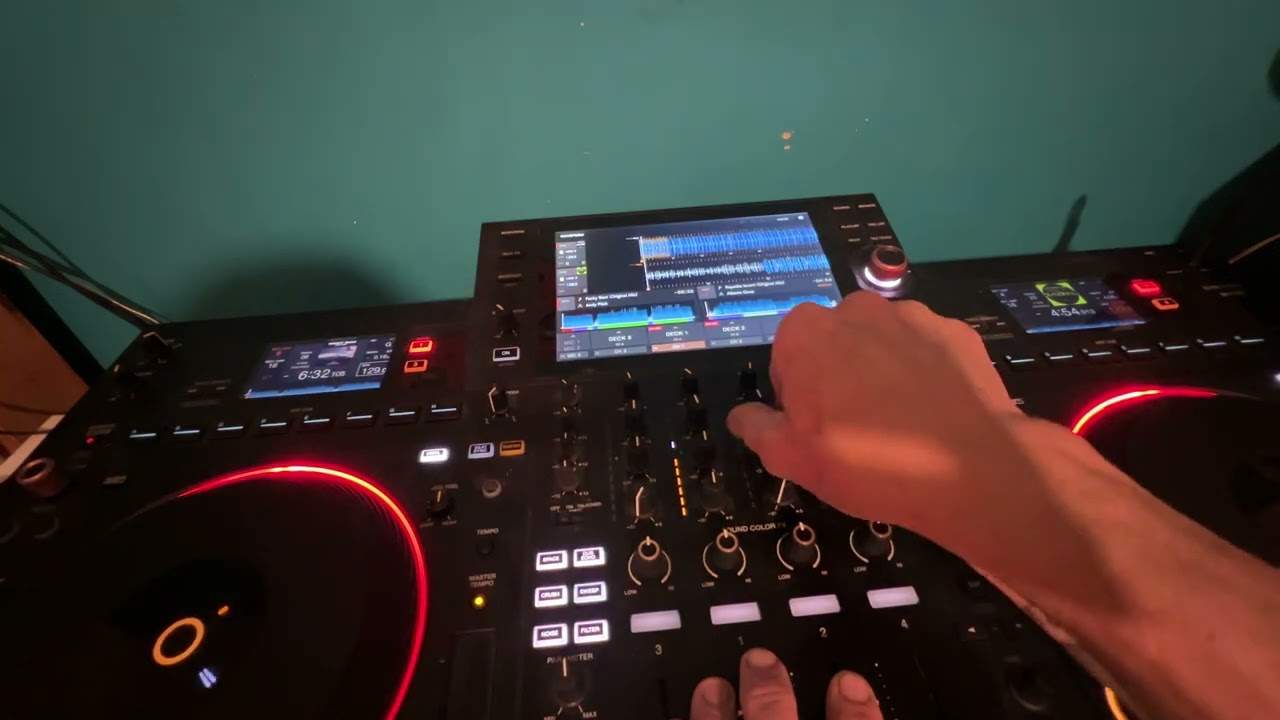
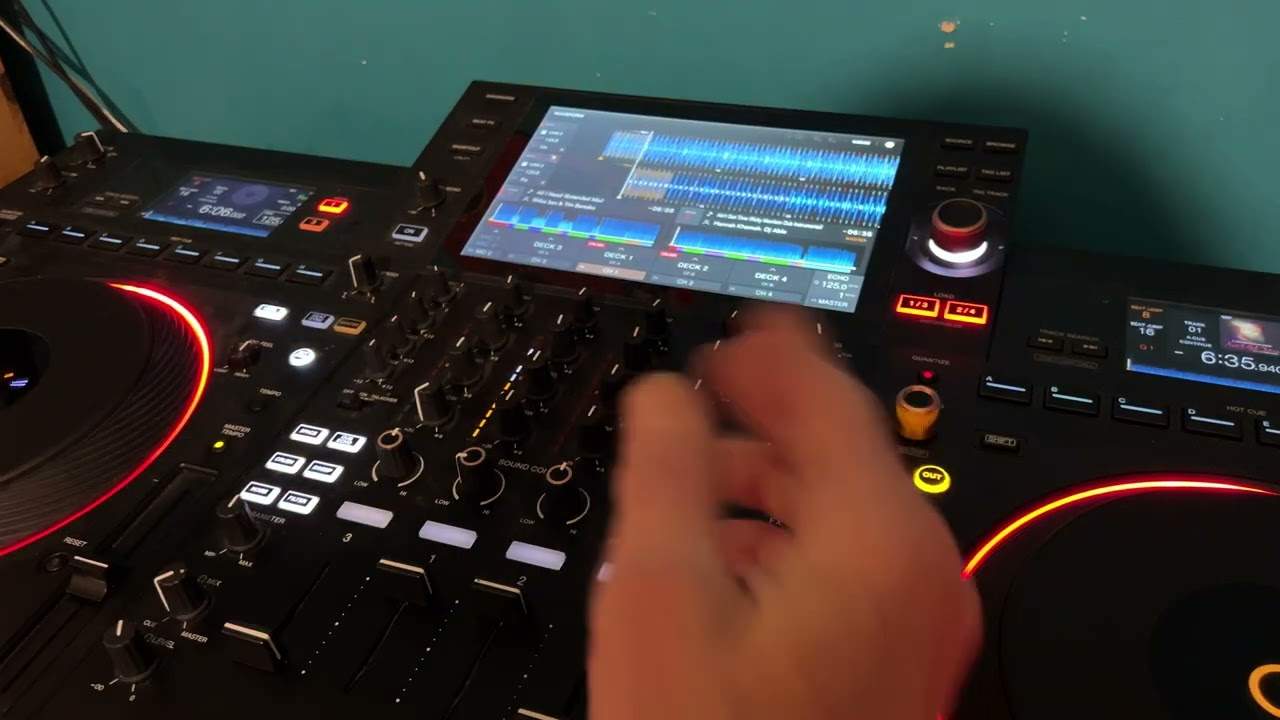
This is strictly a demonstration this isn't a great demonstration but hopefully it will give you more of an insight into what these pads are for in fact what I will do now I'll just zoom out and let's just have a look at the actual controller as well I've got the filter engaged that's by the sound colour effects and have a listen using the filter or colour dial as it's known of I think okay it's about having fun and
This transcript was produced automatically from the audio of the video and may contain mistakes.