 2:08
PIONEER RMX 1000. The FX SOURCE Tutorial 3 By the Dj Tutor AKA Ellaskins
Contents of the video
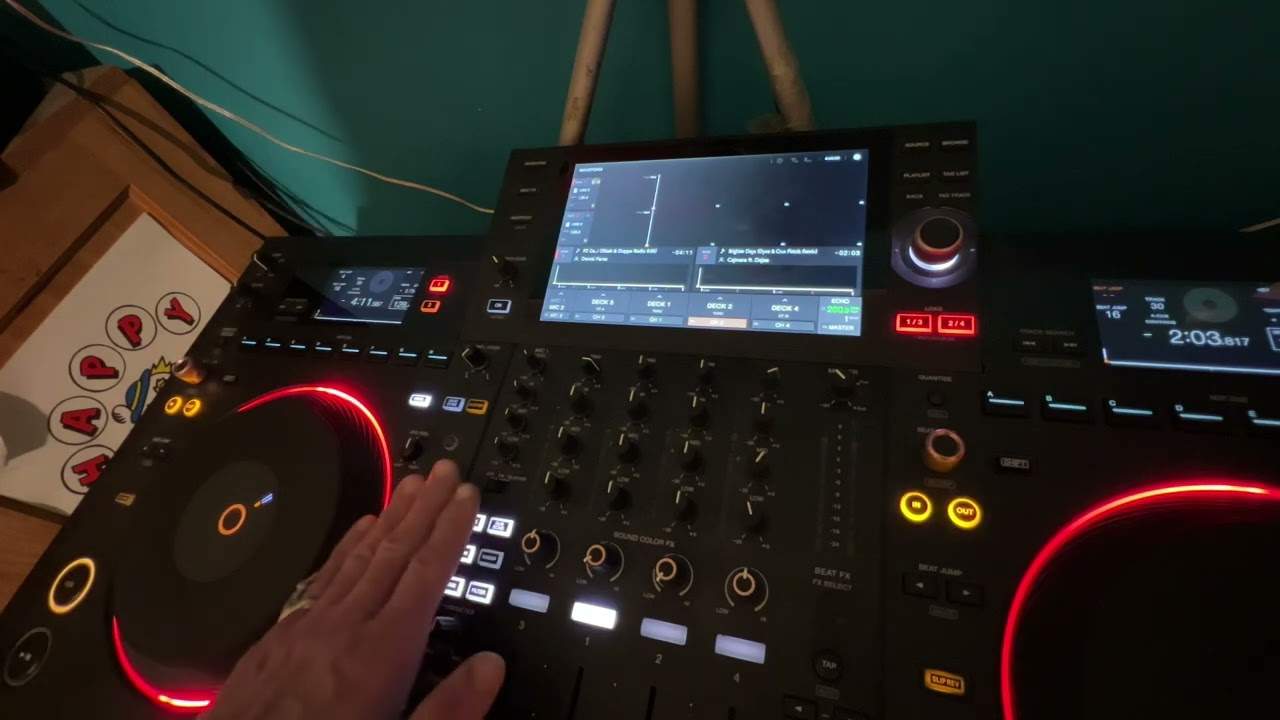
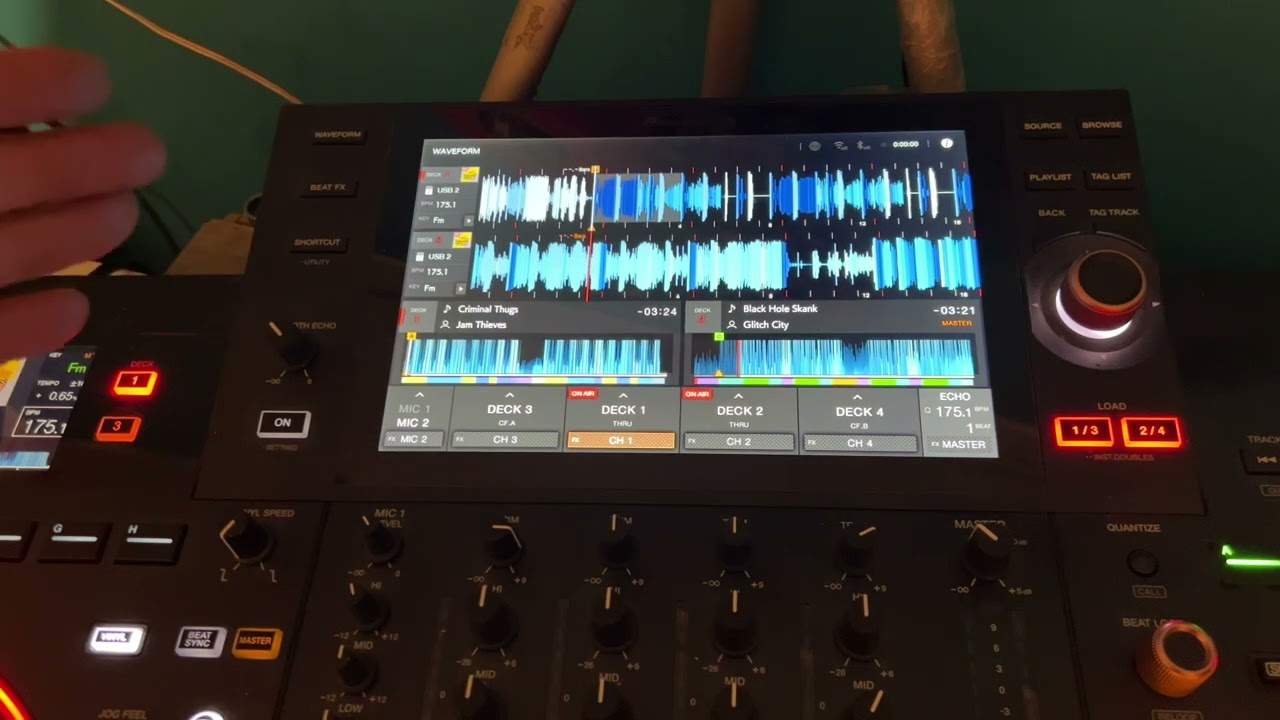
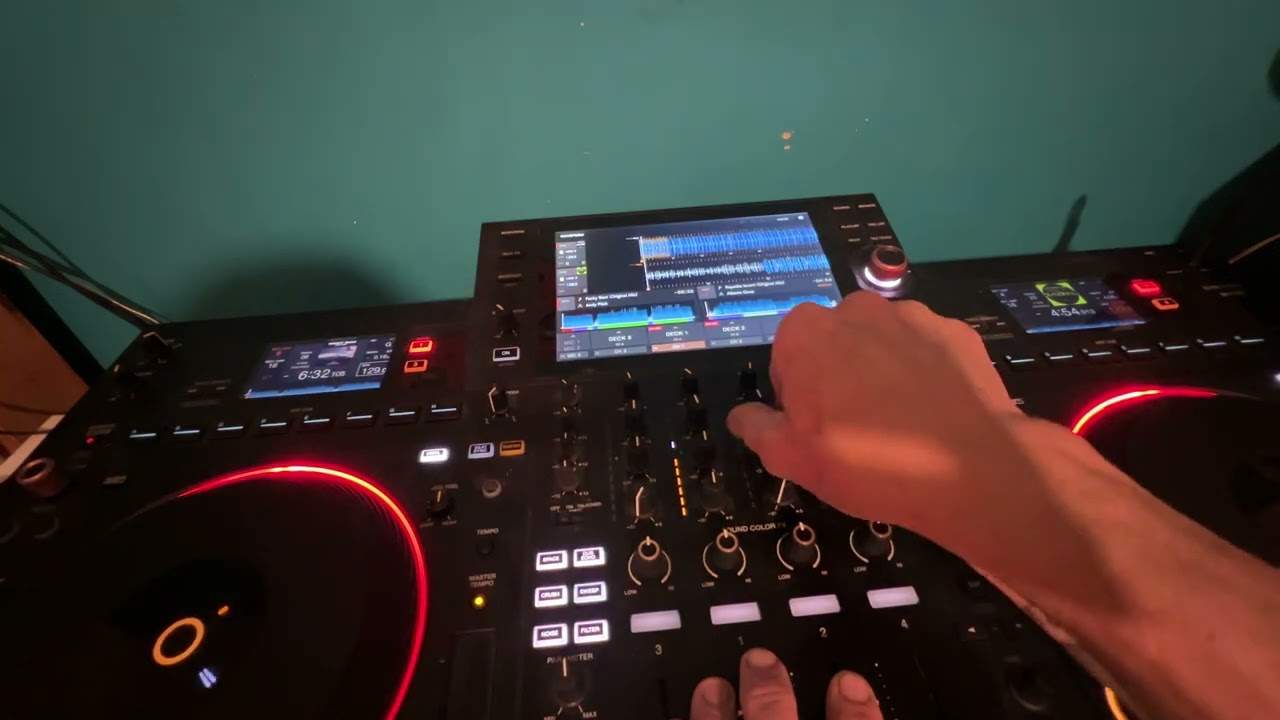
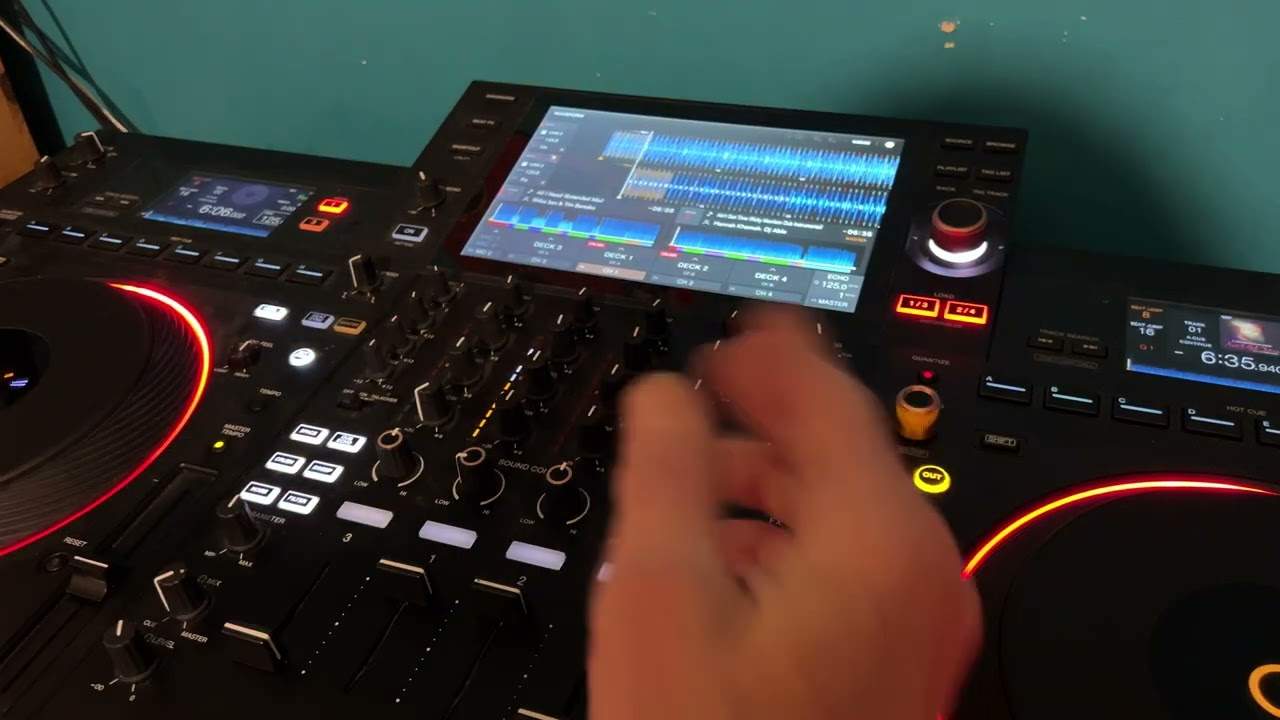
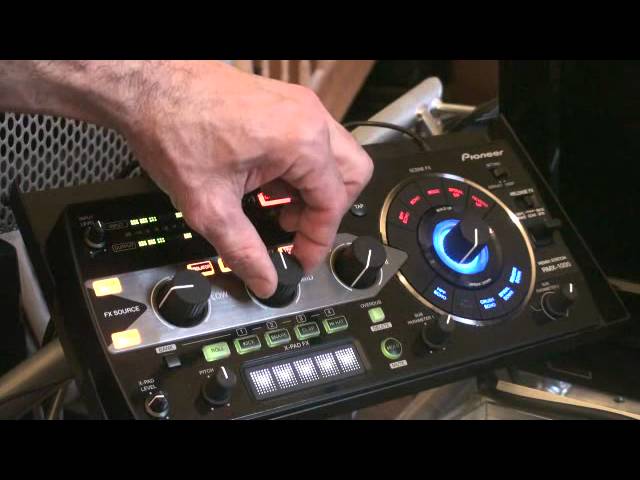
Alright guys, video number three on the Pioneer RMX, sometimes known as the Remix Station, it's the RMX1000. In video number three we're looking at the effects source area. To the left hand side of the RMX1000 we have three dials, one, two, three. You'll notice if you are slightly partially sighted, we have one button here with input on it. At the moment that is not lit up with an amber LED. So I can now turn those three dials. We have low, far left, in the centre we have mid and far right we have high. I can turn those any way shape or form and we'll get no difference in the overall audio. If I press input again, so that's highlighted, still we'll get no change in the overall audio. But, I'm just going to set them to 12 o'clock. If I now press isolator, now we can see, if you can't see, the isolator button is now flashing.
Now I can move the three dials and I can isolate either low, mid or high, high by itself. Mid by itself, low by itself. I can now separate, take away any of the frequencies. If I turn all three dials to the seven o'clock position then we have complete cut off of all of the frequencies. Bring the low up, down, mid up and down, high up and down. With all three dials set to the seven o'clock position. Press the input button again, so we take away the LED light. We have all the sound back. Practice and enjoy.
This transcript was produced automatically from the audio of the video and may contain mistakes.