 8:42
Scratch Tutorial on the "Crab" & Other Features
Contents of the video
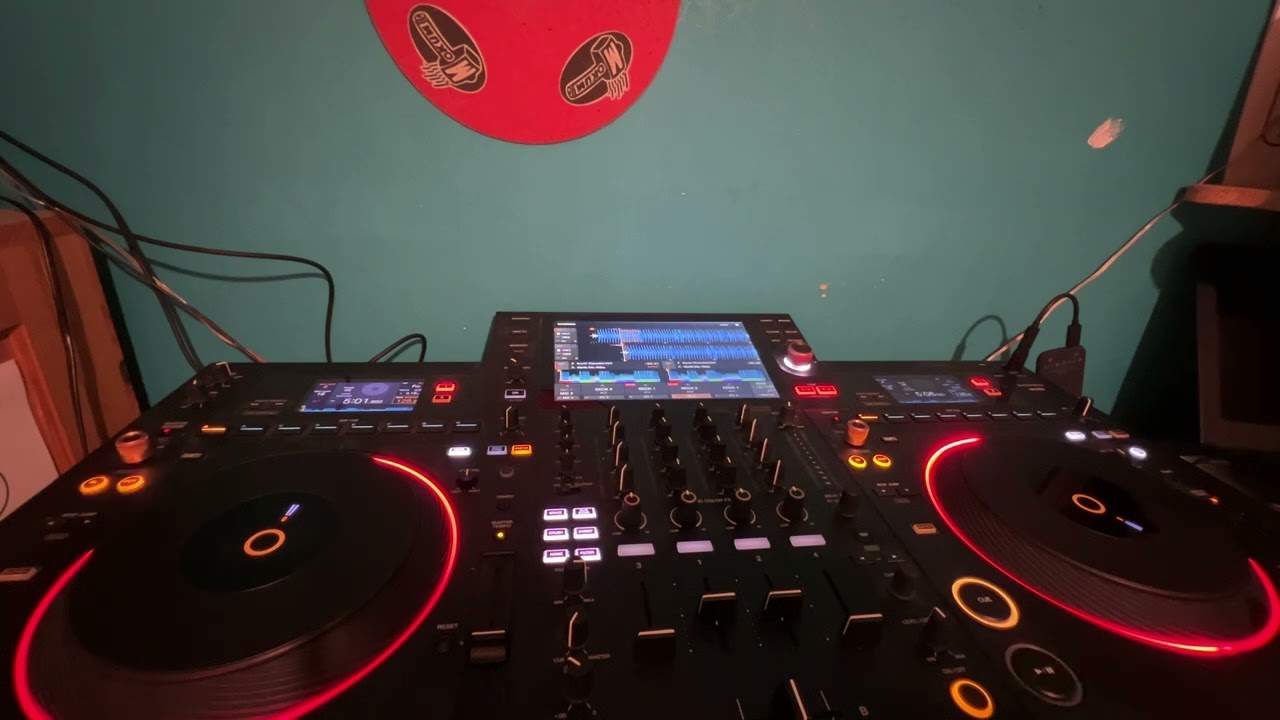
0:00 Let's have a closer look at the mixer
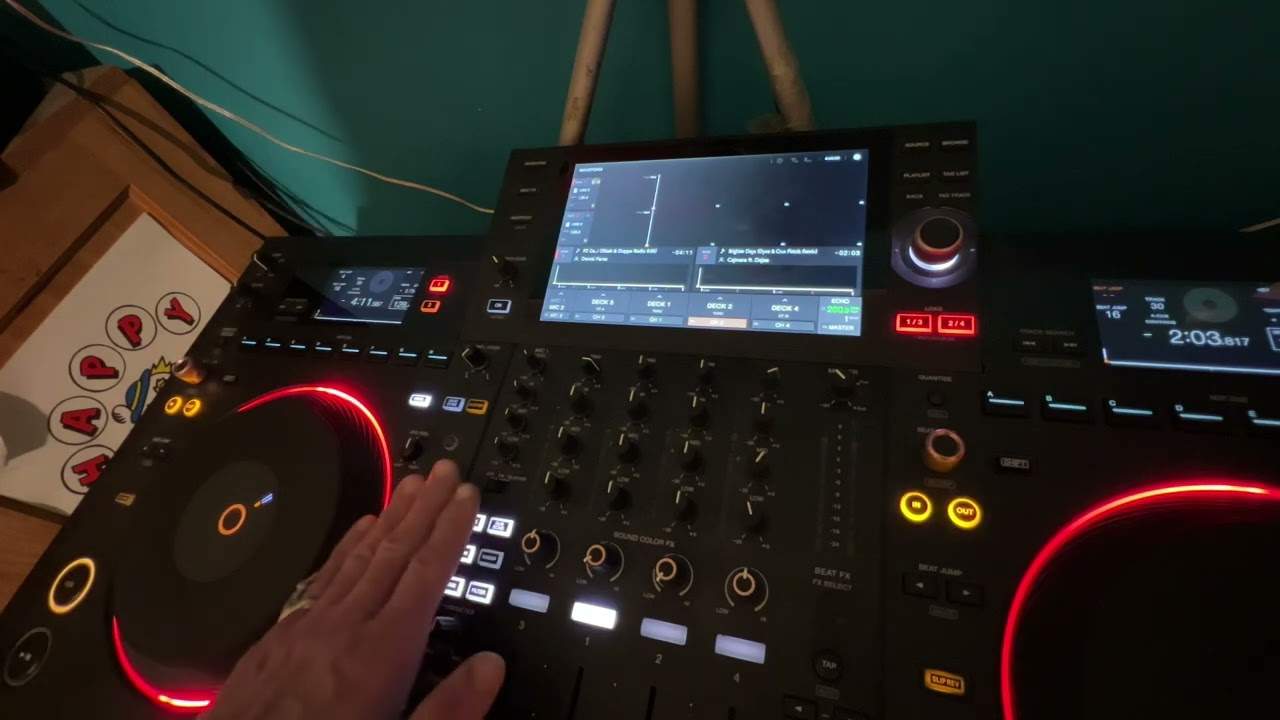
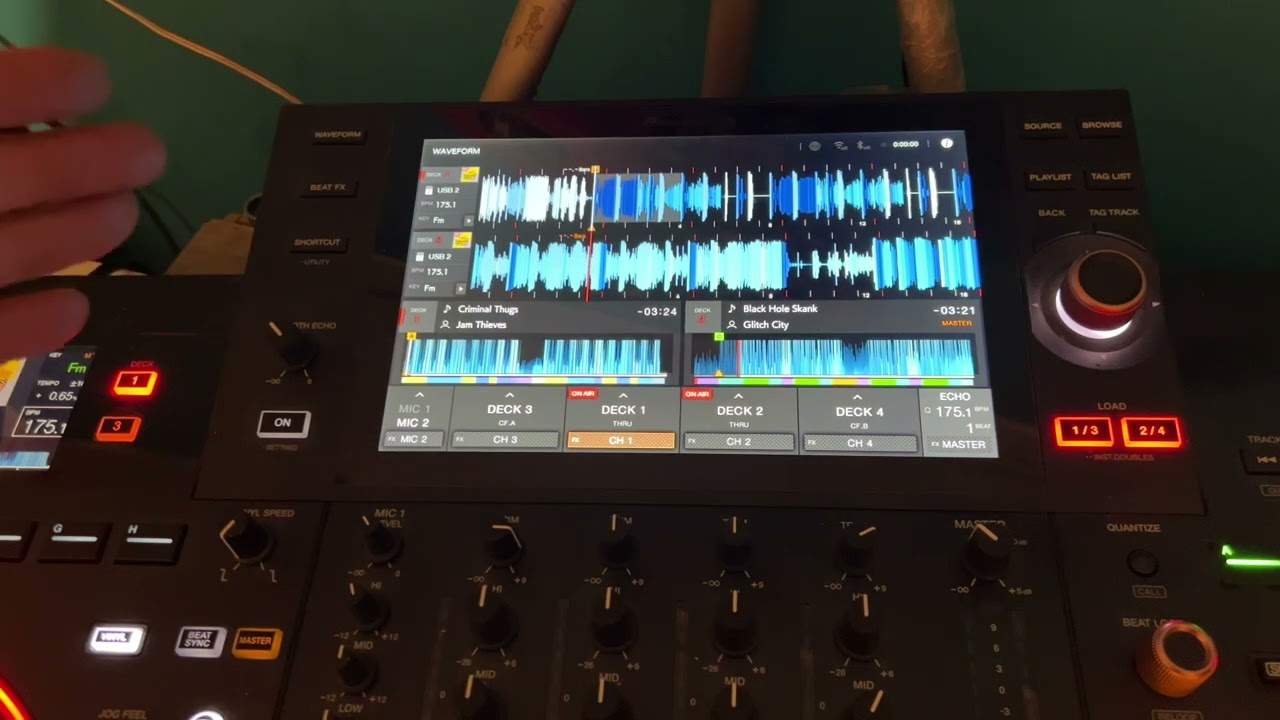
Alright folks, Jonathan here. I haven't done a tutorial on scratching for quite a while, possibly the reason being I'm not really that good at it, but one thing I'm probably quite good at is explaining how it should be done properly, but then again I can't really do it properly. Right, let's have a closer look at the mixer. Right, I've got the wide angle lens on which is known as a fisheye so I can see what I'm doing and hopefully you can as well. The up-faders, you've also got here the crossfade and then just at the top here you've got these switches. Now in a sense you can actually scratch using any of these. Now some switches on mixers move like that, not the flippy flappy style so really ideally you want the switches that move like that as opposed to like that because the ones that move that way
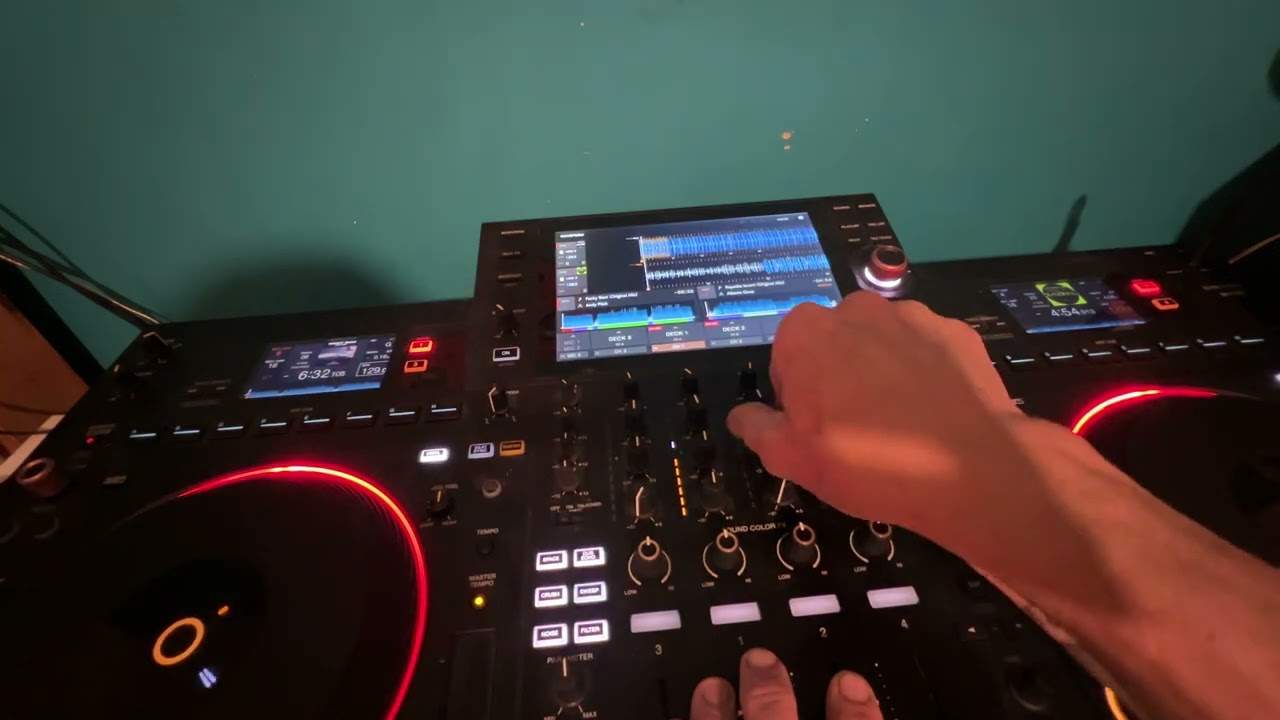
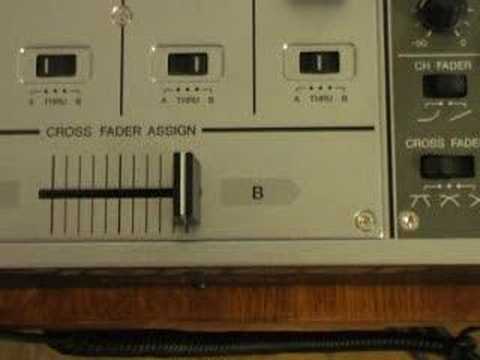
A better for what's known as transforming. Now also, I'm old school, a lot of old school DJs will use the up-faders like that, but of course then you can use the crossfade as well. Now in this tutorial I'm going to talk a little bit about something that's called the crab scratch. Now the irony is, without making myself look like a real stupid idiot, I can't really do it that well, but I know... How it should be done. Now first of all, can you click your fingers like this? If you think about it, when you click your finger, you've got two amounts of pressure. You've got pressure from this finger and your thumb possibly. Now what's happening is you've got to press and flick. That's almost what's happening with the crab. If you can see, crossfader is over here. Now what I'm actually doing, I've got some pressure on the slider here.
I'm pushing it to the right hand side. Now what's happening is my thumb is almost keeping that slider on the right hand side. Now what's happening here is I'm moving these fingers like so. What I'm going to do, I'm going to try and pause the camera and we'll try and get a closer look so you can see the sort of movement that you'll try or you'll have to try and get, should I say. Hold tight. Now very quickly from a scale of 1 to 10 where the crab scratch is concerned. My skill is about minus 50. As you can see here, we've got crossfade curve. Now, you want the crossfade curve to be there. The reason being is that means as soon as the crossfade leaves that position and comes over maybe to even this point, you will get the full volume from the other side. That's quite important. Let me just pull the camera up a tiny bit. Shoot, right, okay, beg your pardon.
2:55 Push, channel, thumb happening
Don't forget this is Punk TV, so if you want perfect quality video I suggest you go somewhere else. Now what we're going to do, if you imagine my thumb is here, now what's happening is this thumb is almost trying to tease and push the cross, in other words the thumb doesn't want the crossfade to go in that direction. So I've got pressure on here and I'm pushing it, but not a lot of pressure, just a tiny amount. 1, 2, 3 or 4, I can do accordingly. 1, 2, 3, 4 like that. So all of a sudden what's happening is the pressure on this finger, this one and this one and this one is greater than the pressure on the thumb. So what's happening is these guys are pushing it over and as soon as that pushes and it moves away, the thumb's going oi, no you're not, pushing it back. Second push, no you're not, pushing it back. Third push.
Push it back, fourth push and push it back. Now the irony about this particular video is that I'm not very good at what is known as the crab scratch so I'm going to start practicing myself and hopefully I'll get a bit better at it so if we watch now. We're doing that sort of effect like that. If you can see it's actually bouncing back like so. Now I'm not even going to attempt to do that while we're having A track playing. What I'm going to do though, is do something similar. If I just move the camera like that now. Hold on, in fact I'll put this dodgy fisheye lens back on. Hold on. There we go. That's a little bit better. So what I'll do, I'll play this now. Now, the difference is, again like I said, there are three ways of using the faders. First of all, the crossfade. Like that.
5:36 We get a sound which is known as the transformer sound
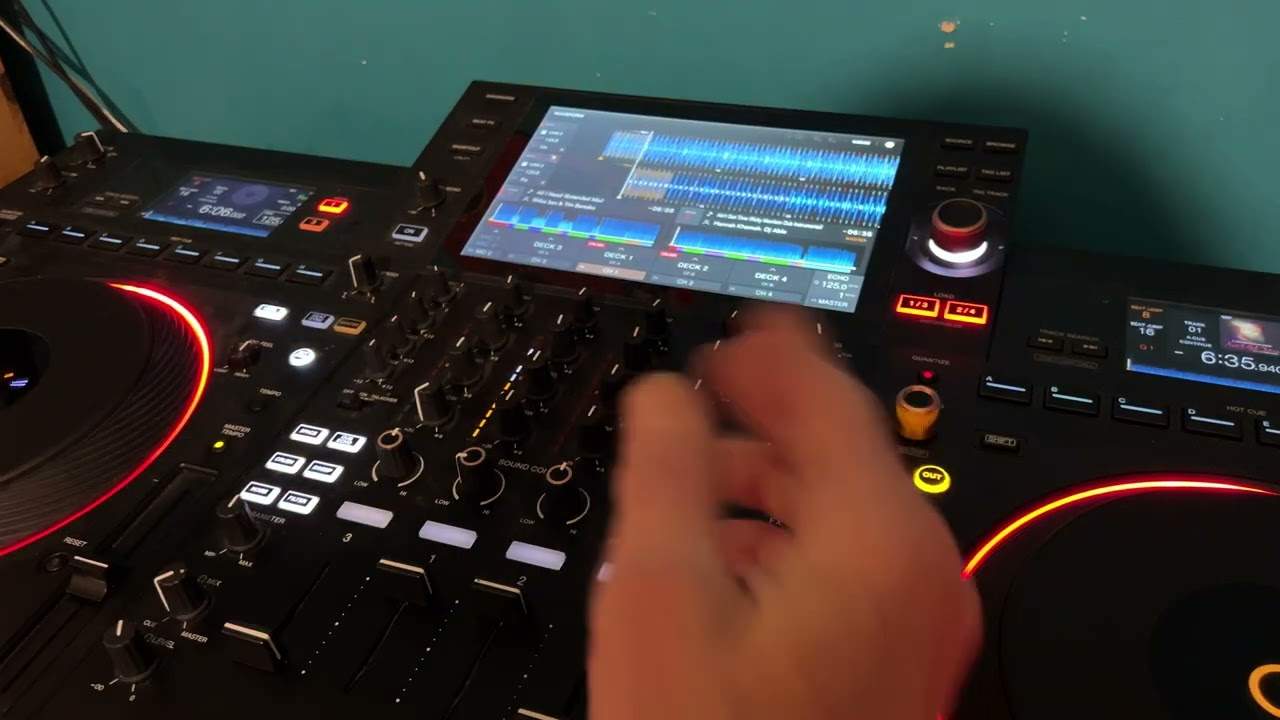
Also you can use the upsliders, like that. And also you can use, up here, you've got the switch. Now if you think about it, vinyl turntable, phono. You need the switch on to phono. Of course, some turntables you can have a line output, so then you could go CD or line up there. But the same thing applies because, of course, logically, you will have one channel into one of those, or you will have this particular turntable into one channel anyway. So one channel will be, I suppose, what's known as live. In other words, this will be playing through one channel and then when you switch it over, it won't be playing. So have a listen when I press... This button here, or not sorry, not press it, move it from side to side which is basically the phono to CD. Have a listen. We get a sound which is known as the transformer sound. Right so what I'll do, I'll flip that back over to phono and as follows. And again it took a bit of time there. Alright I can mix maybe but...
Like I said, I'm not brilliant at scratching but hopefully I can give you a general idea on what to do. But generally, you see, what you'll find is when you've got your crossfader, the curve set to that little diagram down there, what that basically means is that you only have to move that crossfade a tiny amount, just literally to sort of there and then the volume will come in. So that's why... You only need to do those tiny amounts. So in other words, the equivalent distance from there to there is almost on the slider, the equivalent distance from there all the way up to there. So instead of that huge big movement, you're only moving that amount, alright? So another, it's almost like a tutorial, nearly said tit-torial, I do beg your pardon, a tutorial, almost more so really a demonstration on a bit of an aspect
On learning how to scratch and also you can see here I've got the turntables in what's known as the battle mode. Now I have said this previously in another video but the reason for that, if I just move the actual camera back and I'll put the fisheye back on I'll explain why. Okay normally with turntables you'd have a deck I suppose like that.
Like so. Now if you think about it, that's fine. Let's say for example, I'm going to be very careful here because we've got the needle actually on the slip mat. But if you think about it, your hand is going to be moving over like that. Now if you think about it logically, a turntablist will be doing lots of movements like so. Now ideally, you don't want that particular arm in the way. So if I take that back off there now. And I move the turntable into what's known as the battle position. If you think about it now, you can see the arms there, the other arm will be here, and now you've got full movement all the way across here, all the way across the controls on your mixer. You've got control here, start, stop. OK, you've got to mess around with the pitch there, which is a bit awkward, but it's a lot better for turntablists. Right, hope it's been a help. Practice and enjoy.
This transcript was produced automatically from the audio of the video and may contain mistakes.