 15:06
Simple Steps to Follow for the New Vinyl Turntable DJ
Contents of the video
0:00 Going to have a look at some different slip mats and so on
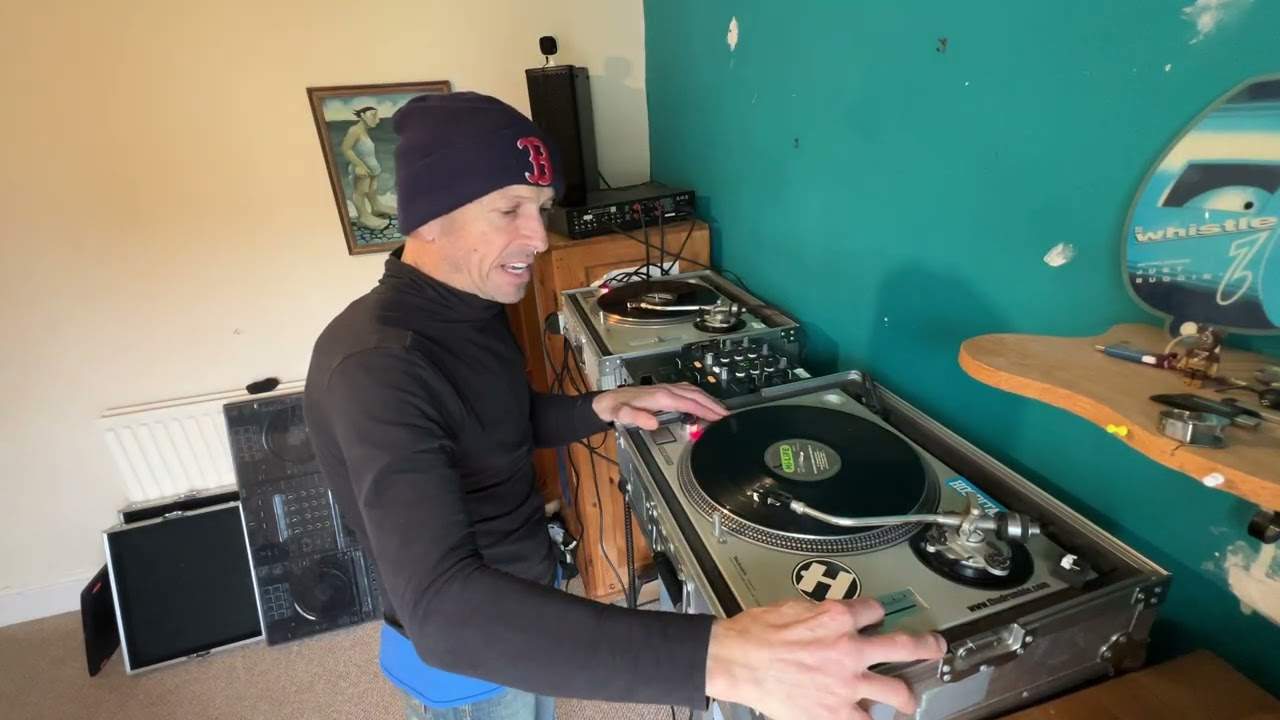
Care, maintenance, looking after your vinyl turntable, looking after your vinyl as well, setting up your tonearm, the stylus, your mixer is all very important. Now this video is giving you like an overview, a quick way of turning up, plugging everything in and not having to recalibrate everything but just setting it up so you're not going to get any clunky sounds. Also going to show you something that could be of interest as well. Going to have a look at some different slip mats and so on. So you've just plugged your mixer in, your volume's up, your trims are up, your master's up, you put a needle on the record and all of a sudden it sounds a little bit too loud. Well this is what you need to do first. I'm going to turn the master volume down, put the needle on the record like that and now I can see my trim on the mixer tapping happily in the amber.
Now I'm going to put the upfader all the way up as well. So that is as far as the upfader will go and now what I'm going to do is very quickly, because I don't want to get done for copyright issues, I'm just going to start turning the master volume up. There. Okay so what I did there is I set the mixer up first before turning up the master volume. Now again for the partially sighted I have the low, mid and high all at 12 o'clock. The reason I've got the upfader off... ...all the way up to the top is because I know that's as loud as it will go. So for example if I only have the upfader halfway up for example and I repeat the process, so let's say I want the trim up a little bit more like that or even if I just leave the trim there.
1:57 Here is that with the volume
Okay so let's turn that off now, let's turn the master up and put the needle back on the record. It's going to be a lot louder. We're in, I mean, I'm in a monitoring environment here at the moment but what I'm trying to explain here is that with the volume up like that on the mixer all the way up your upfader it means that that's as loud as it's going to get where you are. It's not going to get any louder. Also you don't want to start having this done if you can see now but the trim, sorry not the trim, beg your pardon, the LEDs are now tapping into the red... ...which is a little bit too loud. It's a little bit too much. You see green is adequate, you know one or two ambers is fine, you start getting over the zero dB then it's not too bad.
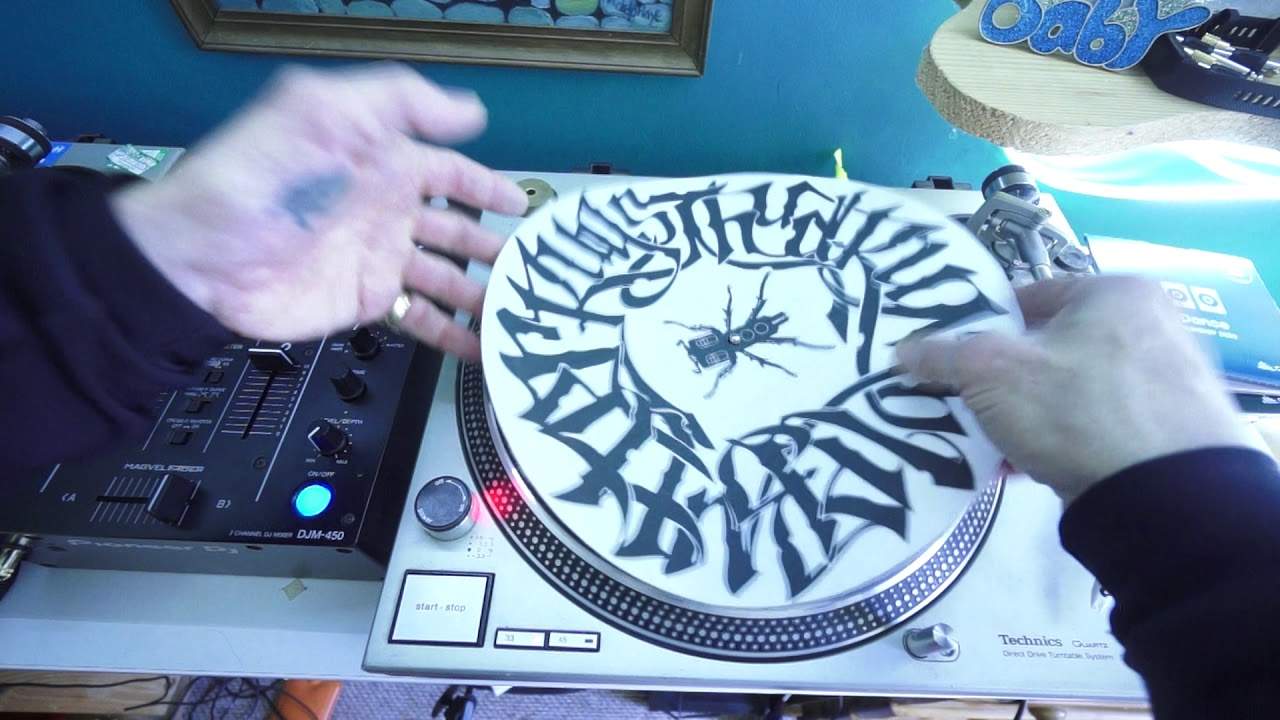
But when you start pushing it a little bit too much you've got to remember that that sound then, the slightly distorted sound or the over elaborated signal is going to have that same effect all the way through the rest of the PA. So once you have your main PA then turned down won't mean that you won't get that sound. You will because no matter what you do with the PA out there, that's how the sound is going to get to the PA which is going to be slightly clipping and too much power going on. Alright so I'm going to take the needle off the record, take the turntable, sorry the record off the turntable. Let's have a look at some Slikmats. This is an old school mock'em. It's relatively thin and it's nice and slippery.
So one way of finding out if your Slikmat is any good is just to have the turntable working, turning. Make sure you've got a little bit of moisture on your fingers and then just turn the Slikmat like that and it should move very very freely. Now you can get this thing, Cuba actually sent me this himself. Yes. Quite, quite pleased. This is known as a butter rug from Qbert. So put that on and this is even more slippery. This is a slippery one. Okay there you go. Whereas if we go to something like this. Now this is the Technics one. I'm not saying Technics is not very good but I do feel as though there's a bit of friction in between this and the turntable. Now that could be because of the Slikmat. But also it could be because the Slikmat is slightly damp.
4:58 Just very basic ones there you go
Now just bear that in mind and a way to get rid of dampness is of course, I've got a hairdryer haven't I? Yeah right. Okay is use a hairdryer on your Slikmat and that will get rid of the damp. So but always be careful don't have it too close you know just go over it a little bit and so on. So let's put that turn, sorry the record back on the turntable. Now you may have seen ah actually before we do that let me I've just got another couple of Slikmats here. Just very basic ones there you go. And also like to show you this. Put those over there. This is the original mat that will or that came with the Technics 12 turntable and it's rubbery. It's very, very rubbery. It is actually very rubbery. And if you have this on your turntable and then you put a Slikmat on top you're an absolute idiot because it's no slippy.
No slippy, slip, slip at all even with the butter rug it's like no slippy, slippy. So that really is for your audio buffs at home who want to sit there and listen to classical music and just play one record and never even touch the pitch control. So if you ever get secondhand Technics that's been used by someone in their living room for about 10 years get it quickly because the pitch should theoretically be in perfect condition. Right so you may find on the back of your tonearm on the counterweight of your tonearm a small little weight like that plugged into the back where it's actually screwed in. Now if you've got one of those in the back of your tonearm you should only have that in if you have got the cartridge that is slightly heavier than your normal standard cartridge
Because you can get all sorts of cartridges. You can get all sorts of cartridges to go in the end of the tonearm on the Technics. So if you are finding that when you're putting the needle on the record and it seems to be skipping, jumping no matter how much you put the weight towards you that's possibly because you've got that small little weight attached to the back of the tonearm itself so you need to remove that. So I think I might be able to do this now I can't see behind but if I go there and I start turning that you can see that it fits in. Okay I haven't moved it all the way but it does fit into the back of the tonearm so I need to remove that. Okay now some people what they tend to do is with the actual counterweight
7:44 Though is the height adjustment
And this counterweight is very similar across the board with a lot of turntables They turn it around and have the silver side facing towards you Now that actually gives you slightly more weight on your styli, your needle but that may work but all you're doing is you're putting more pressure on the needle which in turn is wearing away your vinyl a lot quicker whereas if you just set the tonearm correctly in the first place you wouldn't even need to do that. So again I don't want to go into the ins and outs of setting it I mean there is something here where the number here has to correspond with the anti-skating and so on and blah dee blah dee blah but I don't want to go there today. What I will explain though is the height adjustment
Now the height adjustment really is there so the tonearm is always level and flat with the turntable itself but also that's about the height of the vinyl that's on the turntable because again some slip mats are thicker, some are thinner So of course if you think about it you don't want the tonearm slightly facing down at an angle or up at an angle You need it perfectly flat with the piece of vinyl So that's something else to consider as well My tummy is rumbling Now I don't know if you've ever noticed but just around about here by the on off button you've got like a plus 6, 3.3, 0 and minus 3.3 And you've also got these dots Now those dots on the turntable itself are corresponding to the dots on the platter
Now here is some form of strobe You press play and if I put that in the centre position The centre dot should not move at all That should stay exactly in one position Now it's not all the dots around here It's actually the dot next to the red LED And that's telling me that is exactly now running at 33 and a third RPM So one minute, 33 and a third revolutions in one minute 45 is 45 revolutions per minute If we go to 33 And I now start to speed it up So starting to speed it up Oh speed it up So I'm slowing it down Sorry about that I'm slowing it down When I get to the stage where the bottom dot Down here Stops moving If I can just maybe get a little bit closer A bit like that There we go When the bottom dot stops moving
That now is going at minus 3.3% So it's no longer 33 and a third It is 30 Okay, and then again We have two more dots at the top And again corresponding to the turntable 2 there So as I speed it up We're going to plus 3.3 And then plus 6 Okay, that's percentage Right So If we have a look at the pitch itself Plus or minus 8% And with the Technics SL1200 Mark II You do have that nasty click in the centre And in the actual pot It's known as a pot in the trade itself No you don't smoke it
10:47 Centre point
Don't go there Right You have a small little spring With a ball bearing in there And that sort of sits In a small little position When you get to the centre point Which can be a bit of a pain in the arse So if you are finding That you're trying to fine tune Around that position The best thing to do Is the other turntable Slow it down or speed it up slightly So then you can either work around Below the centre point Or above the centre point To get it in time Now if you are a little bit anxious About putting your needle on your record Then use The tonearm lift So I'm going to lift that up like that I'm going to move the tonearm across And then I'm going to let that gently fall Slowly onto The piece of vinyl And then I can myself
Bring that forward Or back Like that I always get questions You know What are the best cartridges to buy Well That's a little bit like saying You know What's the best fast car to buy You know There are loads of great fast cars out there There are some actual duff cartridges You know If you see anything on eBay For like £9.99 The complete cartridge Then You know Go to the next page On the other hand A lot of companies Are doing now What we call The concord series And There they are Now This is more suitable For CVS But Again It can be used For regular vinyl as well And the beauty about The concord cartridge Is It's designed And made To be at The exact angle And The needle To be At the exact Position For optimum playing And I can elaborate on that
Because If you buy Say something like A stanton cartridge That has to go On an actual Head shell Then You yourself Have to set The position Of the cartridge Inside The head shell For optimum playing And again If you Ever bought Any technics Originally You may have found This white Sort of Piece of plastic With a hole in it And the idea Of that Was to put your cartridge Inside it And then The needle Point Should be Aligned With the end Of that Piece Of plastic In your cartridge But I'll Be honest With you The likes Of the Concord series Are great Because it is Just plug It in And use It That's It It's A great Feature Okay So I hope I've been A bit Of a Help Here Also Now One Of the Most Important Things That You Have To Do Is To Buy Parts And If You Can Find Them They Are Very Expensive
For Example I Still Have A SL1200 Mk2 The Analogy Is Perfect It's Exactly Like Buying A Classic Car Don't Expect To Buy It Use It For The Next 20 Years And Have No Issues Because If You Don't Have Any Parts That You Can Take Off It And Use It As A Donor Turntable That's What I'm Going To Be Doing In The Future
This transcript was produced automatically from the audio of the video and may contain mistakes.
Related videos
-
Complete Beginner DJ Lessons Tags Key BPM Etc
A more advanced lesson folded in early, and worth doing once rather than putting off, because everything it sets up gets used for years…
-
Complete Beginner DJ Mixing Lessons Video 19 Getting Your Kit Ready for an Easy Mix
A whole lesson on getting ready, which is the right call - the exercise in the next video only teaches anything if the two decks are…