 12:48
Using the 3/4 Echo over a House Track Fixing a Technics SL1200MK2 Rca Cable
Contents of the video
0:00 With today's technology everything's getting smaller, faster, stronger
So, with today's technology everything's getting smaller, faster, stronger. I predict, I say predict, but I wouldn't be surprised if 10 years from now a DJ console is like on your phone. Now, yes, I know it sort of is anyway because we have apps that you can use to turntables on your phone, but to the extent where you just don't need anything else. You know, I mean, it's literally your phone will do absolutely everything that something like this can do. And all right, there may be a few comments going, yeah, well, it can. Well, it can't yet. Not quite because there's latency and, you know, there's speed and just so on. I mean, the list goes on really, but I predict that very soon. Yeah, anyway, that's besides the point.
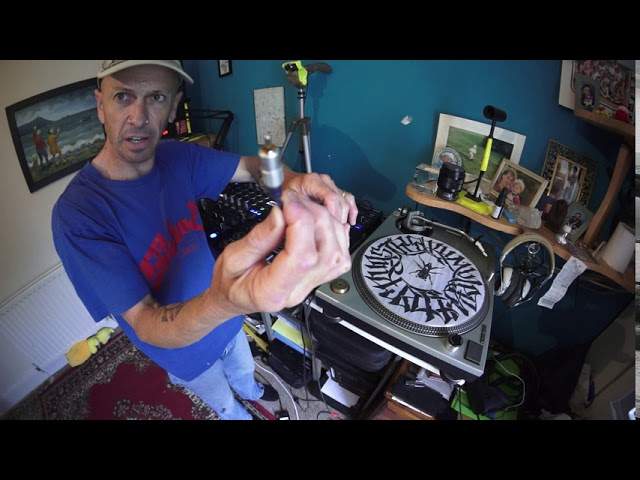
Right here is a Technics SL1200 Mark II turntable. It is the Don, the daddy of all turntables. There is not one person who can tell me that in the DJ industry there is a turntable that is better than this. Now, there may be decks that will put it this way. That's the daddy. This is the Don. This is the godfather of all decks. Now, recently, this one here, I was having issues with one of the RCA cables. It was starting to just act a little bit strange. In other words, I'd be jiggling it about in the back of the mixer. I thought to begin with, it was the actual RCA plug. I took it off, put a new one on it wasn't. I then cut some of the cable down like halfway and attached another piece of cable. There were still issues.
2:35 I turned it upside down and put it on a big pillow
So what happens over time is the you know, the wires inside the cable could pull or it's just age related really. You know, nothing lasts forever, which is another point when you see something. You know, it's not like you can just have this for life, have this forever. No, because not even a diamond lasts forever. Eventually, even something like that will just go into dust. So if you have a look there now, I had to take this out and replace. So I will talk about this and how you could potentially save yourself a lot of money. Now, if you're any good with a Phillips screwdriver and a soldering iron and you have a certain level of common sense, you can do it yourself. All right. Very simple. What I did, I took the platter off.
I took the weight off. I took the cartridge off. I turned it upside down and put it on a big pillow. I then proceeded to take off the four feet and then undo all of the screws. There's lots of them. Then I took the. Plate off that it's like this. It's all I think it's like plasticky rubber stuff, but it's that is actually most of the weight of the turntable. It's solid. And then you get to underneath the tone arm area. You've got two screws that you have to undo that will release the plate. But prior to that, there is a small mechanism that holds the cable, the wires inside the bottom of the deck. So by accident, if you pull the wires, you're not going to yank them from out of where they're soldered into. So you need to unscrew that and you need
To then there are two pieces of plastic sort of gel, not gel together, but they're actually locked together. You just need to prise those apart. Now, again, if you're a little bit concerned about doing something like this, it's always a really good idea to record what you're doing, because what that means is if you make a mistake and think, where did that go? How did I do this? How did I undo that? What happened here? You just rewind and watch what you've done and reverse what you did kind of thing. OK, and then you will get to the underside and you'll be able to see where the cables, the RCA cables are attached to the bottom of the tone arm housing. Now, you should notice that if you look there, you can just about see.
5:06 It's just a thin piece of wire
I know, yeah, this is a fisheye lens, but you have the outside cable which is soldered. And then the this is the white one. So you have white and red. Now, again, it's self-explanatory. All you do is you unsolder and solder in your new cable. Now, I only had one cable that was a bit dodgy. So guess what? I just replaced that one. Now, you can go on eBay and you can buy kits where you have a complete cable set and an earth cable. But if you want to save some money, I think this is the main reason for me doing this part of the video. If you want to save some money, then you don't actually have to buy a kit because the earth cable is just a cable. It's just a thin piece of wire. So you don't really have to go and spend
A fortune buying a wire because that's all it is. It's a piece of wire in some plastic. End off. That's all it is. And also the RCA cables. Now, here is an RCA cable to RCA. There it is. That is your cable that you'd normally have from a CDJ to your mixer or in the back of a Hi-Fi. Now what I did, I had an old one of these and all I did was very simply I cut it. That was it. I cut it in half or the length I wanted. And I can show you that now. But if I don't go away, if I just pull this back there. Right. So there you go. Now, there is the original cable for the Technics and there's mine. There you go. So that's all I did. I cut it, measured it and I attached this to or I replaced the old cable with that. And it works fine.
So basically I used bits and bobs around the house. Now, again, you need to be pretty good with the solder. Well, I say pretty good. You've got to know how to use a soldering iron. So what you do is prior to soldering the wires on to the board, you need to make sure that you put a tiny bit of solder on the wires prior to soldering the wires on to the place where the old ones have been taken off. All right. Now, if you want to know slightly more in depth on soldering, I'm sure there's millions of videos out there, but it was relatively simple to do. What took the most time was unscrewing and screwing the base plate back on. Seriously. Anyway, let's go to the deck over here. All right. So this tune here is House That Shit and Demain Vanny.
7:39 Is there something wrong with that speaker?
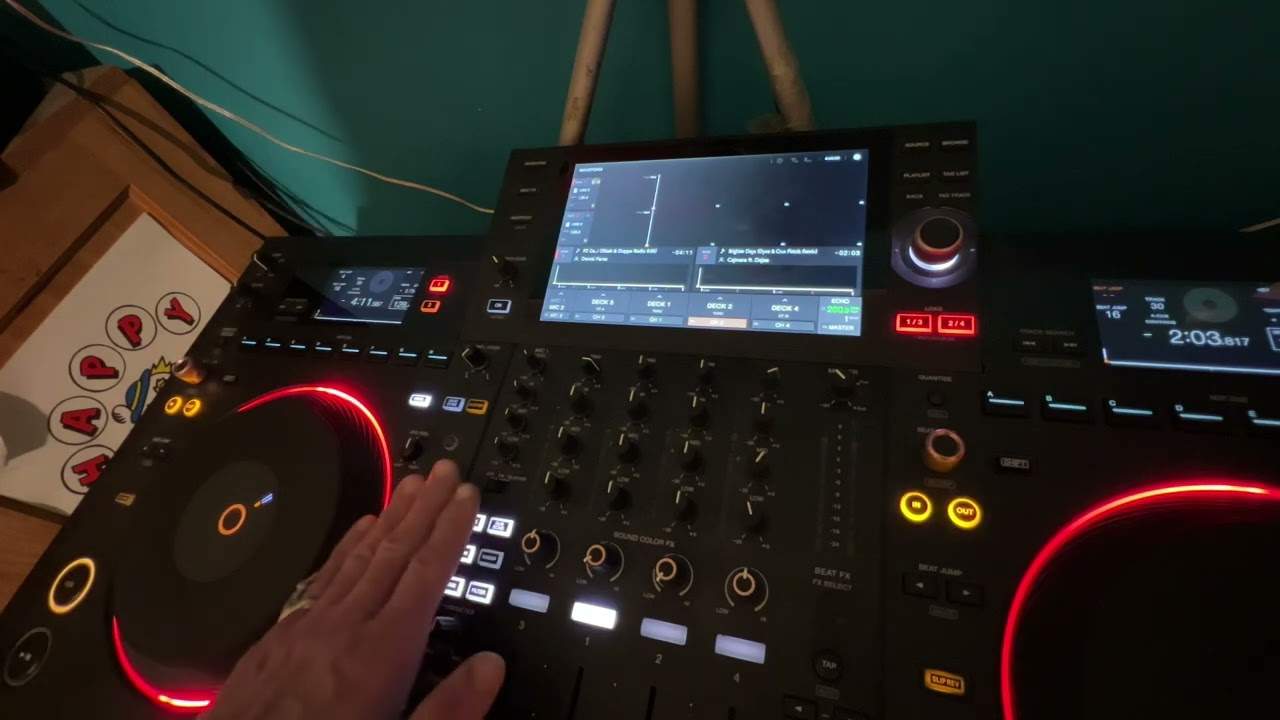
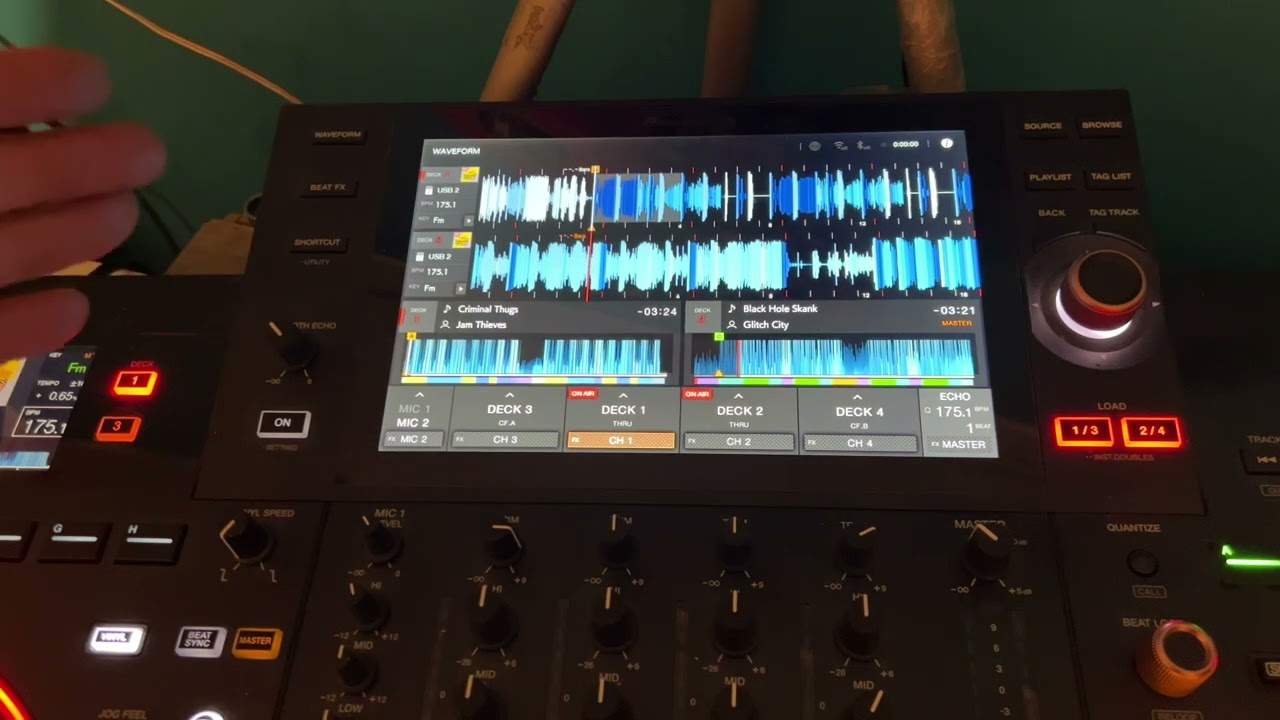
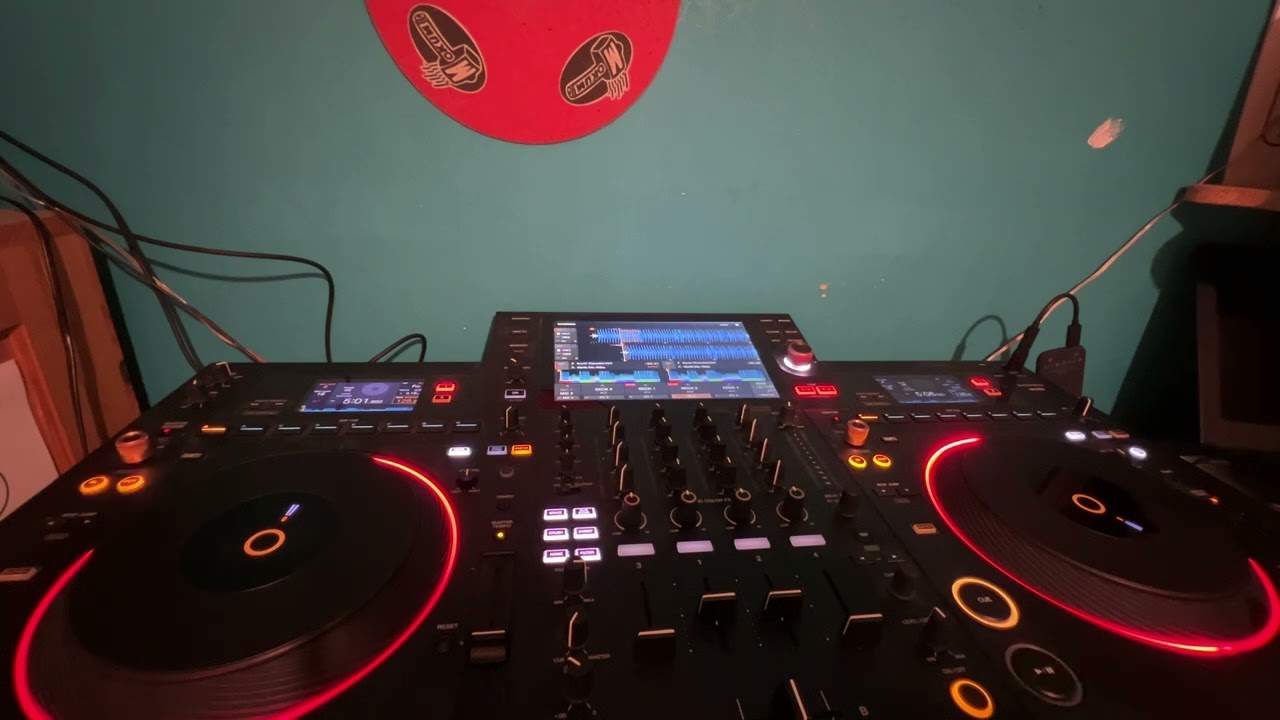
Okay. It's called You. It's the original mix. All right. I've got WAB version here now. And I like this tune because if you listen to it now, again, you're listening to this via the microphone on the camera. So the audio may not be brilliant, but we've got a very light low and mid sound. When I heard this first, I thought, hold on a minute. Is there something wrong with that speaker? No, there isn't. Because slowly now we can hear the mid coming up. And then all of a sudden at the beginning of the next phrase, we get that high end and that shh. And that made me think. Hold on a minute. I know what I can do to this track to add a really good effect without ruining the song. It's a three quarter echo. Listen, hold on.
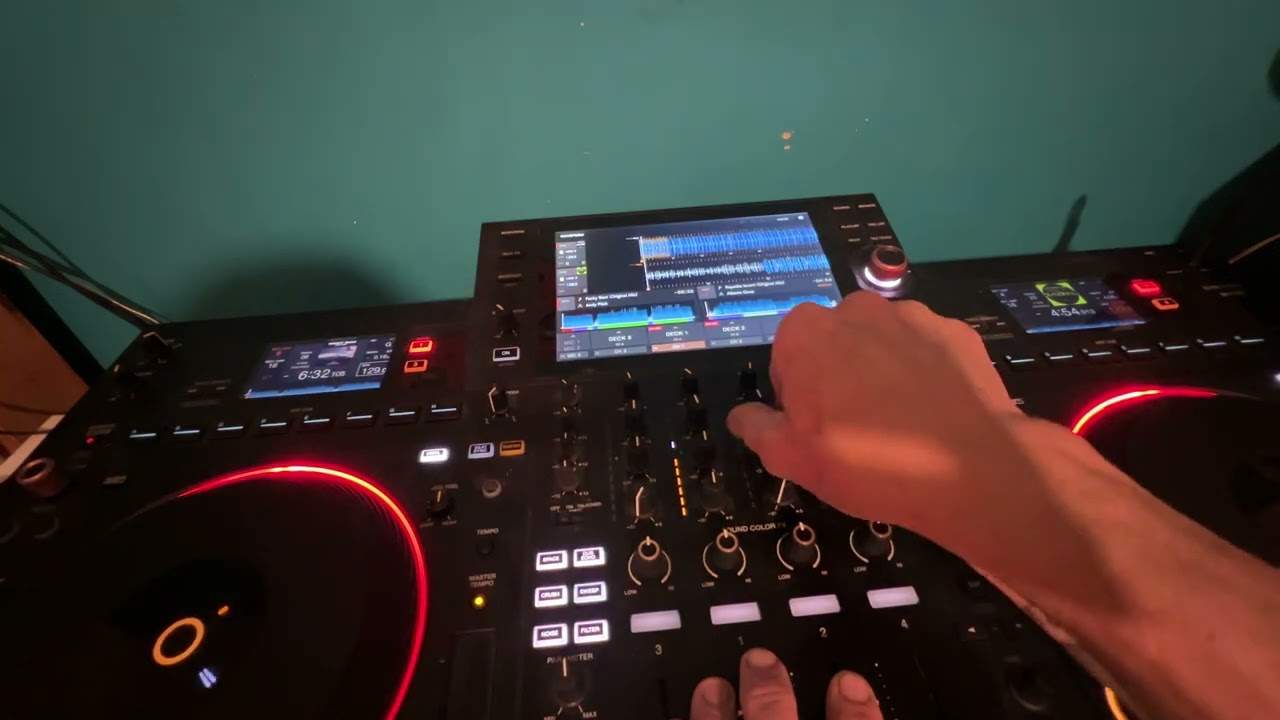
Level depth. Three, four, one, two, three, four, simple. Four, one, two, three, four, one, two and again. So what I'm doing is I'm using the Beat FX pad. I've got the XZ and I'm just pressing the four quarter echo and what that does it. If you with house music, if you use quarter half or one, all you're doing is the echo is in time with the track, the 4-4 time. Whereas if you use three quarter, you're adding beats in between the four to the floor like metronome beat as it were. All right. The opposite applies. Let's say if you're doing drum and bass because drum and bass is three quarter time anyway. So it might be a nice idea to use, you know, half echo one or two. So listen again. Level depth. What I did there was use the filter filter up while I've got the echo on.
And again, just pause at a really small tip here. I mean, minuscule tip. But if you want the effect to just stop. Where you want the effect to stop. Now, this is a key. All right. Very simple sentence, but pure logic. You need to turn your level depth down. Otherwise, the effect will carry on until the effect finishes naturally. So I can demonstrate that now as well. So let's let the effect end naturally again. Now, this time level depth, turn it up a bit more.
10:45 It's just going to sound terrible
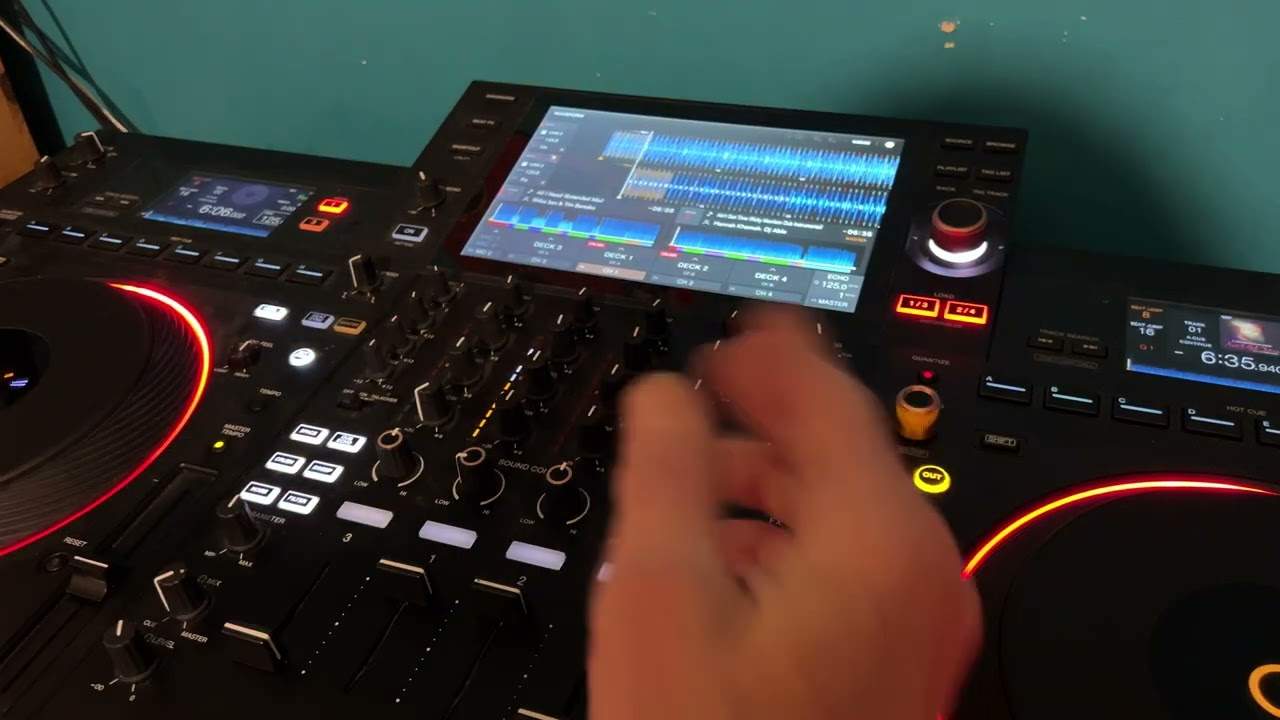
Now, again, we have that highlighted quite a bit because I turn the level depth up about to two o'clock. Now, you want to be careful there because you have it if you turn the level depth up too much. Yeah, it is in camera. It's going to over exaggerate and you're going to lose the whole feel of the track and you're going to end up having too much of an effect. It's just going to sound terrible. I can demonstrate that as well. Here we go. Let's just go forward a bit. Just set hot cue. I'm going to turn the level depth up now to max.
You see, to me now, that's too much. It spoils it. No, no, that's not working. Whereas if we go to about one two o'clock, listen, much better. There, experiment. Let's go to slip mode spin back. All right. If you're interested in this tune, it's from Karmic Power Records. There will be a link in the description and any questions on the techniques. Give us a shout. I practically changed. Everything in Technics over the years. They are it's not easy to do, but I've always worked off pure logic. I've changed pitch controls. I've even gone as far years ago. I've had to change the earth cable from source, from where it starts all the way through the tone arm, which is a nightmare inside the arm of the turntable itself and had to solder it on the end.
And that was like. That was frightening, but I did it. All right. Thanks for watching. Don't forget to check out Karmic Power Records and practice and enjoy. Nice one.
This transcript was produced automatically from the audio of the video and may contain mistakes.