 8:55
Using bass, mid and top in the mix
On YouTube this video is called Using the Bass, midd and top in the mix.
What this lesson teaches
His analogy for what the EQ is doing during a mix is the best one in the course.
The Play-Doh
Take a yellow lump and a blue lump. Press them together and they stick. It looks fine and it is plainly two things touching.
Now work them into each other so the join becomes green. There are still two colours and there is now a third thing in the middle that is neither.
That is the difference between a crossfade and a mix. Sliding straight across joins two records; working the bands during the overlap produces something in the middle that exists in neither of them - and the listener should not be able to tell where one ended and the other began.
The bands, briefly
Low is the boom - the kick and the bassline.
Mid is the vocals, the melody, the guitar, the keyboard, the synth. Everything that carries the tune.
High is the hand claps, the cymbals, the air at the top.
What he does with them
The sequence is worth following, because it is the standard shape of a worked mix.
Hold the bass back on the incoming track. Its bassline is the thing most likely to collide with what is playing, so it does not come in yet.
Bring the treble up on it. Now the new record is present and audible - you can hear its hats and its texture - without it competing for the space the playing record occupies.
Then let the mid through for the vocal, once there is somewhere for it to go.
So the new track arrives in pieces, from the top down, rather than all at once.
The aim
His stated goal is worth holding on to: you want the listener to imagine there is no join at all - a continual flow of music.
Which sets a useful test for your own mixes. Not "was that in time", but would somebody who was not watching have noticed that anything happened?
Contents of the video
0:00 Another tutorial for you on mixing using the bass, mid and treble
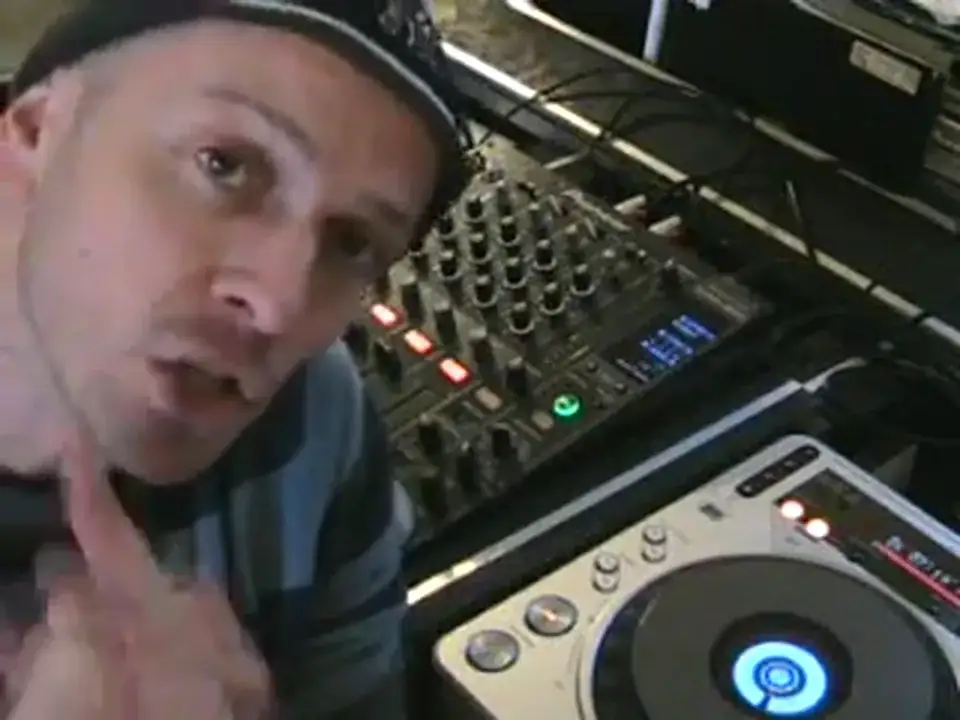
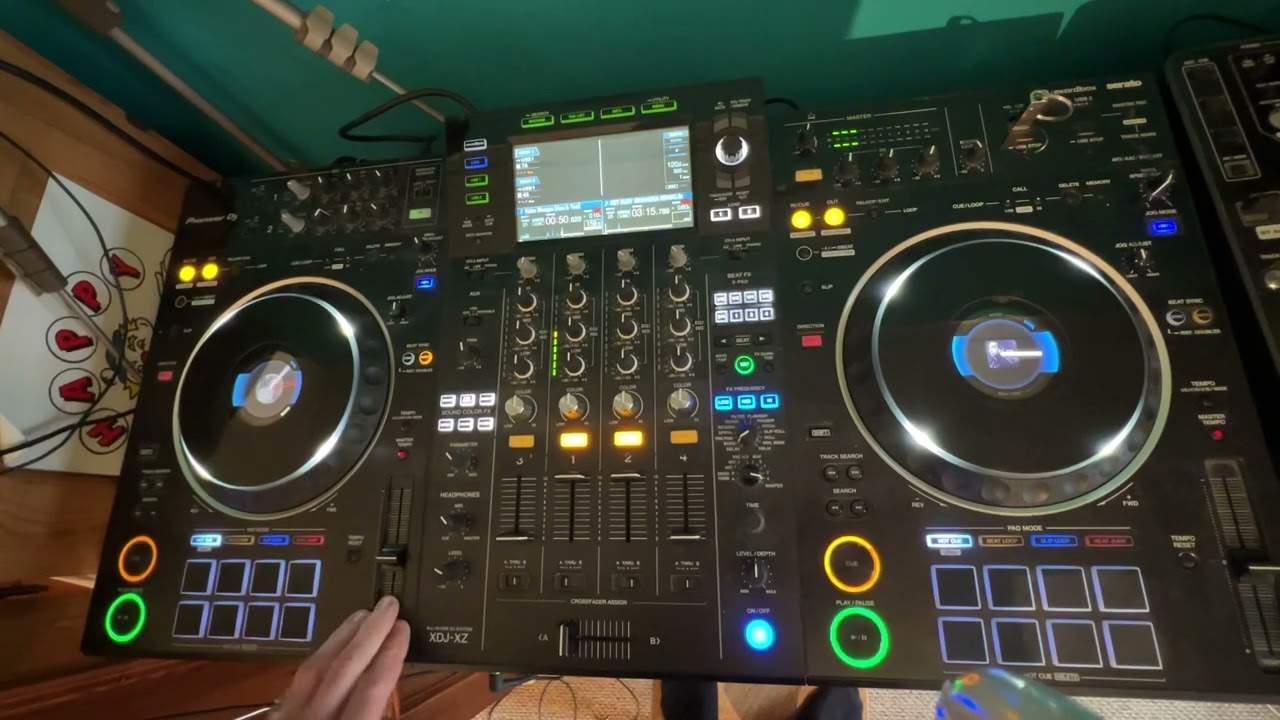
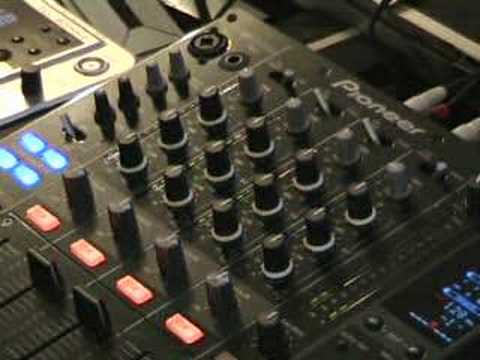
Alright folks, Jonathan here. Another tutorial for you on mixing using the bass, mid and treble. First of all, bass, mid and treble. Here on this mixer we have low, mid and high. Same thing, bass, mid, treble, low, mid, high. The low is your bass, the low frequencies, the boom, boom, boom. The mid is your vocals, your melody, the guitar, the keyboard, the synthesizer. The high is the hand clap, the cymbals, the really high frequencies. Now very quickly, let's have a bit of an analogy here. Imagine we've got two tracks and those two particular tracks are yellow and blue. And let's say it's Play-Doh, it's kids' dough that they mess around with. If you stick those two together, then they'll stick and maybe they'll look alright, but that's the equivalent, let's say, of just doing one mix straight through to the other. By actually messing around with the bass, mid and treble,
Get those to intertwine so we can actually get green in the centre. In other words, we've almost got three individual tracks. No longer is it one, two, wang straight together. By messing around with the bass, mid and treble, we can just make them neatly, just almost as though they're joined. And in a sense, that's what we want. We want the listener to imagine that there's no actual join. It's a continual flow of music. Now first of all, don't forget... Look to the side of the video for relevant information with regards to the tracks. I'll play you this one first. Now, this is the track we're actually going to mix in. Now, if you listen to this, what you've got, you've got beat and then a little bit further on we'll get a very low bass line. It's a flowing sort of bass line. Now, initially, I don't want that to actually come into the mix. Now, we've got that... Now, I want to increase that in the actual mix.
2:23 Track, bring
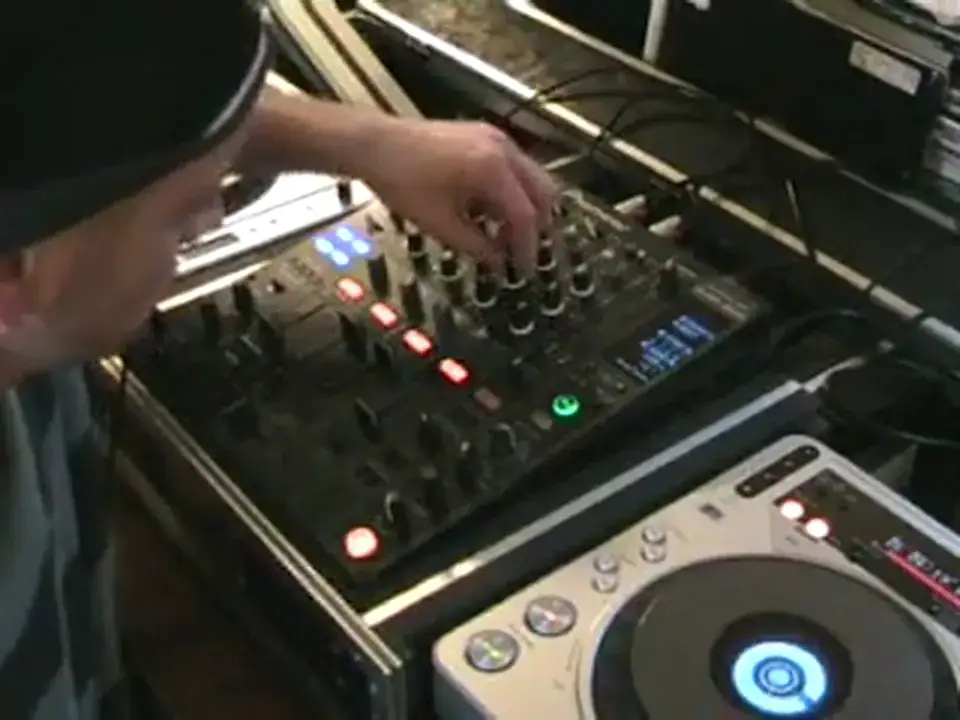
By increasing the treble, have a listen. It's a lot higher. If I take the treble away, it starts to disappear. It's losing its high frequencies. Now there's the bass line. By moving the actual bass anti-clockwise, have a listen. Disappears nearly. Now the vocals, I like that. That's the mid. If I increase the mid, have a listen to see what happens to the vocals. It comes a bit further out, doesn't it? So we'll pause that. Now let's have a listen. This is the track we're actually going to mix in. Now what I've done as well, I've set it so I know exactly where to bring this one in towards the latter part of that track and exactly at the point where that track finishes, we come bang straight in where I want this track to come in. Now again, that's another tutorial but that's all about...
Finding the structure of music and bringing one track in at the exact time you want to bring that track in, in relation to the actual part of the end of the other track so they work well together. Okay, so let's play this one. Bring it in. Now we've got loads going on here. We've got bassline, loads of vocals. We've got... Can I take the middle one? Okay, the vocals went just at that point anyway. Let's take the bass away and have a listen. This is the mid. We get that more emphasis of the mid sound.
3:39 First time I'm not going to touch anything
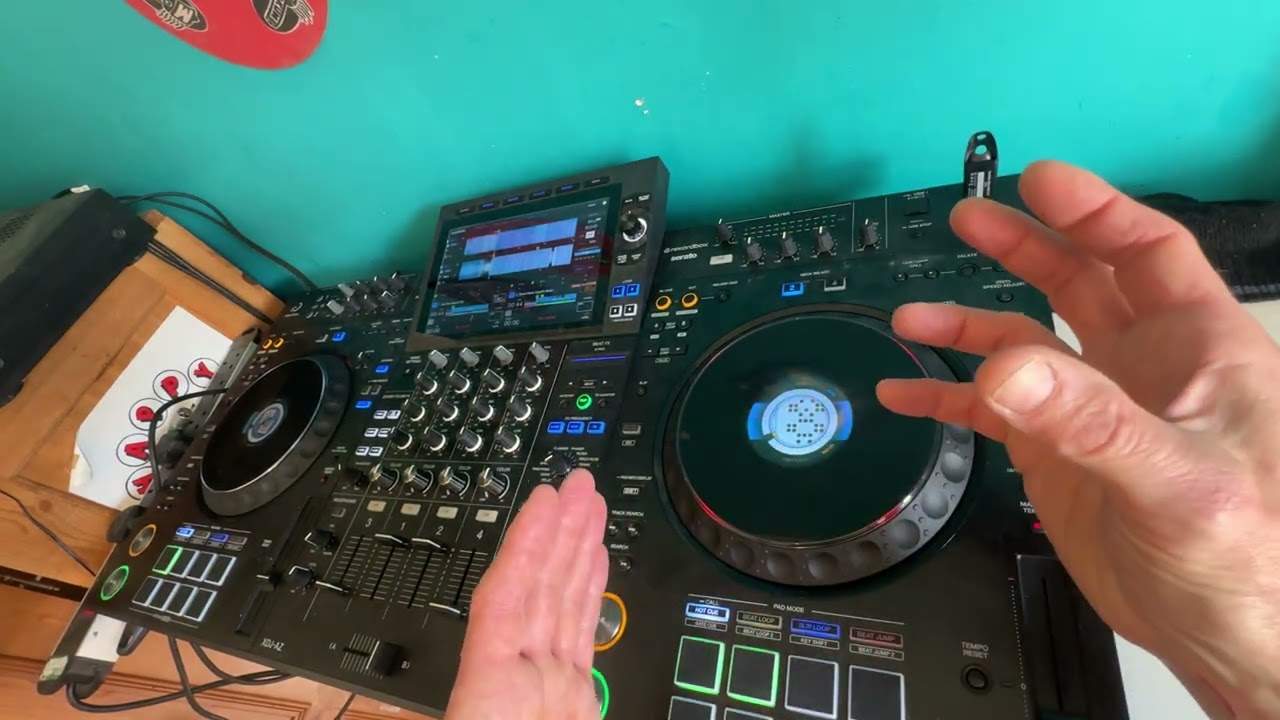
Take it all away. What I'm going to do now, put the camera a little bit closer to this area here and I'm going to do the actual mix. I'm going to do it twice. First time I'm not going to touch anything. Second time I'm going to use the bass, mid and treble and let's hear the difference. Here we go. I might have to edit this so it's just about 10 minutes so hold tight. Right, here we go. I'm not going to touch any bass, mid or treble. To come in so early and I say yes but I want to...
6:05 It is like this, I could
Mix but this time using the bass mid and treble. Pause that. The way I look at it is like this, I could do this mix 20 times, it'd always be different. What have I pressed? You could do it 20 times, it'll always be different. It's about having a bit of fun and messing around, practice and enjoy. Thank you very much.
This transcript was produced automatically from the audio of the video and may contain mistakes.