 3:45
The crossfader and the up-faders
On YouTube this video is called Complete Beginner DJ Lessons Video 13 a Look at the Cross Fader and up Faders
What this lesson teaches
He says people assume these are easy and then get confused, which is fair - there are more combinations here than there look to be.
Assignment
Each channel can be switched to A, B, or through.
A and B put the channel on one side of the crossfader. Through disconnects it from the crossfader altogether, so only the channel fader matters.
And here is the trap he points out: you can assign them crossed over. Put the left deck on B and the right deck on A, and now the crossfader works backwards - pushed right, you hear the left deck. Nothing is broken and nothing looks wrong. Check the switches.
The three ways to get silence
Worth knowing as a list, because this is the other half of the fault-finding from the loading lesson:
1. Channel faders down. Nothing, wherever the crossfader is. 2. Faders up, crossfader on the other side. Nothing from the channel you are playing. 3. Both of the above at once, which is how people end up convinced the controller is faulty.
With the crossfader in the middle, both sides are audible and the channel faders do all the work - which is how a lot of DJs mix most of the time.
The rule worth adopting
This is the valuable part of the lesson and it is about setting up rather than mixing.
Set your system's loudness with the channel faders at the top, not halfway.
The reasoning: if you set a comfortable volume with the faders at five, you have five notches of headroom you did not plan for. One day - reaching for something, or at the end of a track - a fader goes to ten, and the room gets a jump in volume nobody chose.
Put the faders up first, then set the amplifier so that that is as loud as you want it. Now the top of the fader is a limit rather than a surprise.
Contents of the video
0:01 Crossfade and also the up-faders
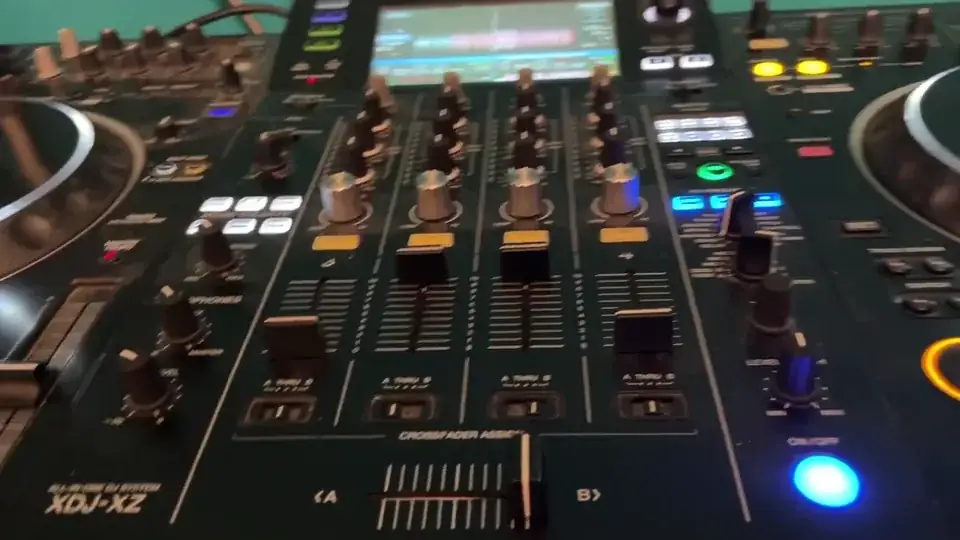
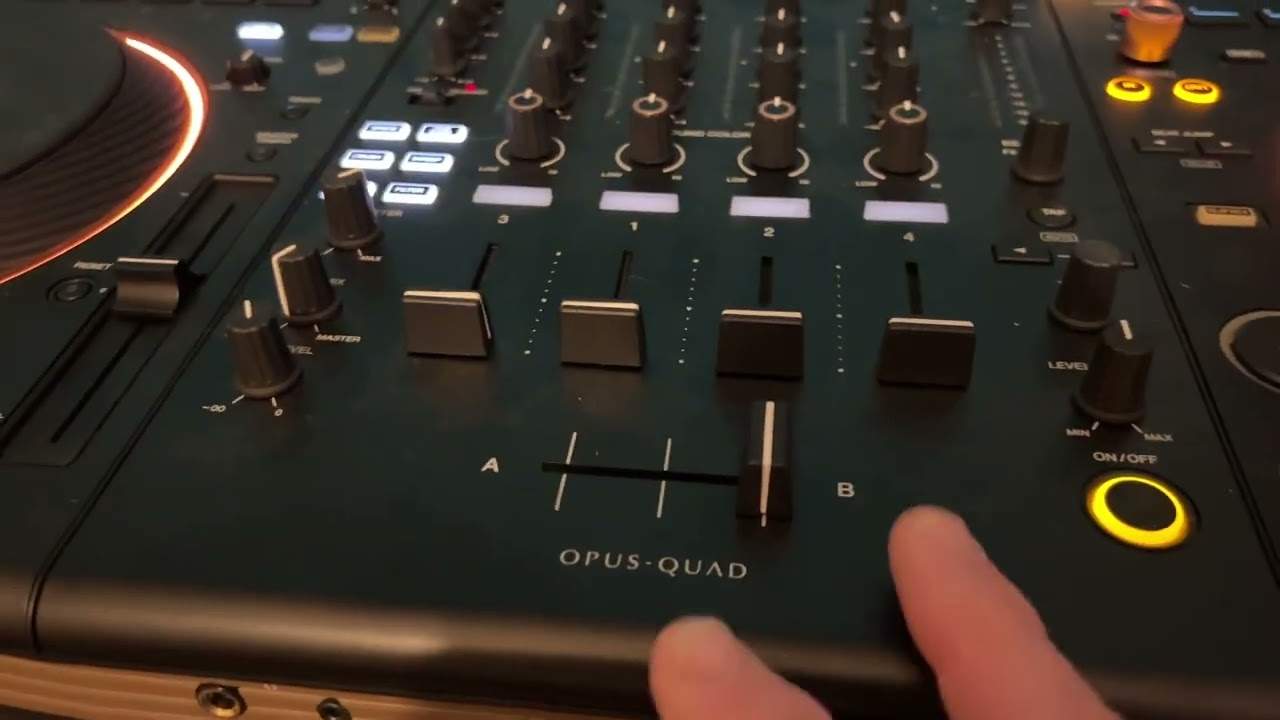
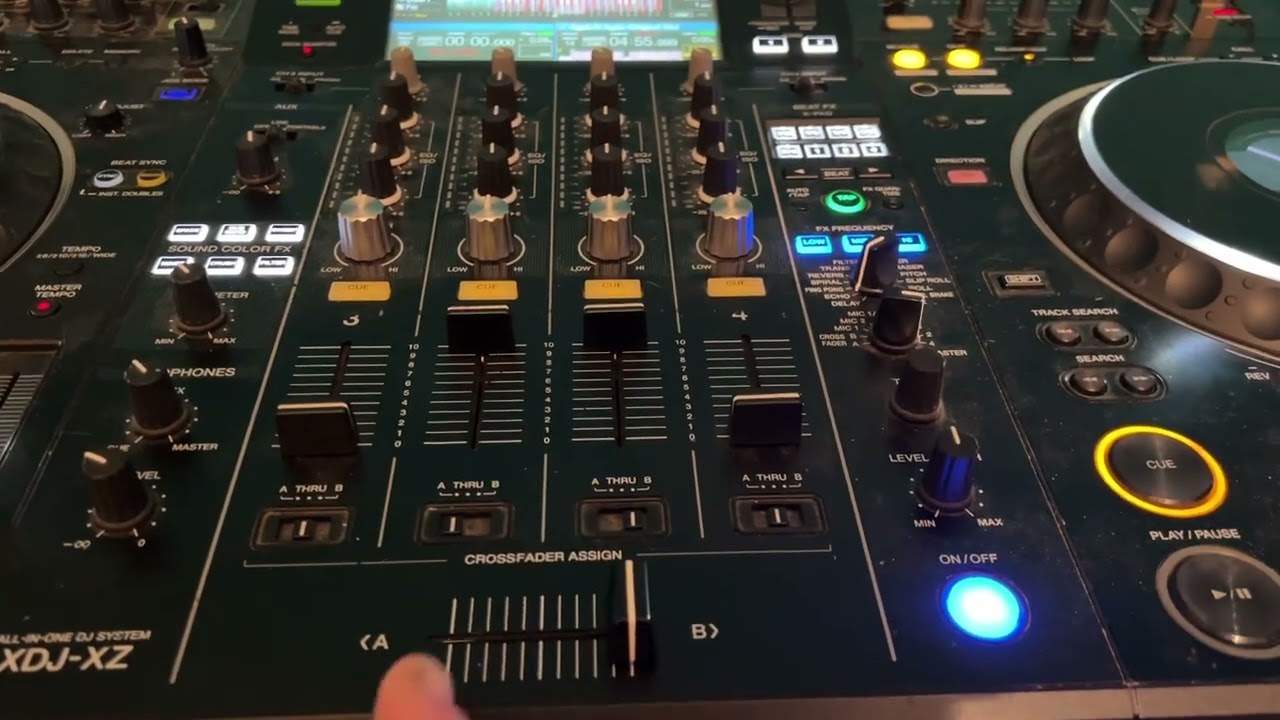
Right guys, video number 13 for the complete total and utter beginner. In this video we're going to look at the crossfade and also the up-faders. Now some people think that they're easy to use, which in a way they are, but can get quite confusing. So this is the crossfade. It moves from side to side. These are the up-faders and they move up and down. Now very quickly as well, your controller may have a button on it where you can engage or disengage the crossfade. On here, it's called the through position. So at the moment now, I've got these buttons set to B and A. B, we can see B here. A, we can see A here. So basically what that means is that when this switch is set to A, that channel is now engaged on the crossfade.
1:31 I have my crossfade engaged
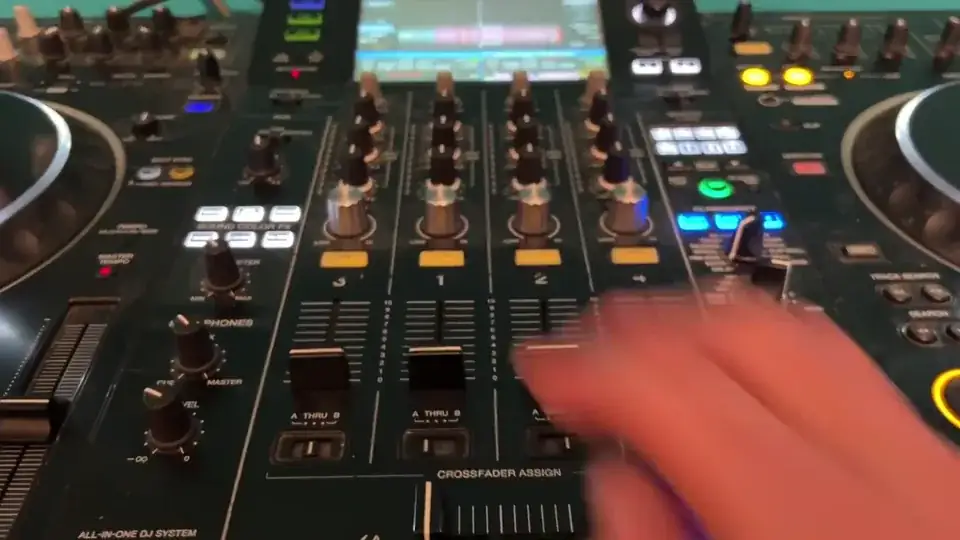
So when the crossfade is over at A, this channel can be used. I can if I want to just switch them over. So if I wanted to, I could put that to B, that to A. Now it looks a bit confusing and it can be because what that means now is if the crossfade is on the right-hand side you're actually hearing this channel and then if the crossfade is on the left-hand side you actually hearing the other channel. So that's something to make sure you haven't fallen into the trap of if you don't want that to happen. So I have my crossfade engaged. Now if I have my volumes down and I move the crossfade, but I have tracks playing I won't hear anything because the crossfade is engaged and the volume controls are down. On the other hand,
2:27 Through position
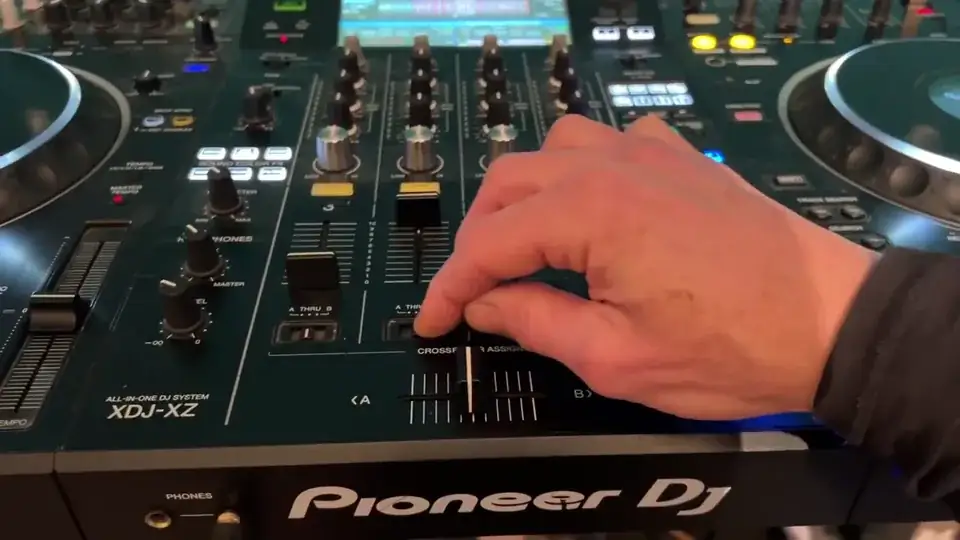
If I have the volumes up and I have a track now playing on side B but the crossfade is on side A, we still won't hear anything because the crossfade needs to move over to side B. So we can hear something exactly the same on the other side if I have something playing on side A but the crossfade on B, I won't hear anything until I move the crossfade over. Now if you wanted to what you could do is you could have the crossfade in the middle like that and now you can just use the up faders like so. Alternatively, I can go to the through position. What that means now is the crossfade is now completely disengaged and I can just use the up faders. Now again with the up faders very similar to the crossfade, the further you put them up
The louder the volume. The further you bring them down the more the volume will decrease. The ideal rule of thumb is that once you've set your optimum sound level try and do that with both up faders all the way up to the top because if for example you have your up faders halfway up and let's say you set your sound system so it's really loud. If you start putting them up anymore, of course, it's going to get louder So you need to make sure they're all the way up Set your sound system as loud as possible as you want it and you know then that if you do Accidentally go all the way up or you do indeed want to go all the way up to the top number 10 You know, you've already set the audio sound now. I hope that's a help
This is video number 13 on the crossfade cross fader. Sorry and the up faders practice and enjoy. Thank you
This transcript was produced automatically from the audio of the video and may contain mistakes.
This video is part of
Related videos
-
Complete Beginner DJ Lessons Tags Key BPM Etc
A more advanced lesson folded in early, and worth doing once rather than putting off, because everything it sets up gets used for years…
-
Complete Beginner DJ Mixing Lessons Video 19 Getting Your Kit Ready for an Easy Mix
A whole lesson on getting ready, which is the right call - the exercise in the next video only teaches anything if the two decks are…