 9:00
Repairing phono and RCA cables
On YouTube this video is called How to fix the RCA / PHONO cables.
What this lesson teaches
Nine minutes of something nobody else films, and he is honest throughout that it is a bodge rather than a repair.
Why you cannot just replace it
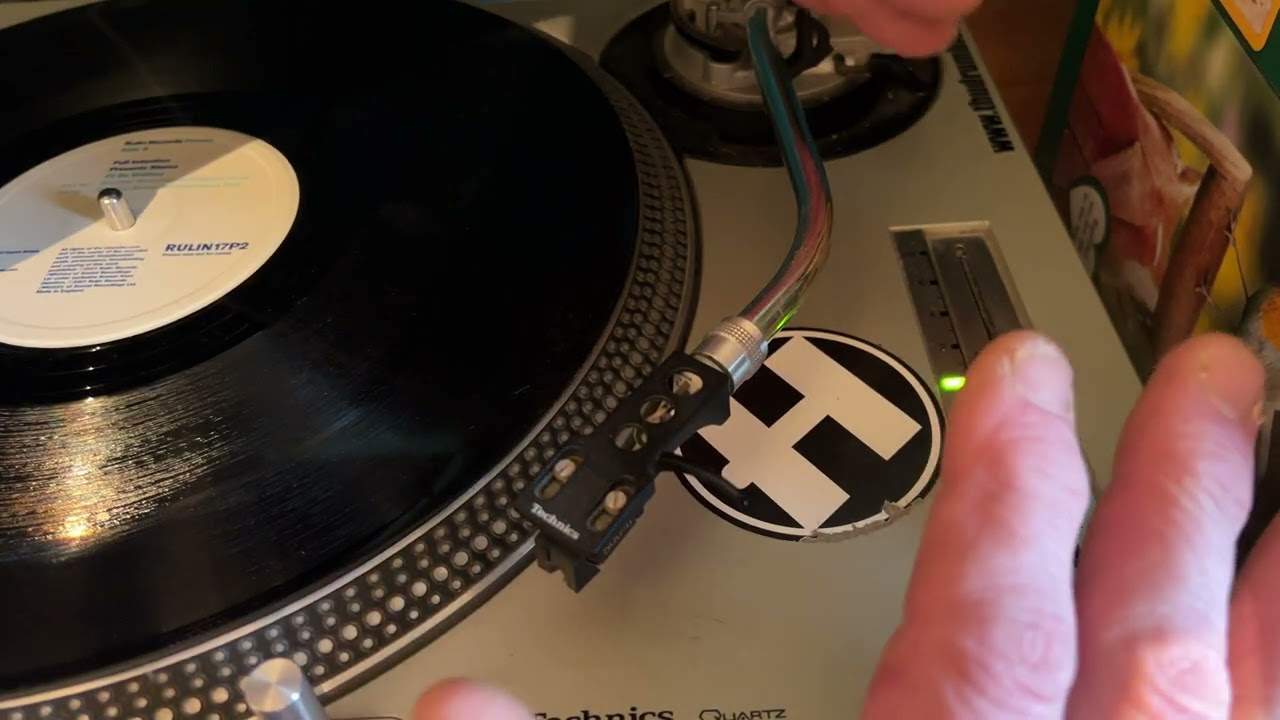
On most equipment the audio cable unplugs at both ends. On a Technics SL-1200 it does not: the lead goes into the body of the turntable and the wires inside are soldered in - hardwired.
So when the cable frays where it has been pushed in and out of a mixer a thousand times, you cannot buy a new one. Your options are to open the turntable and resolder (covered in the tone-arm lesson), pay somebody, or splice.
The honest framing
His own words, repeated twice: if you are desperate and you need that cable working, do this - and then take it to somebody who can do it properly, or hardwire a new one in.
That is the right way to present it. This gets you through Saturday night.
What you need
A donor phono-to-phono cable you do not mind destroying, cut to give you a plug with a decent tail.
The procedure
Cut the donor long. His own mistake, made on camera: he cut too short, went straight through the inner conductor, and had to start again. Leave yourself several inches of slack so a slip costs you nothing.
Expose the two conductors. Inside a phono lead there are two things: a centre core carrying the signal, and a screen - the braid or wrap around it - carrying the return and acting as the earth. On some cables the screen is wrapped around a plastic sheath, in which case unwind it back along the lead; on others it is a separate conductor.
Join like to like. Centre core to centre core, screen to screen.
The one critical point
He stops and says it is exceedingly important, and he is right: the centre conductor must not touch the screen.
If it does, you have shorted the signal to earth and that channel is silent - not distorted, not noisy, dead. Which is exactly the symptom you set out to fix, now caused by the repair.
So insulate the core joint on its own first, then bring the screen over it, then tape the whole thing.
And use the right tape
His aside is a confession - the tape he has to hand is not the correct tape. Use electrical insulating tape, which stays put, insulates properly and does not turn to glue in a warm flight case.
Do both sides
If one channel's lead has failed, the other is the same age and has had the same treatment. He makes the point in the maintenance lesson too: replace both so they end up the same length, because a pair of unequal leads looks wrong and behaves worse.
And his closing instruction
Do not start cutting up your mum and dad's cables, because they will not be very happy.
Fair, and worth extending: practise this on a lead you do not need before you try it on the one you do.
Contents of the video
0:00 A whole bunch of people have been saying, how do you fix these guys?
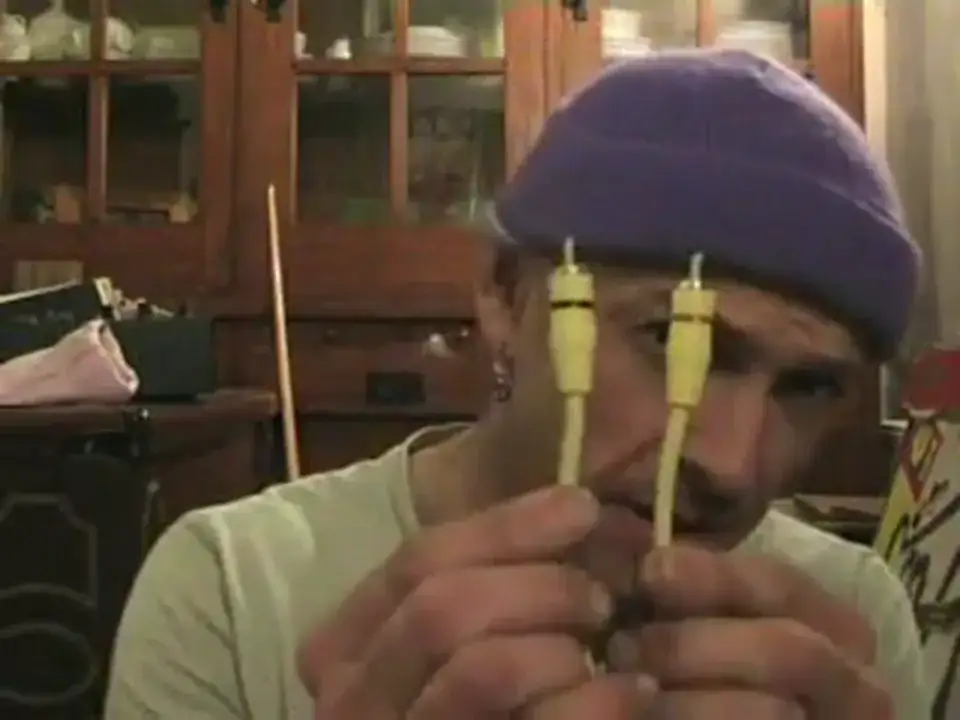
Alright folks, Jonathan here. A whole bunch of people have been saying, how do you fix these guys? Alright, these are phono cables. First of all, you're thinking, well, why do you want to fix them? But, first of all, on a CDJ turntable, quite often you've got that and that. You'll plug that into your mixer and that into your turntable or, quite often as well, on vinyl turntables, you'll have phono to phono. And you'll plug one into the mixer, the other one into the actual vinyl turntable. But with the likes of the Technics SL1200, you've got that, and then at the other end, you've got... Because that just disappears into the actual turntable. So, what's on the other end of that? Well basically, the actual wires inside here are just sort of soldered in.
2:57 Cable wrapped

So, you have two options. Let's say for example, first of all even before we go that far, quite often what you'll find is because these guys are in and out of that mixer continually, what's happening is these start to wear away and the actual wires pull. Now, you've got that in the mixer, sorry not in the mixer I beg your pardon, in the actual turntable. Now they are soldered in, hardwired. If you're going to do this, put it this way. If you're desperate and you desperately need to get that cable fixed, do this. But then take it to either someone who can do it properly for you or alternatively hardwire it in to your turntable. So, where have I put my scissors? This is what you need to do.
4:29 These two in the centre have to join up like so
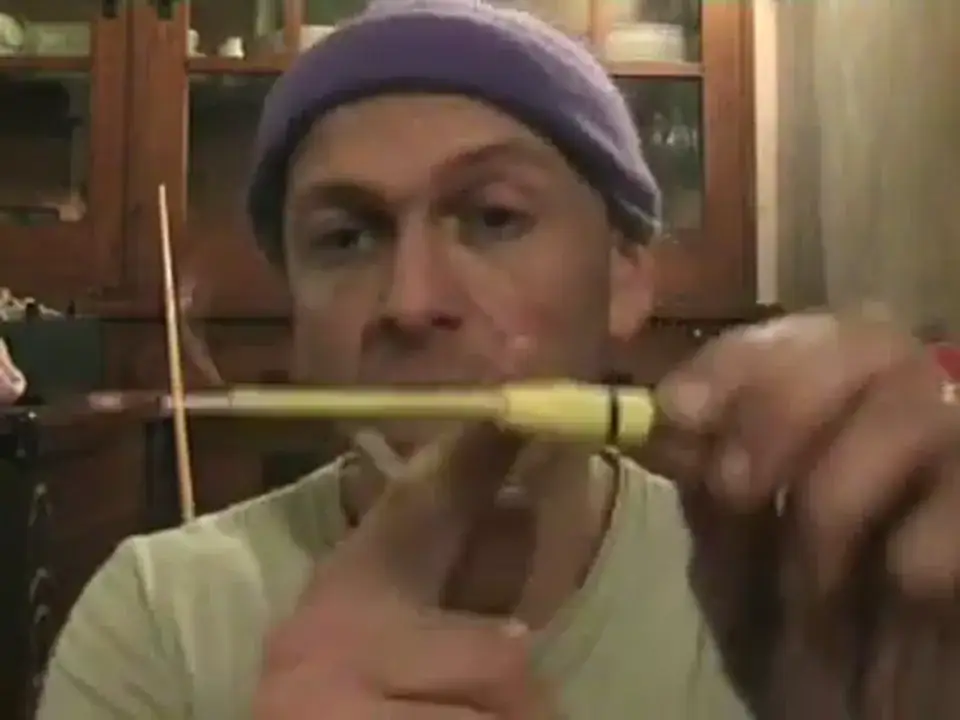
You need to find a separate phono-to-phono cable, one that you can like basically pull apart. Then the one that's broken, in other words the one that is actually attached to the vinyl turntable, there's your phono plugs, you need to cut it. All that will happen, you'll cut straight through the cable and through all the other wires and you'll have to start all over again. Now two things you'll find, one is you will either have a cable wrapped around a piece of plastic, it's almost like a sheath inside there, or alternatively you'll have the cable like this, just a separate entity. So what you need to do if the cable is wrapped around here, pull it down and around.
So that cable comes around like so. And then, if you look there now, you can see what I'm going to do. I'm going to cut about here. But again, very, very carefully because inside of here is another cable like that. Now here, you have your earth and here, dependent on of course if it's red or white, is dependent on if it's positive or negative.
6:55 This is not the correct tape to use
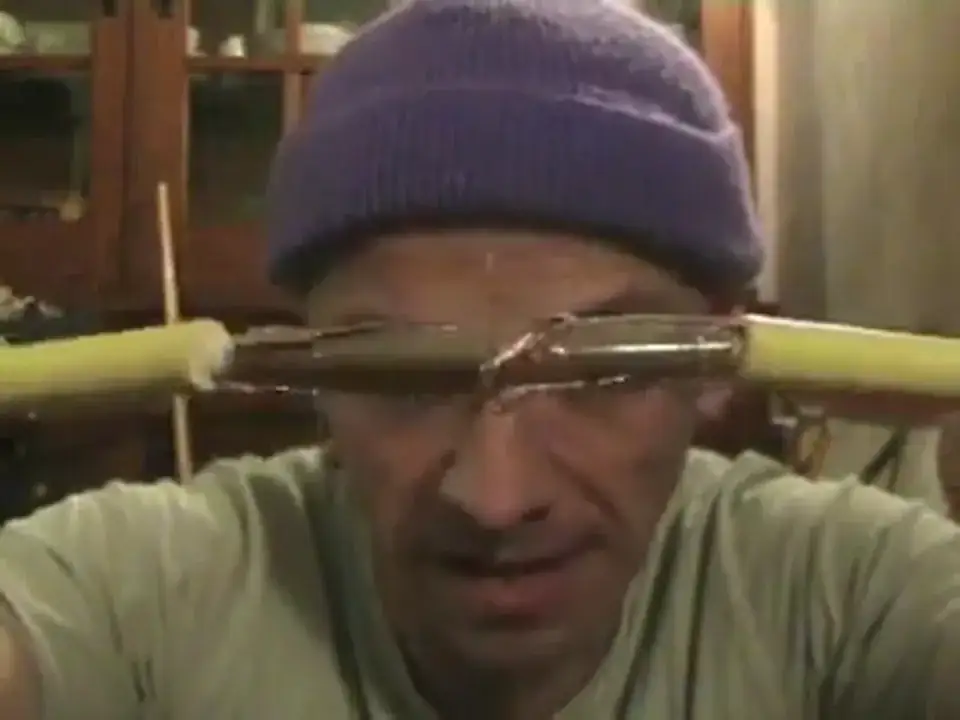
If that there was the cable attached still to your vinyl turntable, then of course this here is the new cable from the new phono plug you're going to attach to this. You do exactly the same to the other cable. So what I'm going to do now, I'm going to pause the camera and I will start the footage when we've got both of these looking exactly the same old type. The cable that is the new cable that will replace the old one, you cut it quite long. The reason being is because there's a very good chance, as I've just done, if you cut it too short, you will cut through some of the cables. So if you cut through the cable when it's quite long, it means you've got that extra length just in case you make mistakes. Because guess what? I cut through the cable. Bingo. Now then, here's the deal.
These two in the centre have to join up like so. Now bearing in mind this is, like I've said, like I stress, this is just a temporary solution. Best get it sorted professionally or hardwire it into the actual turntable. Now this, not wiping your nose, is exceedingly important. If I just put that up there. You need to make sure
Because the centre cable is completely away, it is not touching the outer cable. Very important. And then again some more tape and we put the tape around here. Now this is not the correct tape to use. Ideally you want really electrical tape which is, you know, normally it's coloured blue, red, green, orange, purple with red stripes. Just kidding. And there you go. Now that really has sorted it. If I was to use that now, it would be fine. Not that I'm going to. In fact, hold on, let's have a look from the other end. Oh yeah, that's right, I cut it. So there you go. That is a temporary solution to the problem whereby this cable here is knackered. Alright, the end plug there, which is of course your phono plug. As usual, I hope that's been a help.
And please, don't go start cutting your mum's and dad's cables up because they won't be very happy. Practice and enjoy. These are phono plugs. Now basically, if you think about it, you've got a CG... Three, two, one. Alright folks, Jonathan here. Now loads of people have been asking me about how to fix these guys here. These are phono cables. Now if you've got a CD... CDJ. 3, 2, 1. Oh God! 3, 2, 1. Alright folks, I'm looking at that bloody pick one. 7, 3, 6. Bananas. Sod. Jonathan here. Now then, these are... Bug! 1.
This transcript was produced automatically from the audio of the video and may contain mistakes.