 5:27
Setting the arm on a Technics SL1200
On YouTube this video is called How to set the arm of a technics sl1200
What this lesson teaches
A reply to a viewer's question about tonearm height, and it contains the instruction that should come before every other adjustment on this page.
Level the turntable first
Before touching the arm, put a spirit level on the deck.
If the turntable itself is sitting at a slight angle, everything you set afterwards is measured against a sloping reference. The arm will have a consistent sideways bias, the anti-skate will be fighting gravity as well as friction, and nothing will behave.
It takes thirty seconds and almost nobody does it.
Unlock the height collar
On an SL-1200 there is a locking ring at the base of the arm. Lock is towards the anti-skate mechanism, unlock is away from it. With it locked you can turn the collar all you like and nothing moves.
Set the arm parallel to the record
Put a record on - the platter does not need to be running - and lower the arm onto it.
The target is simple: the arm should be parallel with the record surface, not sloping down towards the cartridge or up away from it.
Why there is no universal setting
This is the part worth understanding, because it explains why you cannot just copy a number off the internet.
The correct height depends on two things that vary: the thickness of your slip mat and the height of your cartridge. A three-millimetre mat against a two-millimetre one is a millimetre of difference, and a taller cartridge body raises the whole front end.
So the setting is yours, and it changes if you change either component.
How to judge it
You cannot put a spirit level on a tonearm without destroying the stylus, so it is done by eye.
Get your head down to the level of the deck, put your eye in line with the arm, and sight along it. As he says, you will not be perfect, but by eye you will be very close - and very close is what this adjustment needs.
The counterweight can go on backwards
A detail that looks like a mistake in the video and is deliberate. The counterweight is not symmetrical: one face is heavier than the other, so fitting it the other way round gives you more downforce than the scale normally offers.
Useful if a particular cartridge needs more than the arm will give. But his caution is the right one - more weight on the stylus means faster record wear, so it is a solution to a specific problem rather than a default.
And the white plastic thing
He ends by holding up the small white plastic piece that comes in the Technics box, which most people look at once and put in a drawer. It is the alignment gauge, and it has a lesson of its own.
Contents of the video
0:00 Techniques because that's all I've got

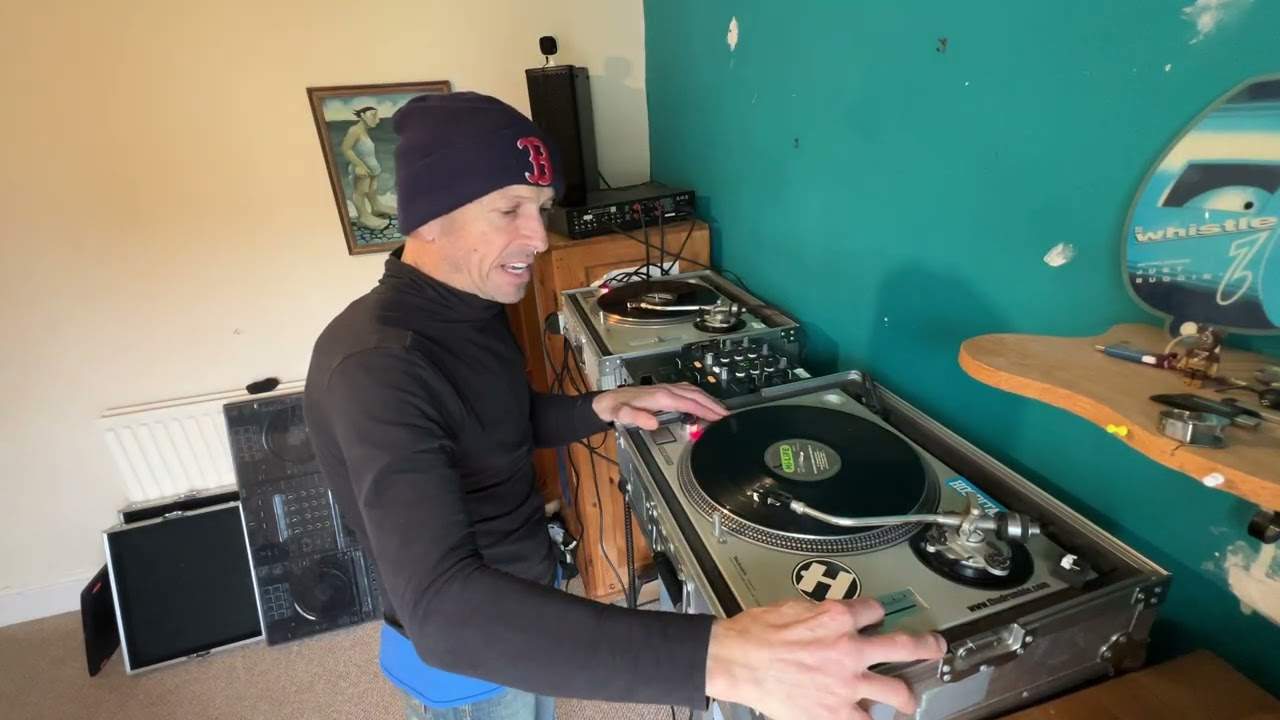
Alright folks, this is a video response to Nicky's Law question, which was how do you set the tonearm on your turntable? Again, I can only talk about techniques because that's all I've got, but they should be pretty straightforward. Here, where my finger is, you've got an area whereby you can actually lift the whole unit of the tonearm up or down. Just behind this piece here that does the anti-skating, you've got a locking mechanism. Make sure that's unlocked, okay? Lock is towards the anti-skating mechanism, okay? Unlock is away from it. Now then, what you need to do first and foremost is make sure the turntable is flat, okay?
Because let's face it, if the turntable has got a slight skew whiff sort of angle to the start-stop button or the tone arm, then all that's happening... All down, okay? So get yourself a level, make sure the turntable's level first. Now then, the next thing you need to do is get a record, okay? So, bung a record on, you don't have to have the turntable on, you don't have to have it playing anything like that. Then what you need to do is just place the arm of the turntable onto the record, okay? Now I can see from here, straight away, that that arm is slightly going towards that direction, okay? I'll move it a bit like that, record's going all over the place here.
3:43 Precise place that needle should be
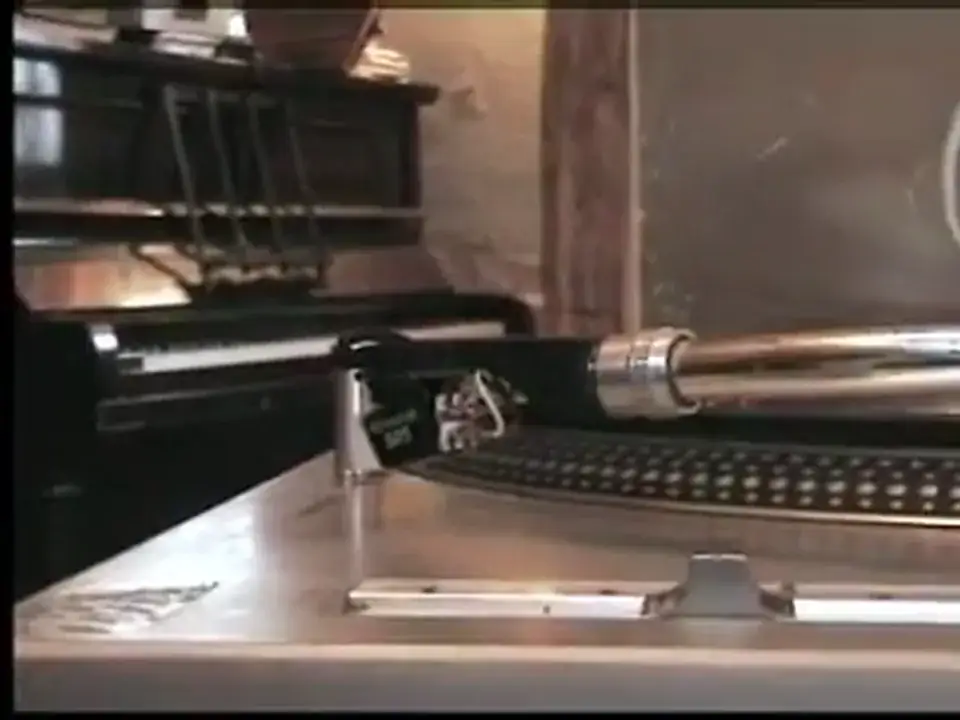
Now then, what I need to do is I need to now move the tone arm until it's level with the turntable. In other words, if I actually get this record here and show you, okay? Now then, let's say the turntable is here at this sort of level and the arm was like that. I would need to have the arm straight with the turntable, okay?
So that is the idea, okay? You need to get that arm in line exactly straight with that turntable. Maybe up, maybe down. Now again, this is going to be different for every single turntable or when I say every single turntable, possibly most DJs because every DJ will possibly have a different slip mat. Now dependent on the thickness of your slip mat of course is dependent on how high This guy will be, so if your slip mat is 3mm and this one is say 2, there's going to be 1mm difference here. Likewise, if your cartridge is slightly bigger, slightly smaller, you're going to have a height difference, okay? So what you need to do is make sure that's level. Now sadly you cannot start putting a level on there because you'll end up knackering your needle. So what you need to do is you need to come down here, put your head about here and have your eyes
In line with that arm and make sure it's flat, okay? You know, I mean, you're not going to be perfect. It's not going to be 100%, but if you use your eyes, it should be nigh on bang on, okay? Another thing to remember as well is what you should find when you get a set of Technics, second-hand or new, normally what happens in the box, you'll have this white thing. Which, I don't know, for some people they probably think what the hell is that? But what it's for is to fit your cartridge into so you get this little white thing. It's basically flat with a piece coming up here with a hole in, a round hole. And what you do is you put this little beauty here into that unit and on the end of this white piece of plastic there's a point. Now that point should line up precisely with the end of that needle.
Precise place that needle should be. What else can I tell you? Can you see here I've got the weight the wrong way around? Now, why have I done that? Simply because if you feel you need more weight on the end of the styli by turning the weight here the other way around, the weight here is heavier this side than that side. So, I'll turn it the correct way and we can put it like so. There you go. That's the correct way. Now again, a lot of DJs will just have the weight right to the end, which is fair enough, you can do that. But again, if you think about it, the more weight you've got on this end here, the more chance you've eventually got of wearing your records out. So mainly this video is about lining up the actual tonearm. I mean at the moment you can see it's going down, down that direction, but that's just because it's not on the record. Put it on the record and there you go.
It's near enough perfectly fat. That is how it should be. That's a video response to Nicky's Law. I hope that's helped you and everyone else out there. Thank you for watching. Bye bye.
This transcript was produced automatically from the audio of the video and may contain mistakes.
This video is part of
Related videos
-
Complete Beginner DJ Lessons Tags Key BPM Etc
A more advanced lesson folded in early, and worth doing once rather than putting off, because everything it sets up gets used for years…
-
Complete Beginner DJ Mixing Lessons Video 19 Getting Your Kit Ready for an Easy Mix
A whole lesson on getting ready, which is the right call - the exercise in the next video only teaches anything if the two decks are…