 1:52
Setting the stylus
On YouTube this video is called How to set the stily/needle on a Technics sl1200
What this lesson teaches
Ninety seconds on a small component that confuses a lot of new turntable owners.
The parts, named
Worth getting straight, because the words get used interchangeably and they are four different things:
- The headshell is the removable carrier that clips onto the end of the arm.
- The cartridge is the body that bolts to it, containing the coils and magnets.
- The cantilever is the thin shaft sticking out of the front.
- The stylus - the needle - is the tiny diamond at the very end of that shaft.
What the gauge does
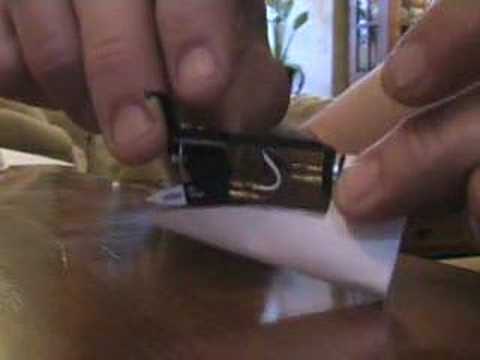
The white plastic piece is tapered to a point, with a hole in it and a small triangle marked at the tip.
The hole is sized to fit over the collar of the headshell. With the headshell seated in it, the diamond should sit just above the point of that triangle. Slide the cartridge forwards or backwards in its slots until it does, then tighten the two screws.
That is the whole procedure.
What you are actually setting
The gauge is fixing the overhang - how far the stylus reaches past the centre of the platter.
It matters because of geometry. A record is cut by a lathe whose cutting head travels in a straight line across the disc, so the groove was made with the cutter exactly tangential to it at every point. A pivoting tonearm swings in an arc instead, so it can only be tangential at a couple of points and is slightly angled everywhere else. That angle is tracking error, and it causes distortion and uneven groove wear.
Setting the overhang correctly is what minimises that error across the playing surface. Get it wrong and the cartridge is fighting the groove for the whole side.
Why it is worth the minute
Nothing about a badly aligned cartridge announces itself. The record plays, the mix works, and the deck seems fine - while the stylus wears one wall of every groove harder than the other.
So if you have the gauge, use it. If you bought the deck second-hand and it is long gone, printable alignment protractors do the same job.
Contents of the video
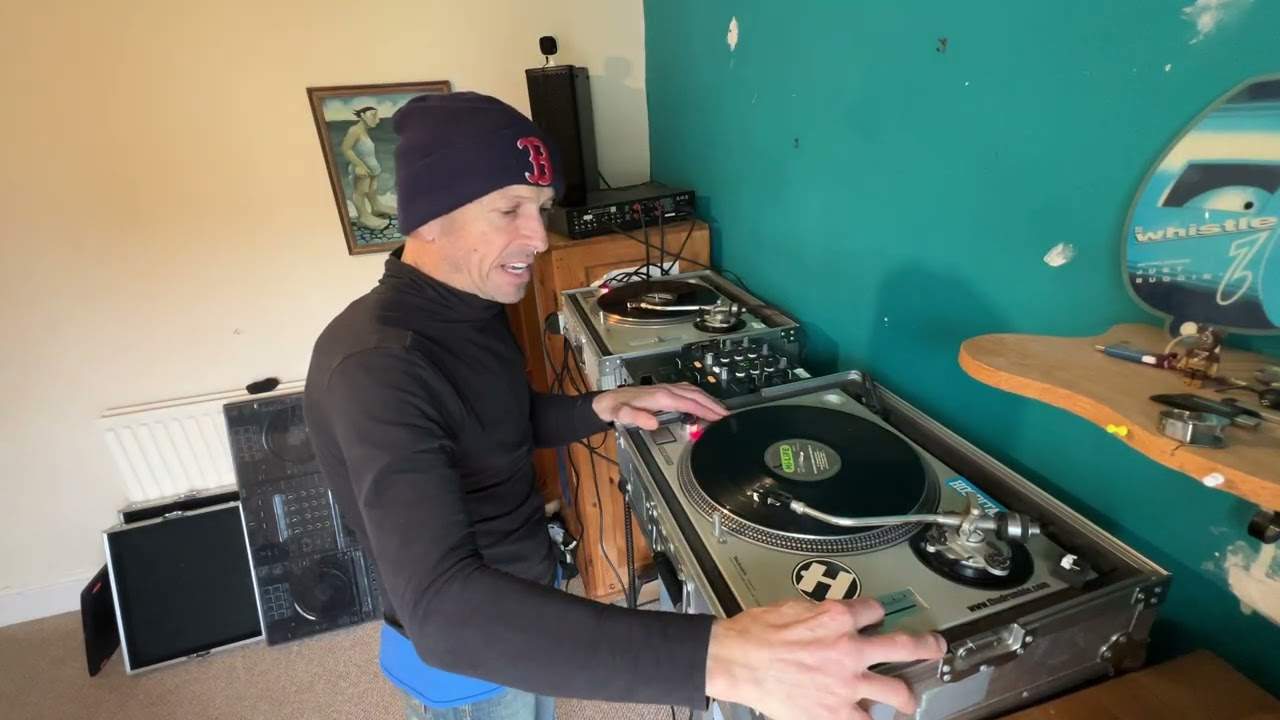
Alright folks, have you got a Technics SL1200? In fact, any one of the SL1200 ranges, OK? Now then, when you open the box, have you got one of these guys here? Now then, bearing in mind I haven't got the original because the original item is plastic, this is paper. This is showing you generally what it looks like, OK? It's tapered to one end, there's a hole in it but not that big. The hole is just about big enough for that part there of your actual head shell to go into. Just to show you very quickly, this here is the head shell. This here is the cartridge.
This is the styli housing and then right at the end you have the shaft and the tiny point, that very tiny point, is the styli or the needle. Now this is what that actual piece of plastic is for. If you notice, the hole there is the ideal size for the actual head shell. All of this should get to the exact same point, and you'll notice on the piece of plastic there's a small triangle. So the actual diamond, the needle, should be just above the tip of that triangle, the end part of that piece of plastic. That is the optimum position for the cartridge, the styli to be. Once you've set that then all you need to do is tighten up those two screws. OK? Hope that's been a help. Practice and enjoy.
This transcript was produced automatically from the audio of the video and may contain mistakes.
This video is part of
Related videos
-
Complete Beginner DJ Lessons Tags Key BPM Etc
A more advanced lesson folded in early, and worth doing once rather than putting off, because everything it sets up gets used for years…
-
Complete Beginner DJ Mixing Lessons Video 19 Getting Your Kit Ready for an Easy Mix
A whole lesson on getting ready, which is the right call - the exercise in the next video only teaches anything if the two decks are…