 3:00
What the strobe dots are telling you
On YouTube this video is called What should the dots do on a Technics SL1200 t table?
What this lesson teaches
Three minutes on a feature everybody looks at and nobody has had explained.
What you are looking at
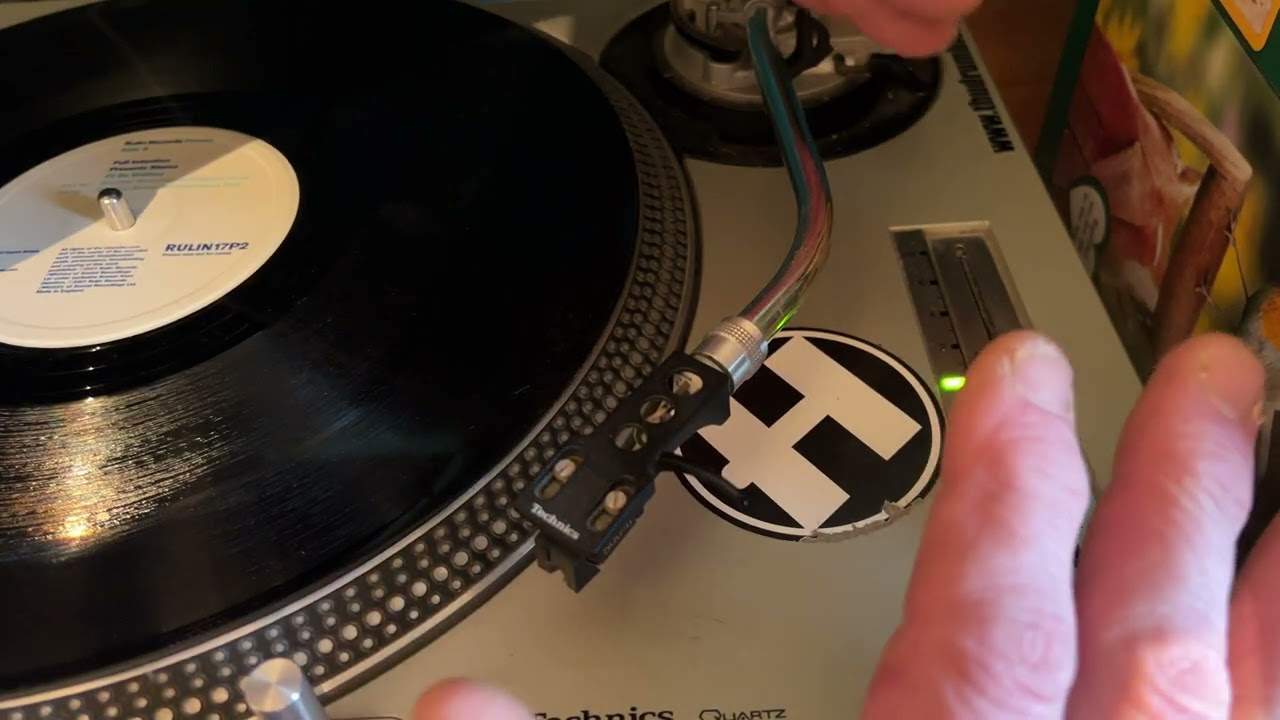
Four rows of dots around the edge of the platter, lit by a strobe.
At a given speed one row appears to stand still, because the strobe is flashing at exactly the rate those dots pass it. The other rows drift.
What each row means
Pitch at zero - the fader in the centre, with the green light on - and the big dots stand still.
As you slow the platter down, the big dots start to move and the next row down comes to a stop: roughly minus 3 per cent.
Speed up from zero and another row stops: roughly plus 3. Faster again, and the last row: roughly plus 6.
They are approximate, and he says so twice
The question he is answering: people see a row stop, look at the pitch fader, and find it reads plus 4, or 4.5, or two and a half rather than plus 3.
Do not panic. The dots give a general idea, not a calibrated measurement, and the discrepancy is normal - particularly on an old deck where the fader's markings and its actual behaviour have drifted apart.
So they are not a tuning tool. If you need an exact tempo, that comes from the music, not from the platter.
What they are genuinely useful for
And this is the reason to know about them, which has nothing to do with speed.
Move the pitch fader slowly from zero to minus, and watch the dots. They should move smoothly and steadily - a continuous drift in one direction as the speed changes.
If instead they wobble - lurch, hesitate, jitter as you move the fader - the pitch control is wearing out. The fader is a potentiometer, and a worn track gives an uneven, jumpy resistance.
Same test moving upwards into plus: smooth is fine, wobbling is not.
Why that matters more than the speed markings
Because a pitch fader that is losing its track is the thing that makes a turntable impossible to beatmatch on. You make a small adjustment and get a bigger or smaller change than you asked for, inconsistently, and no amount of skill compensates for a control that lies.
The dots are the cheapest diagnostic you have for it: thirty seconds, no tools, and the answer is visible.
It is also the test to run on any second-hand Technics before money changes hands - which is exactly what the next lesson in this course does.
Contents of the video
0:00 This is a Technics SL1200 turntable
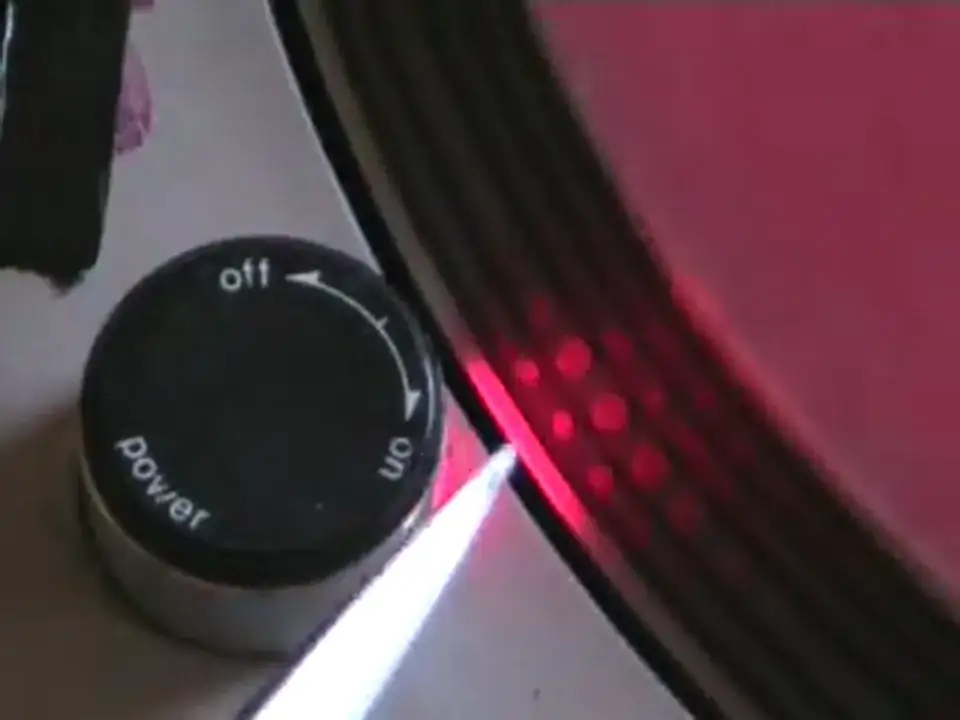
Alright folks, Jonathan here. Now then, this is a Technics SL1200 turntable. Quite a few people have mentioned about the actual dots on them. What are they for? What do they do? What you need to look out for? Right now then, very quickly, you have one, two, three, four lots of dots there, OK? Now then, what basically should happen is when the actual pitch control is in the green, it's dead centre, the big dots should stay perfectly still. As you reduce the speed... You can see the big dots moving and then eventually you will see the small dots at the bottom stop moving. Now they don't, what you've normally got I think is around about here, this is an old deck, you've got minus, you've got a line with the big dot and then you've got a small dot there with three and then another one with three plus and another one with six plus. I think it's roughly about minus three, plus three and plus six.
0:51 The opposite applies here
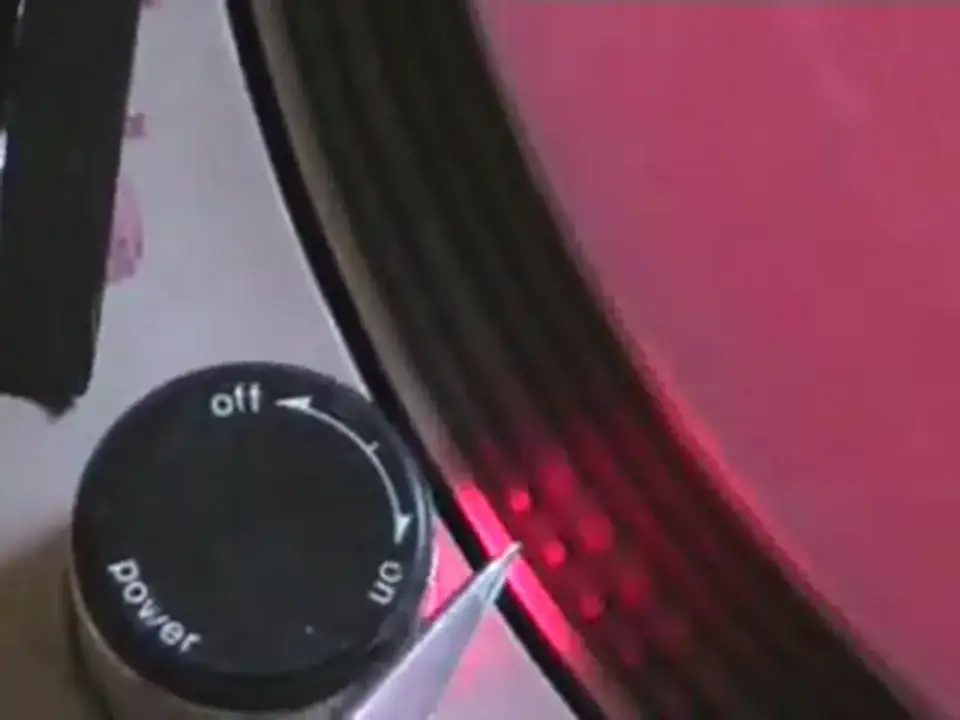
Now basically what it means is it's a rough guesstimate, a rough estimate and that is that when the actual dots underneath the big dots are staying still, that means that you're roughly at minus 3% of the actual speed. Now then, you can see now the big dot is moving, OK? Now then, if we now move the pitch control to the centre again, the big dot will stop. Now then, the opposite applies here. When we start to speed up the actual pitch control, you'll see the next line of dots stop, as you can see like so. Now some people say that, oh it says plus 3, and when they look at the pitch control, it may be at plus 4, 4.5, maybe even at plus... Two and a half, now don't panic about that because it only gives you a general idea anyway. And then likewise then when we go faster again you can see the last lot of dots staying still which is roughly about plus six. Now again a lot of people say well on the actual slider it's not at plus six. Well again it's just an idea, it gives you a general idea. Now the one thing you have to look out for to make sure that your pitch is working perfectly is this. I'm now going to move the pitch
To the minus position, and I want you just to watch how the dots move. Now they move in a nice, orderly smooth fashion, okay? Now then, if you can see them doing this in any way, wobbling like that, now that means that your pitch control has started to wear away. Alright, now I'm going to speed the pitch control up, and watch the dots move in a nice, smooth fashion. Now that's fine, that is absolutely fine. That's speeding up. But if you can see them do this...
Thanks for watching, practice and enjoy.
This transcript was produced automatically from the audio of the video and may contain mistakes.