6:05
1BAR Loop Is the Only Way to Get It in Time Every Time
Contents of the video
0:01 Don't forget to like and subscribe
All right, ladies and gentlemen, thank you for watching. Don't forget to like and subscribe. Like if you like it and subscribe if you can actually be bothered. Anyway, what we're going to do, we're going to get rid of that issue that a lot of DJs have, which is getting a track in when you want it to get in. And it's a loop. So some of you may already know, in fact probably you all do, about getting a loop, playing that over the track and then bringing it in. But the issue there potentially is that you may bring it out of time. So a lot of people tend to do a four-bar loop or a two-bar loop. The thing is with a four or a two-bar loop, you're limited to where you can bring it in. Because if you bring it in at the wrong time signature, then
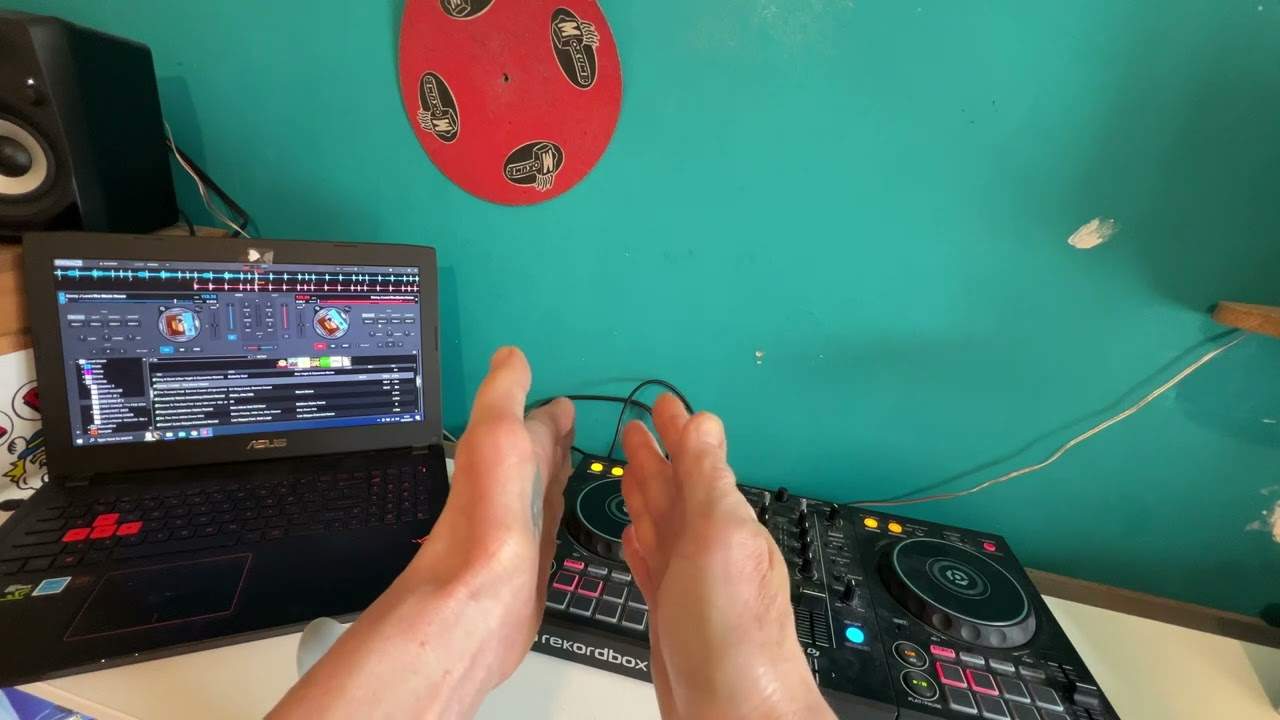
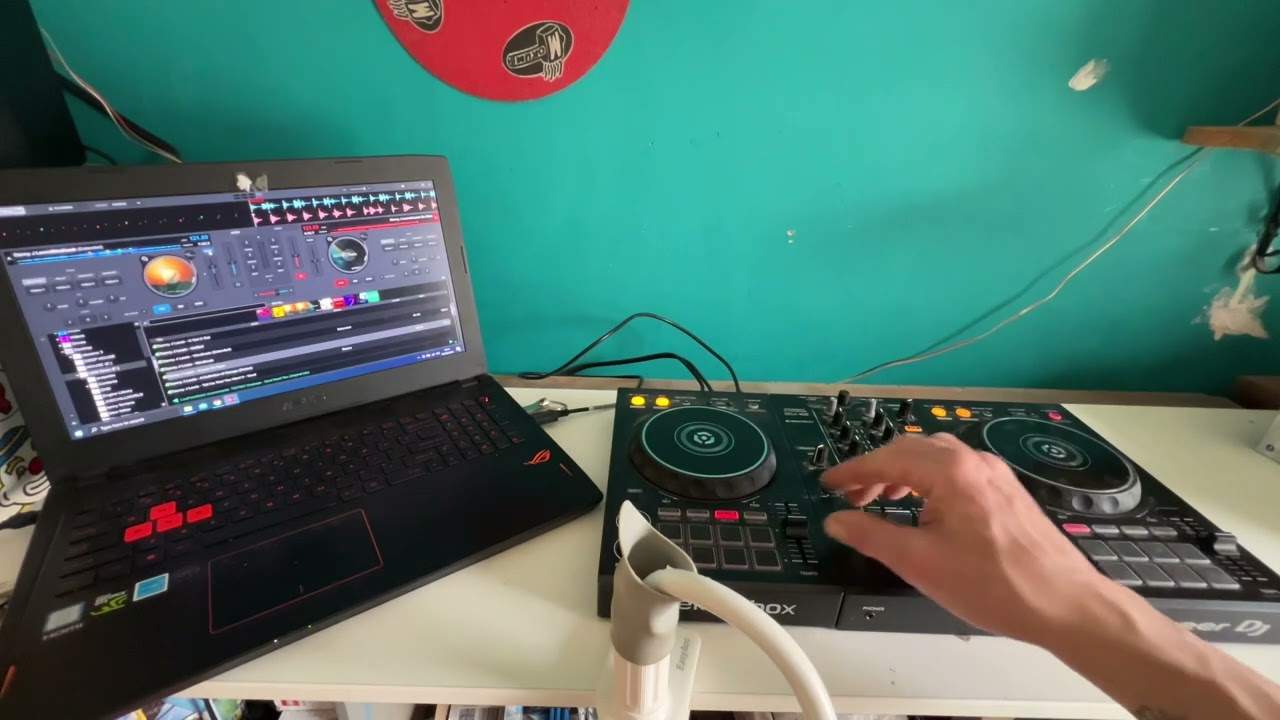
You could be one bar out. Or if you've got a four-bar loop, you could be two, three or one bar out. Whereas with a one-bar loop, you're always in. So for this demonstration, what I've done is I've got the same track, I've got the tempo reset on so I don't have to spend hours beat matching it. And again, talking about sync and all this, that and the other, to be quite honest, it doesn't really bother me. If it's easier for you, then carry on doing it. The only thing digressing, sorry. The only thing you've got to be careful with using the sync button is if you're trying to mix old school tunes in that aren't made by a drum machine, that could be very difficult. In fact, just don't go there. If you're mixing like 60s, 70s proper bands, then
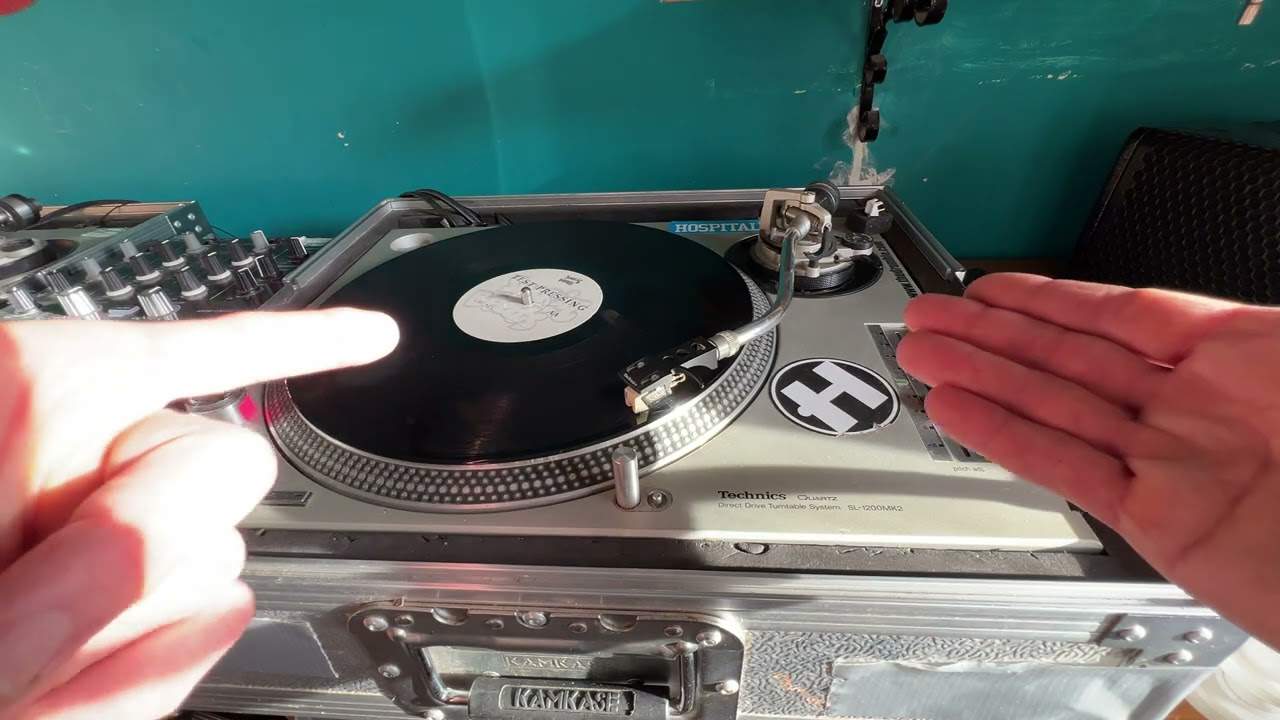
You have to use your ears. But anyway, so the track I'm using is called Conflict. It's a really good tune. I'm not going to be using much of the track, of course, due for copyright issues. But let's have a listen to the beginning. Just go through a bit of the track. Heck of a bass line to this. Hold on. There. Love it. Okay, so all I'm going to do is I'm going to do a one bar loop. But first of all, for the beginning of the demonstration, I'm going to do the one bar loop at the beginning. So two, three, four. There. That's at the beginning. Okay, so let's just pause that. And by the way, you may sort of notice I've got something in my ear. So there will be a video probably after this
And I'm probably going to be using this all the time now. There it is. It's like that. And all I can say is watch the next video because I'm really impressed with these. It eliminates the use of big headphones. And like me, you can pretty much wear a hat. You can keep one in or two in. Anyway, I'll leave that for the next video. So let's play the other side. All I'm going to do now is I'm going to start the loop. So that was kind of the initial demonstration. But of course, that's at the beginning of the track. So the reason very simply, the reason for a one bar loop. Number one, it stops you having to tap the cue all the time. Now I've done this many times. Let me know in a comment if you have as well where you've been tapping the cue. It's in cue. It's ready to go.
And you're pressing the cue and all of a sudden, the track that's playing is at the position where you want to bring the next one in. And you just missed the cue or you forget to press play or something happens and you're like, ahh! And you've been waiting all that time. Well, let's take it to the next level now. So what I'm going to do, I'm going to skip the track forward.
4:14 Random position, there, random position
So...
There. So that's where I'm going to bring my track. So I'm just going to go to a random position, there, random position, there. So I'm gonna do my one bar loop again, there's my one bar loop. So again having a one bar loop means that you can actually bring your one bar loop at any time in to the other track so long as of course you're bringing it at the count of one logically. If you have a two bar loop you've got to make sure you bring it in of course at the third um the third bar, not the second because you need one to play second bring it in at the third because you've got a two bar loop. With a one bar loop you can bring it in anywhere so long as it's the count of one. So there, so I've got it in the background, the break, here we go and out.
Now of course that would be in time. The main key. Here and this, this is absolutely the important bit is that with a one bar loop you need to make sure you get out of that one bar loop in the one bar loop because if you let it play a second time you're going to be out by a bar. All right hope that helps uh leave a comment let me know what you think thank you for watching practice and enjoy thank you.
This transcript was produced automatically from the audio of the video and may contain mistakes.