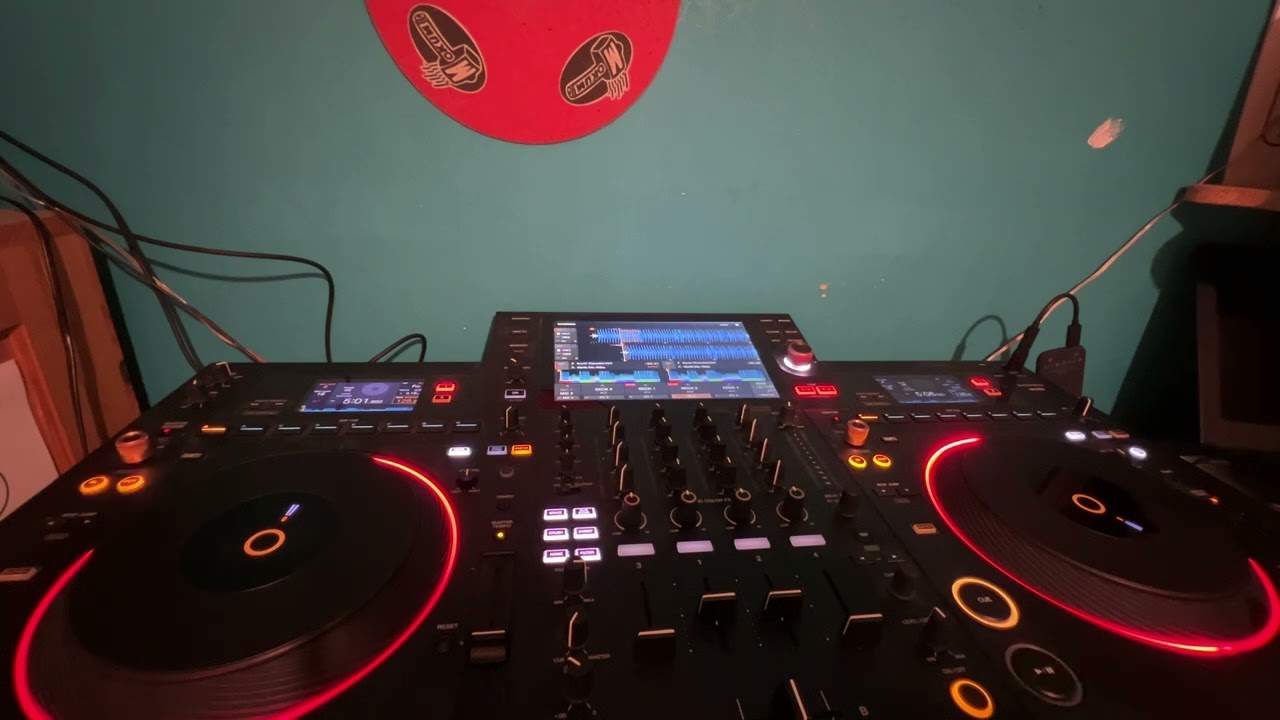
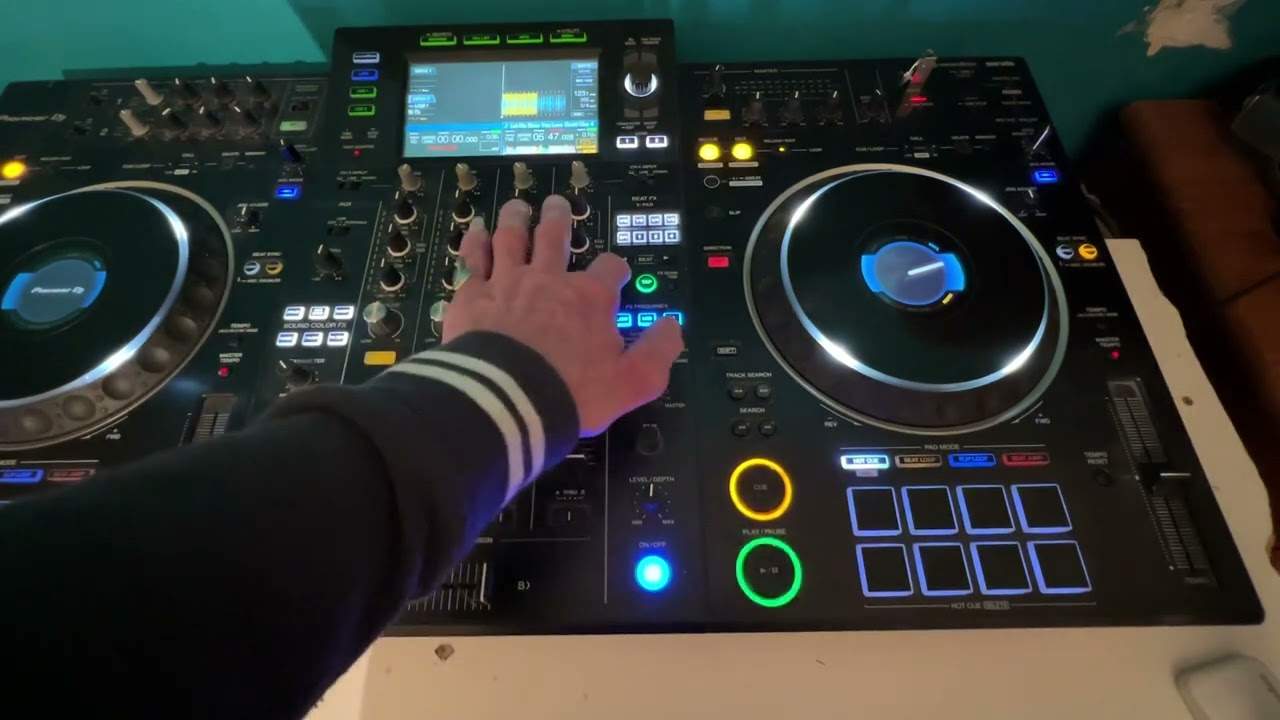
 4:18
Effects on a DJ mixer and controller
On YouTube this video is called Complete Beginner DJ Lessons Video 29 a Simple Look at the Effects on a DJ Mixer and Controller
What this lesson teaches
A fuller look at effects than the earlier lesson, on a controller with a well-equipped section. Most of it generalises; a couple of features do not, and he says which.
The four basics
As before: on/off, level/depth (about halfway is where DJs actually use it - enough to hear the effect and the original together), time, and channel select.
The channel selector on this unit is more generous than most: master for the whole mix, any of the four channels individually, auxiliary, the microphone, or the crossfader.
Beat division
The two beat buttons step the effect's timing through musical divisions:
1/16 of a beat, 1/8, 1/4, 1/2, one beat, two beats, four beats - which is a bar.
This is what makes an effect sound intentional. An echo set to half a beat sits inside the rhythm; the same echo at an arbitrary interval fights it. Working in divisions means the effect is always in some relationship to the music.
There is also tap tempo: tap in time with the track and the effect follows that, or tap a different rhythm deliberately and the effect follows that instead.
FX frequency, which is the interesting one
This unit lets you apply the effect to only the low, mid or high frequencies - or any combination.
That is a bigger deal than it sounds. An echo across the whole track smears everything including the kick, which is why heavy-handed effects turn a mix to mush. Restrict the same echo to the highs and you get a shimmering tail off the hi-hats while the rhythm section stays solid underneath.
If your equipment has this, it is the difference between effects that add something and effects that cost you the groove.
The beat FX pad
A touch strip that does the same job as the beat division buttons, with a finger rather than presses - faster to sweep through divisions mid-phrase.
If your controller does not have all this
His closing point, and a fair one: on an inexpensive controller most of these controls live in the software instead. The effects are still there and still work; you choose them on screen, and the controller then drives them.
So nothing here is out of reach. It is a question of where the knobs are.
Contents of the video
0:01 Video number 29 for the complete and utter beginner
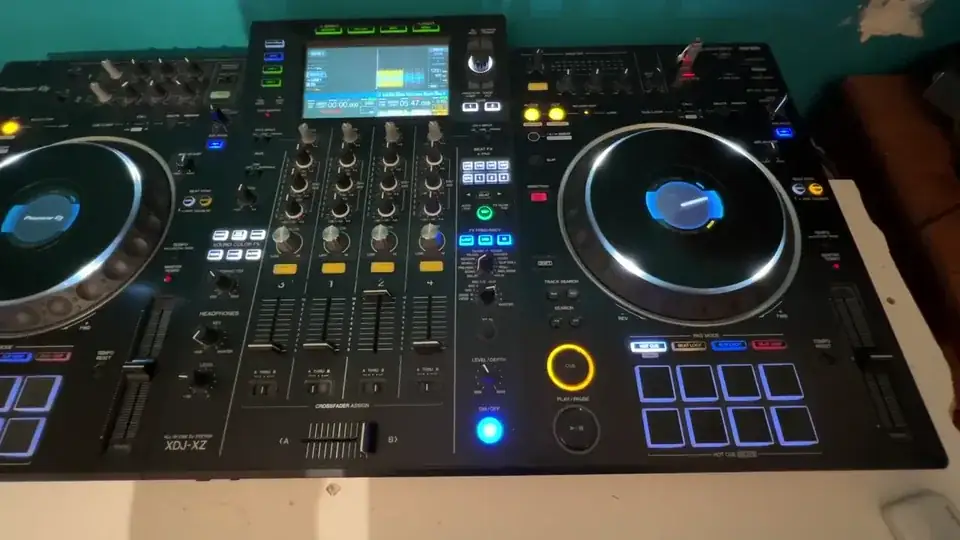
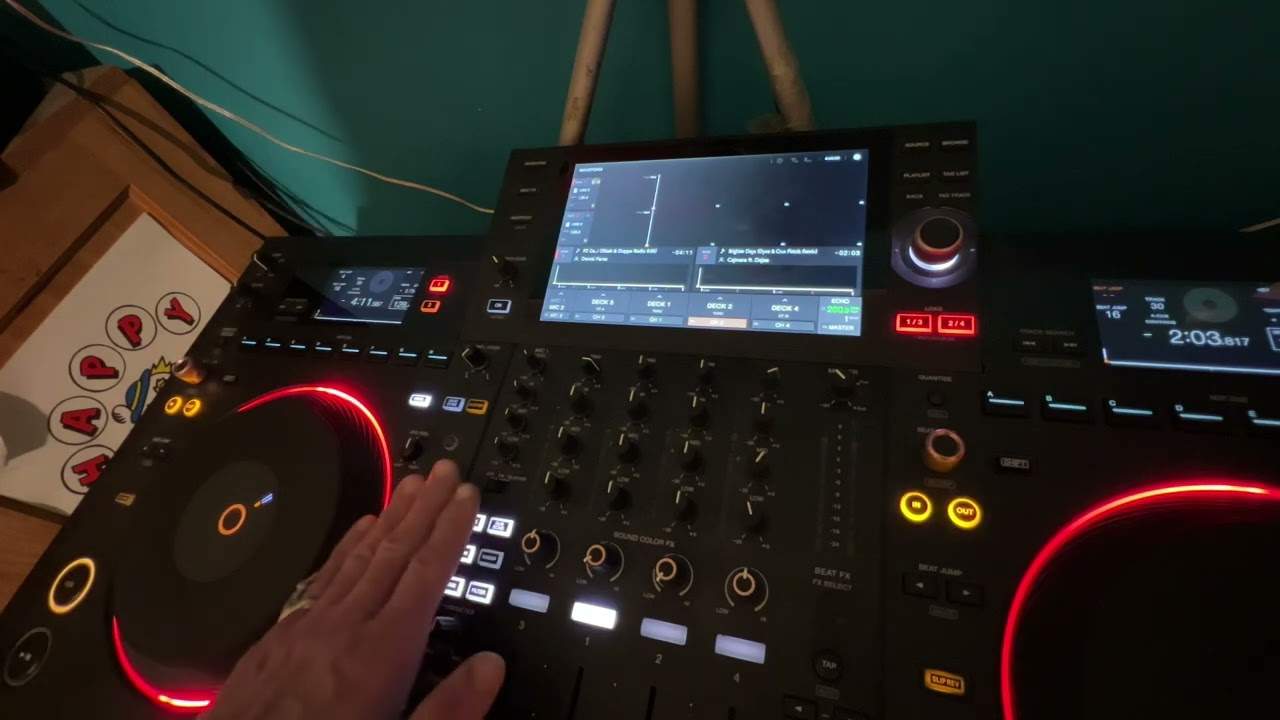
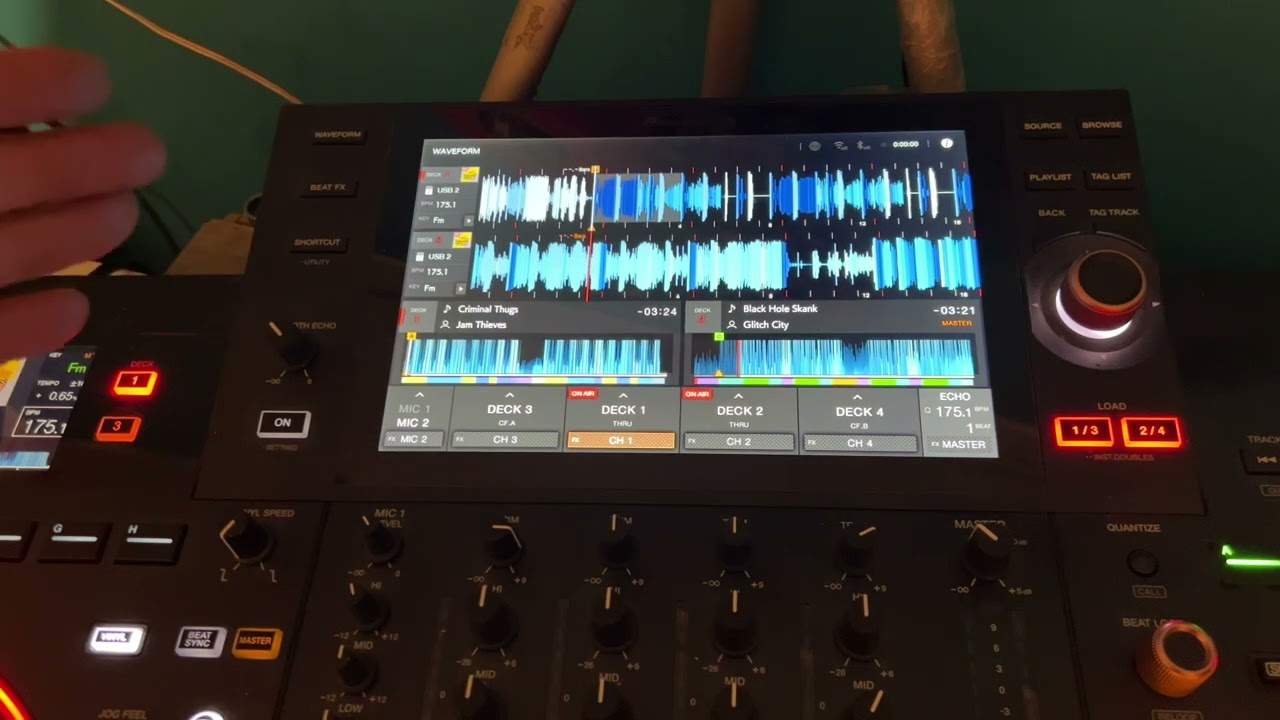
Right ladies and gentlemen, video number 29 for the complete and utter beginner. In this video I'm going to give you sort of a basic look on how to use the effects and how to set them to different channels. So first of all we have right down here the on off that will engage or disengage the effect for us. Level depth is basically the amount of effect we want over The track that's playing, so minimum of course is practically nothing at all. Maximum will be the effect basically by itself. Generally DJs tend to use the level depth about halfway. Time is about the actual time signature you would like the effect to play over the track. Now this dial here is basically letting you Choose what channel you would like the effect to play over. So we can go master, which is the entire mix, or we can choose channel 4, 2, 1, 3. Also we have auxiliary, we can choose microphones, or we could utilise this for the crossfade.
1:28 Again, we can engage the effect
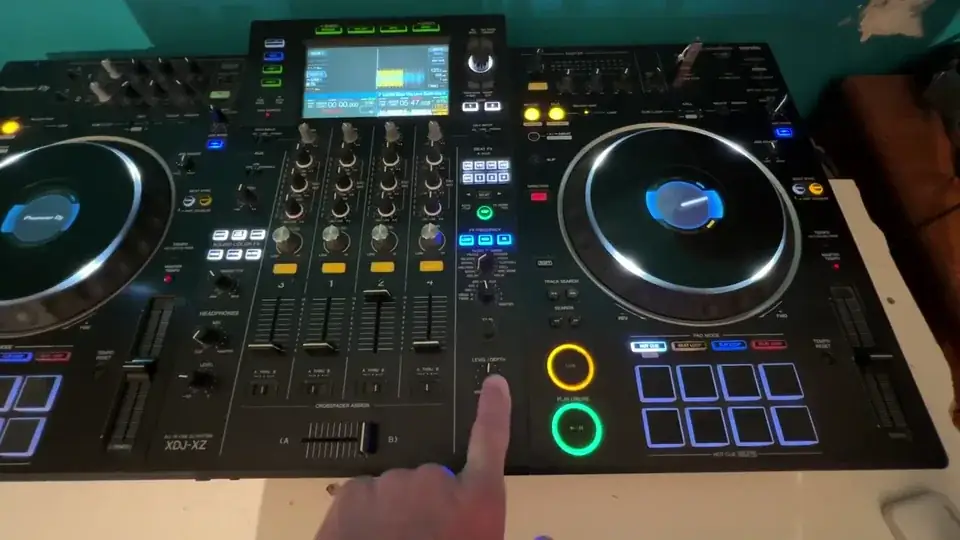
Any effect. So again, we can engage the effect. We can choose how much of effect we want. We can choose the time parameter. We can choose what channel we want the effect on. We can also choose the effect we want. Also, what we can do here is with the effects frequency on this. This is the XDJ-XZ by the way. Not all controllers have this. We can choose if we want the effect to be on just the low frequencies, mid, high, so we can separate the effect based on if we want the complete parameter of the audio or maybe just high, mid, low, low and mid and so on. Here, if we want to, we can tap in time with the track. Alternatively, we can use this button to tap at a different time signature so our effect will cover the time signature and how we're tapping. These two buttons here with beat, these will move from the different times. So for example...
2:42 We can go down to 1 16th of a beat, press that
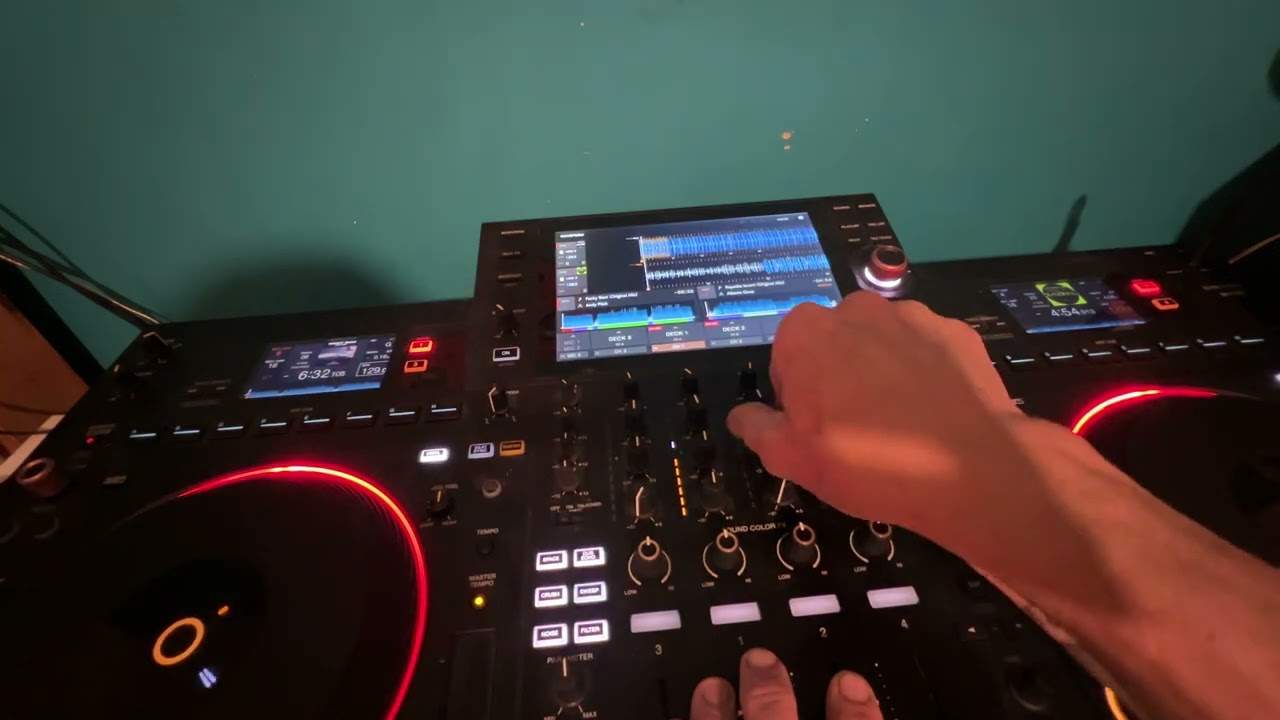
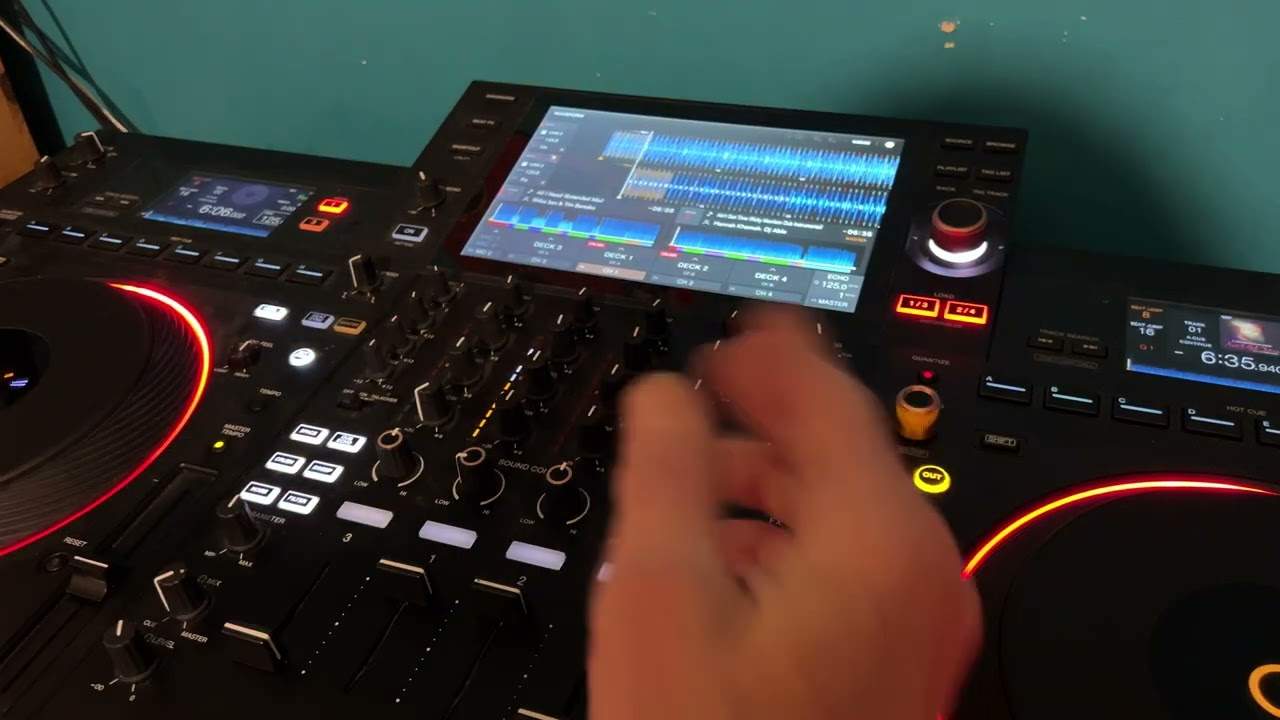
If I press the left button here, I'm going to reduce the actual time signature of the effect. So we can go down to 1 16th of a beat, press that. Every time we press the right button, we move up. So we'll go from 1 16th to 1 8th to 1 quarter of a beat, half a beat. Then one, three quarters sorry, then one beat, then again two beats and then four beats which is of course a bar. Over here this is the beat effects pad so this does something very similar to the beat here, the buttons, two buttons but instead of pressing the buttons I can actually just put my finger on the pads. Okay so again this really covers the XDJ-XZ But a lot of the features will pretty much be the same with a lot of the more mid-priced or higher priced controllers. And if you do have a relatively inexpensive controller, you may actually find that you've got a lot of these effects not on the controller but on the software. All you need to do is choose the effects you want
And once you've done that, then the controller should be able to take over. Right, I hope that's a help. Practice and enjoy. Thank you.
This transcript was produced automatically from the audio of the video and may contain mistakes.