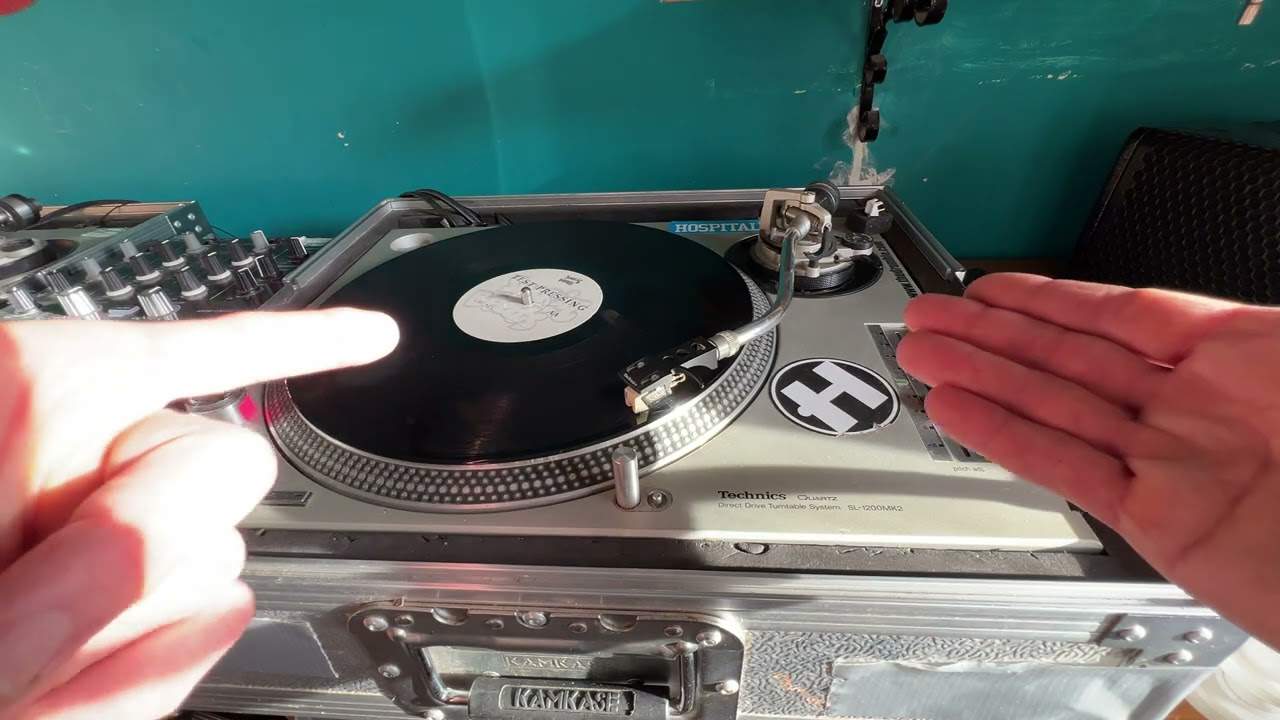
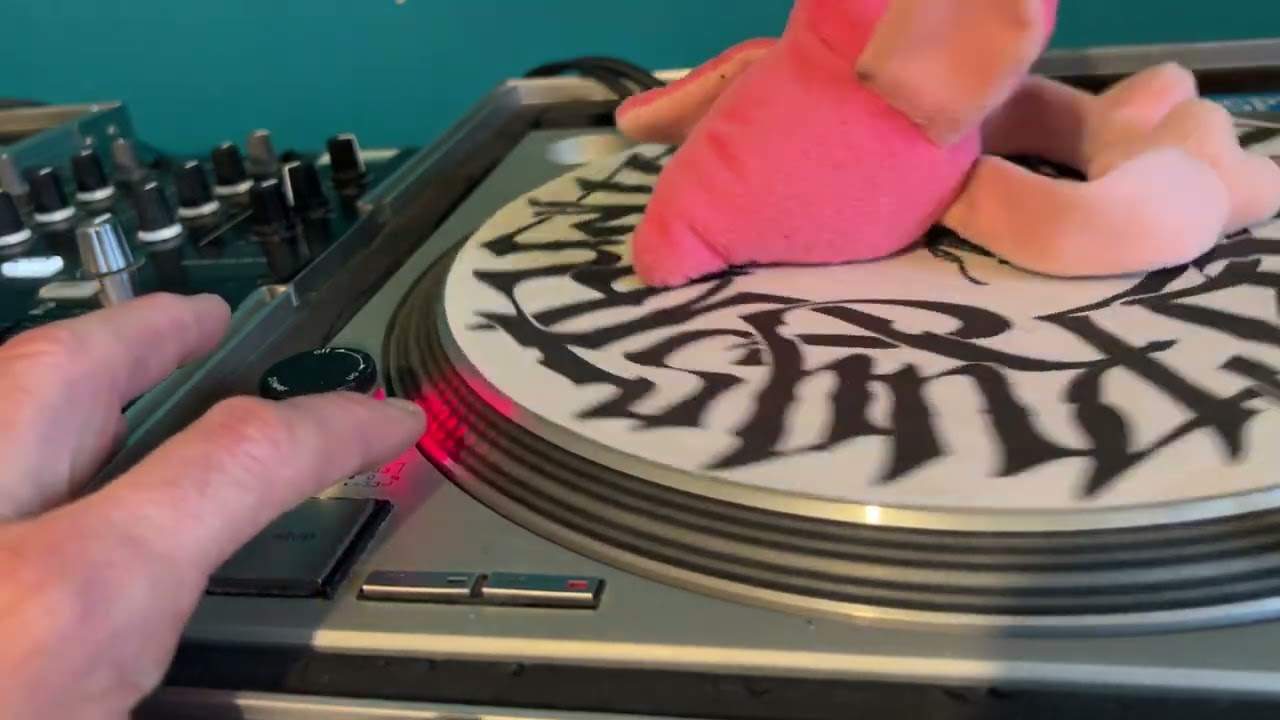
 8:26
A smoother mix at the green light
On YouTube this video is called Sl1200mk 2, technics , get a smoother mix at the green light
What this lesson teaches
A hardware lesson rather than a technique one, and the problem it solves is real if you mix on these decks.
The problem
On an SL-1200 or 1210 Mk2 there is a spot right by the green light - the centre of the pitch fader's travel - where you get a click and a slight judder as you pass through it.
That is the quartz lock: at exactly zero the deck snaps to its reference speed, which is a feature for playing records at their proper pitch and an obstacle when you are trying to make a continuous fine adjustment through that region.
If the tempo you need happens to sit near zero, you cannot creep up on it. The fader jumps instead of sliding, and you end up approaching your target from one side only.
What the modification does
It disables the quartz lock so the pitch control is continuous all the way through centre. The fader becomes a smooth, uninterrupted range with no detent in the middle.
It involves removing the platter, taking off the lower cover, cutting a wire and a specific resistor on the board, and then recalibrating the pitch so that the strobe is stationary at centre again - because cutting the lock also removes the thing that guaranteed that. He does it in stages for exactly that reason, and the recalibration is as much work as the cut.
What it costs
Be clear-eyed about this before deciding.
It is irreversible in any practical sense. It voids any warranty. It is surgery inside a mains-powered appliance, so it is done unplugged, and if you are not comfortable identifying a numbered component on a circuit board you should not start. And a deck that has been opened and modified is worth less second-hand to a buyer who wanted a standard one.
Who it is for
Somebody who plays on their own decks regularly, has been irritated by that detent for years, and knows exactly which component they are cutting.
Not a first project. The video is the reference if you decide to do it; this is not the place for step-by-step instructions, and anybody attempting it should be working from the deck's own service documentation as well.
The reason it is here at all
Because it is a good illustration of something the rest of the stage keeps implying: the equipment has characteristics, not just functions, and the characteristics shape how you play. A detent in the middle of a pitch fader is a small thing that changes where you approach a tempo from - and noticing that is the same attention that makes somebody good at this.
Contents of the video
0:00 Get rid of that nasty little

Alright ladies and gentlemen, in this video I'm going to show you how to get rid of that nasty little place by the green light when you're using a Technics SL1200 or 1210 Mark II. And the little point near the green light is basically when... I'm not going to turn it on now because I've got the platter off here. But it's the point at which when the pitch control is just in and around this area you get that click and a slight judder. Now we're going to stop that from happening. This is what you do. First thing is you turn your turntable off. Second thing is you remove the platter. Third thing, you remove the five screws so this can be taken away. Then what you need to do, you have this part here on the turntable. You snip the orange cable, okay? Then just wrap a tiny bit of something around there, some good quality tape so those two cables do not touch together at all.
And then what you do here, you have some resistors. You will see at this point, you will see a marking TP18, TP17, TP16. TP17 is the one you need to cut. What you need to do, if you imagine this is the resistor, it looks a little bit like that. It's sort of a fat piece with two little bits of wire. There's no need to put The piece of plastic back on at this particular point. The next stage is this. What I'm going to have to do here now is I'm going to just have to put the camera on a stand, bear with me a second. Okay right, once we've done all of those procedures then what we need to do is this. You put the plastic back on, you turn your turntable on, make sure that that's in the green. Then you start up your turntable. Now I've already actually set this. What you'll notice here
2:52 Here, this is your pitch dial

You will see a large circle, and that large circle will be moving. Now, prior to cutting that, when this is on the green, that large circle should have been stationary. Now you'll see it move. What we need to do now is stop that. We need to stop it moving, we need to keep it still as it was prior to cutting any of these bits inside the turntable. So again, turn it off, take the platter away. Now then here, this is your pitch dial. What you will need to do is get a screwdriver and if you imagine now, as soon as you put your screwdriver into there, if you class that position at 12 o'clock, move it clockwise to about 1 o'clock. In other words, what I mean there, if you imagine that's 12 o'clock, I would move it to 1 o'clock. Once I've done that, I'd replace the platter, turn it on, press start again and I would make a note now of how much
The centre circle is moving. By this, I mean it should have slowed down a little bit. So I continue this process until that centre circle is completely and utterly stationary. I'll show you that again. So all we'll do, let's say for example, the first time prior to moving that blue dial, it was moving quite a lot. Then when I moved the blue dial, put the platter back on, it was moving less. So again, let's pretend I've got to move it a bit more. I move this a tiny fraction again, replace the platter, turn it on, press start and then again slowly these small little circles, the big circle in the centre, sorry, should be moving even less. Right, I'm going to pause the camera and we'll go closer to this area here. Just for a reason I'll show you. OK, there may come a point where you have to fine tune it to make sure that that centre circle does not move at all. This is what I do.
A piece of scissors, a pair of scissors or anything. And what you need to do is, you can see there, I've got these against the power knob. And what I'm going to do, I'm going to move the point so it's just, just away from the platter. It's not touching like this. You don't want it to do that. So it's just away. And I'm going to keep that still there and I'm going to keep my eye on one of those circles. Now even after a minute or... Two minutes, three minutes. That circle should stay at the precise point where the end of whatever I'm holding is at. In other words, the circle should not move at all. Now on that basis that that isn't moving and also if we move this and we see that the green light is on then I know now that that is perfectly as it was prior to me doing any of this. The only difference is now is that
5:49 Until the light stops, that is the circle, the red circle
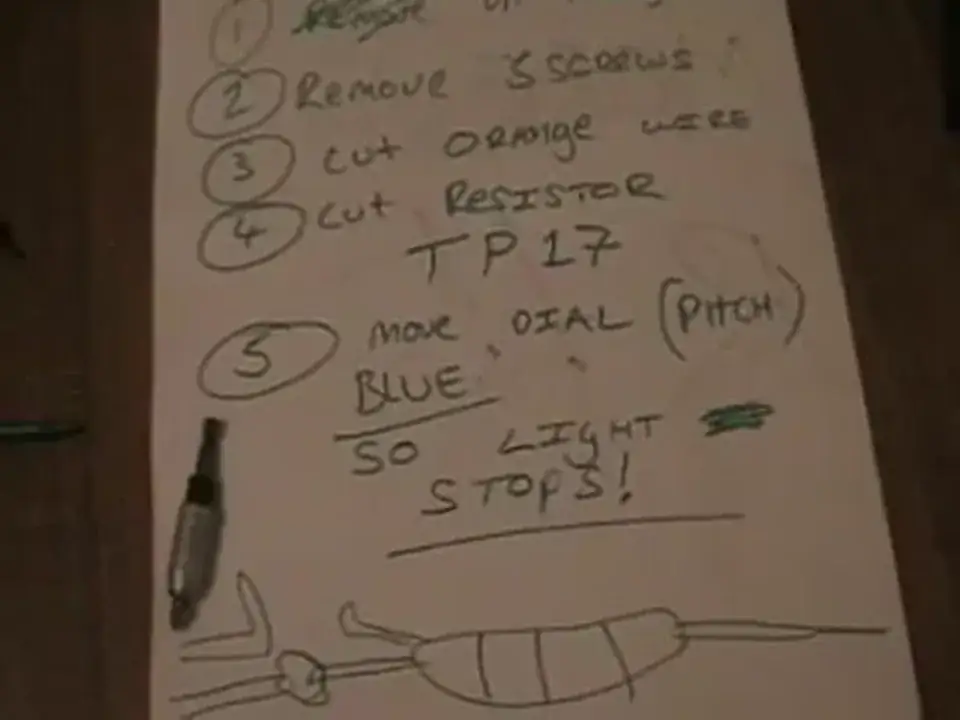
When I move it to and from that particular area, it's not going to judder in or around that very, very fine-tuning point. So, the procedures, basically, is this. You unplug your appliance. You remove the screws, cut the orange wire, cut the resistor, which is TP Tango Papa 17. Then you move the dial, the pitch dial, the blue dial. Until the light stops, that is the circle, the red circle. Now that this is reversible, simply like this, here's your resistor, connect the two wires together and with a tiny, tiny amount of solder you can re-solder that. You can also then reconnect the yellow cable just by taking a bit of the plastic off either side and connecting the metal inside. Practice and enjoy. See ya.
This transcript was produced automatically from the audio of the video and may contain mistakes.