 2:27
How to set the beat grid
On YouTube this video is called Complete Beginner DJ Lessons How to Set the Beat Grid
What this lesson teaches
The beat grid is the software's map of where the beats are in a track. Everything clever the software does is built on it, which means a wrong grid makes everything built on it wrong.
What you are looking at
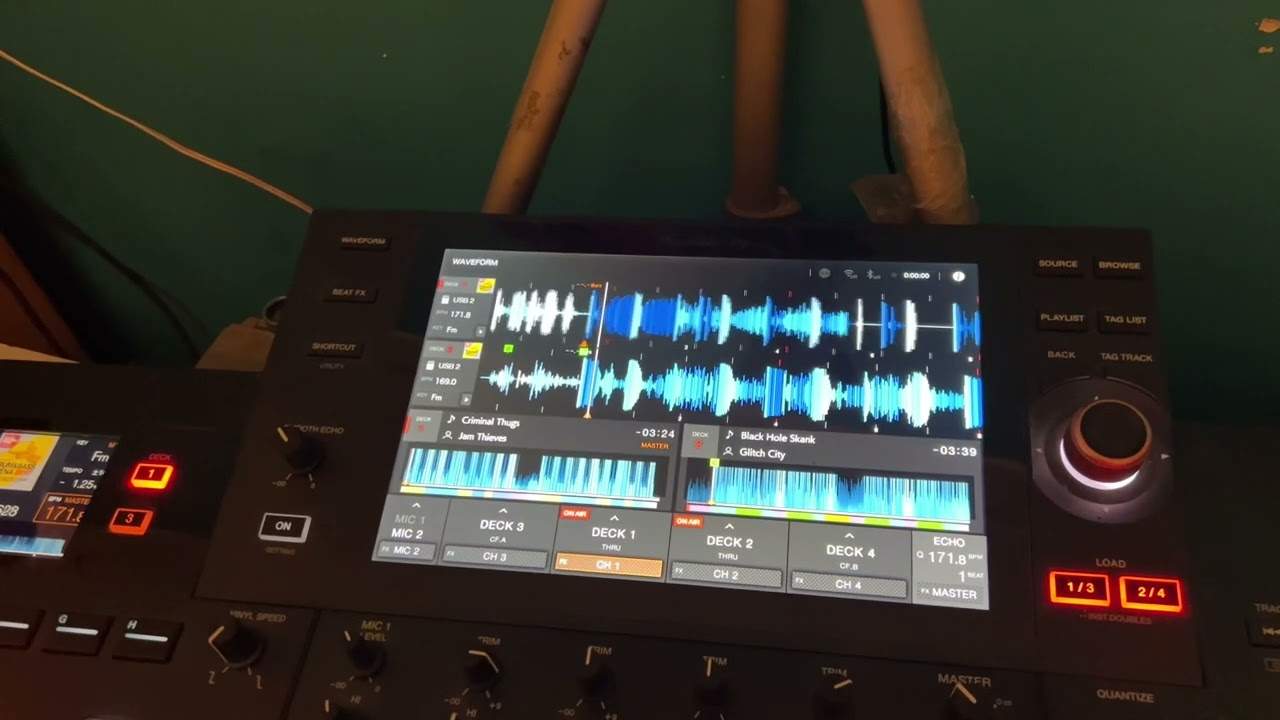
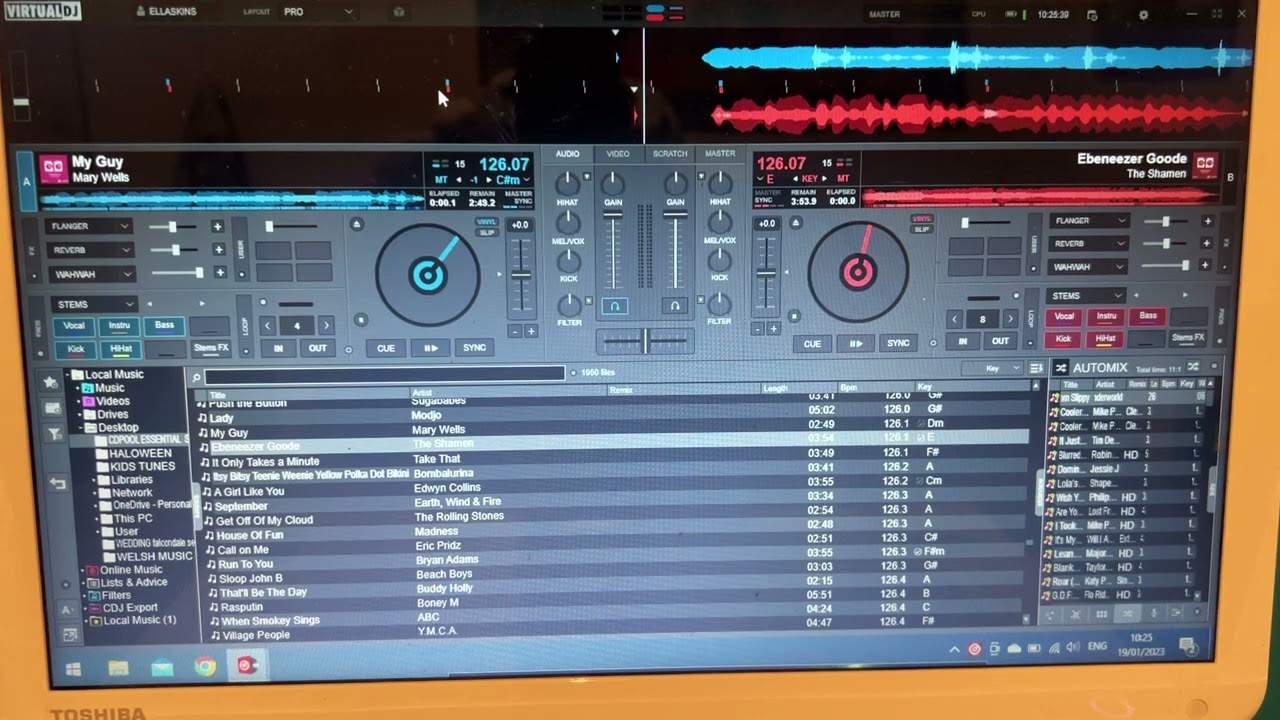
The small vertical lines on the waveform are the grid. Usually one colour marks ordinary beats and another marks the first beat of a bar - which is the one that has to be in the right place.
If the markers on the top deck do not line up with those on the bottom, the two tracks' grids disagree, and anything relying on them - sync, quantize, auto-loops - will be out.
Correcting it
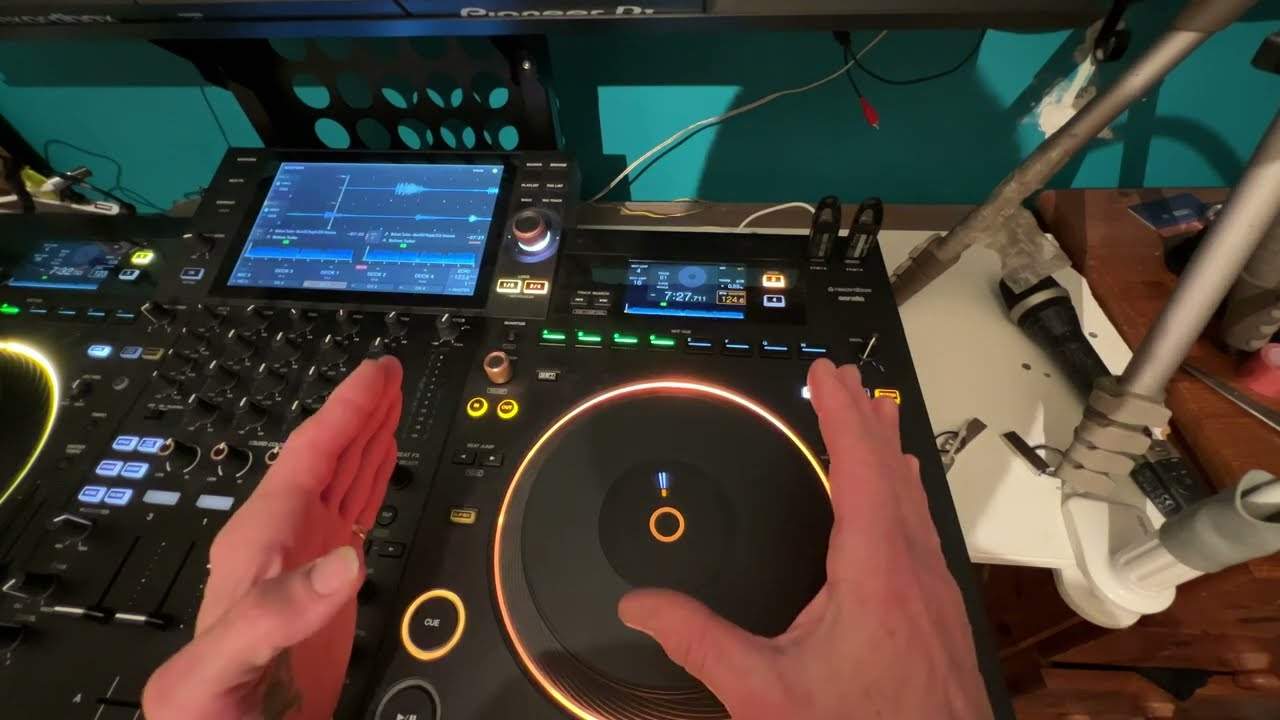
Highlight the grid on the deck that is wrong and drag it backwards or forwards until the downbeat marker sits on the actual downbeat of the music.
That is the whole operation. It takes a few seconds per track and it is worth doing when you first add a record rather than discovering the problem live.
The part that is genuinely important
His aside at the end is the most useful thing in the lesson, and it explains something that will otherwise baffle you.
A drum machine does not drift. A track programmed at 126 BPM starts at 126 and finishes at 126, to the millisecond. One beat grid describes the entire record perfectly.
A band does not do that. Real players breathe, push and relax, so a live recording might start at 120, settle to 119, and drift to 118 over a few minutes. There is no single tempo, so there is no grid that fits the whole track - align it at the start and it will be wrong by the end.
Which means sync will slowly pull apart on such a track, through no fault of yours. Older records, anything with live drums, anything recorded before the grid was a consideration: the software can help you less, and your ears have to do more.
That is worth knowing early, because the first time a synced mix drifts you will assume you did something wrong.
Contents of the video
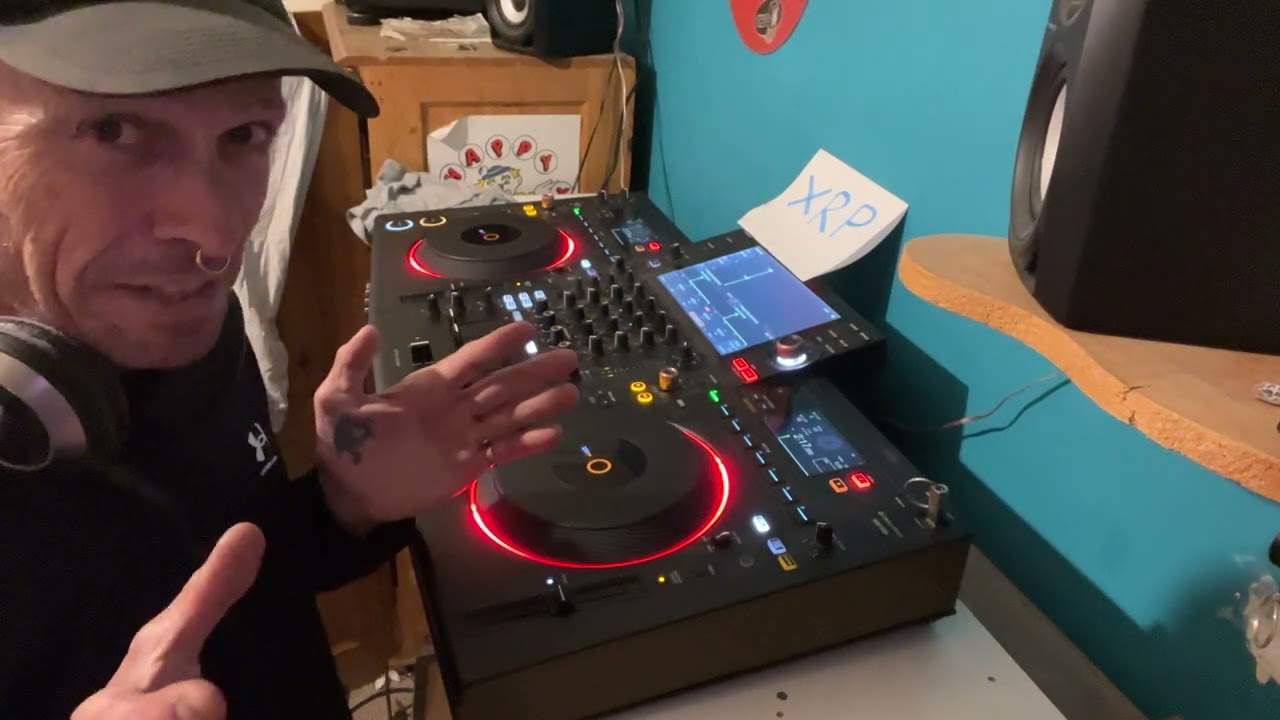
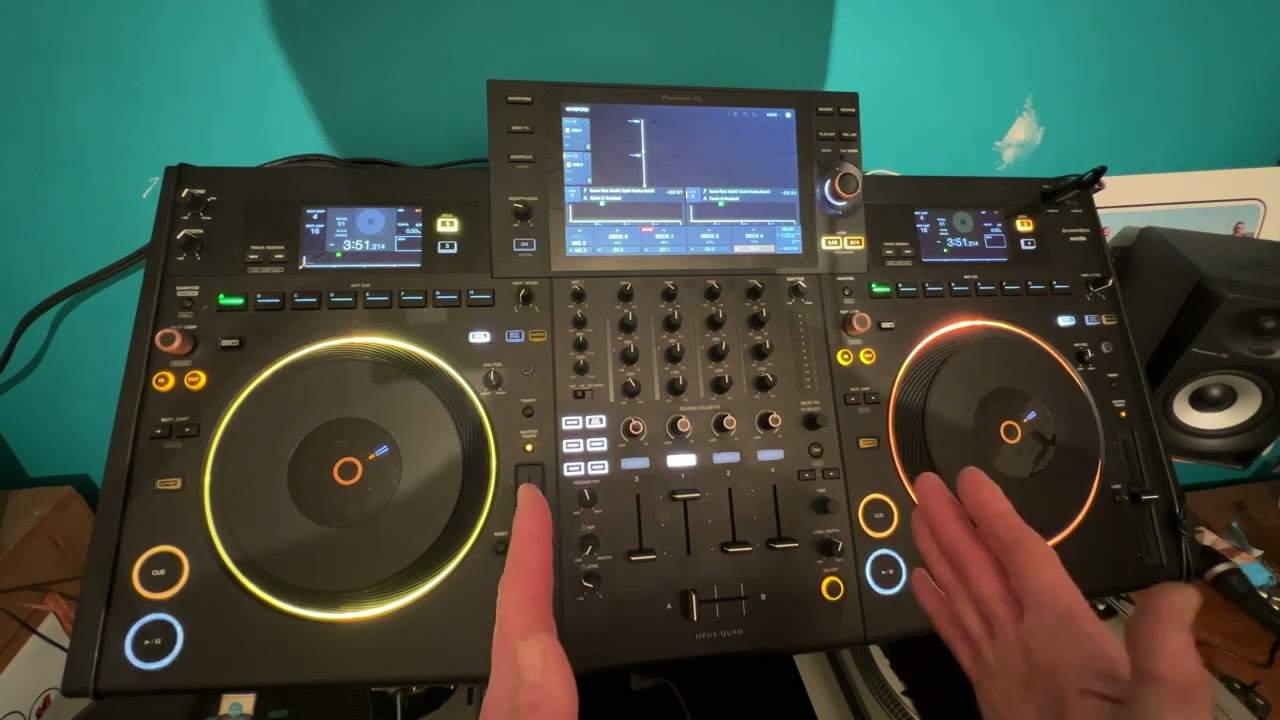
Video number four for the complete and utter beginner. In this video, I'm using VirtualDJ. What I'm about to explain though is pretty much identical to any DJ software you're using. So I'm really generalizing here. And again, you're going to be using hopefully a controller. So in this video, we're looking at setting the beat grid. So let's imagine you have two tracks, identical, same BPM, but they're not at the same position. The beat grid is off. Now the beat grid, what we can see here is these small lines. And I don't know if you can see, but the top one isn't lined up with the bottom one. Now again, what I'm about to show you, you will have to do yourself. But I'm just demonstrating here. There's no, we're not going to have any audio. It's literally a case of
Showing you how to set the beat grid. So what I can do is either the top or the bottom, I can move, highlight one of the beat grids. Here we go. And move it backwards or forwards. So I'm going to move that forwards, simply because what we have here, don't know if you could see, but we've got a red icon and a blue one. Now, that is telling me that they are positioned at the beginning of a bar. So you do need to make sure they're positioned now again, depending on the tracks you're using will of course depend on if the beat grid will align perfectly with the other track. Now I don't want to digress too much. But that will definitely happen if you're using say a track that's been made on a drum machine and
A track let's say that was being that has been made by a real band because a drum machine 99.9% of the time, if it starts at 126 BPM, it will finish at 126 BPM. Whereas a band, because you've got real people quite often, you may have the track start at 120, it goes to 119 118. So during the course of those two tracks and the beat grids aligned, they may indeed go off. Okay, so I hope that's a help. Practice a little bit more. I'll see you in the next video. Bye bye. Enjoy. Thank you.
This transcript was produced automatically from the audio of the video and may contain mistakes.